ambermarine
-
Posts
2,180 -
Joined
-
Last visited
-
Days Won
29
Content Type
Profiles
Forums
Events
Store
Gallery
Tutorials
Lexus Owners Club
Gold Membership Discounts
Lexus Owners Club Video
News & Articles
Everything posted by ambermarine
-

Radio
ambermarine replied to cilgwynbaby's topic in LS 400 / Lexus LS 430 / Lexus LS 460 / Lexus 600h / Lexus 500h Club
From whatever source you get the radio make sure that if it is coded you get the code .It is unlikely not to be coded but could be as it is an option on the default setting. -
I Have checked the toydiy site and the part numbers showing for A/C control lighting are as follows. 1998 Lexus ls400 europe rhd Bulb LCD 14v 1.2W 5 no part number 90010-03012. Bulb knob (switches) 14v 1.4W 5 no part number 90010-03013. That tallys with the bulbs in the console and the LCD are the ones required. They show as being 3 euros each. Hope this helps.
-
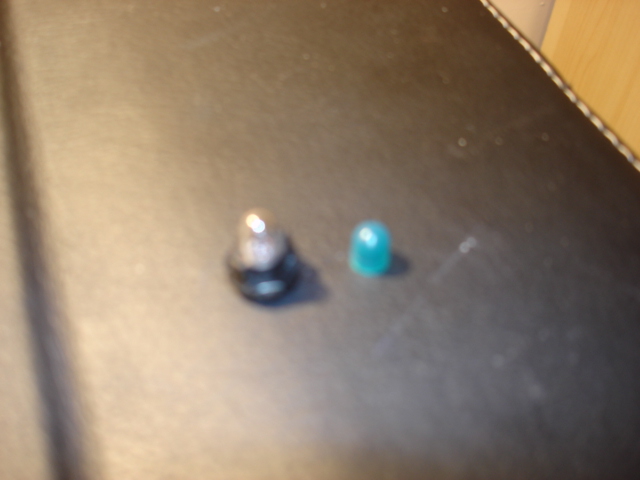
The backlight bulbs I replaced in my 1990 mark 1 were part no 83119-24530 and I bought them from Lexus in Edinburgh. They are actually clear but supplied with a green plastic shroud,weather these will fit in the 1998 console is not something I can verify but I am sure you could get the part number from Lexus. The pic is of one of those but as a round base were as the one in the console looks square.

-
Ls430 Parts
ambermarine replied to Toony's topic in LS 400 / Lexus LS 430 / Lexus LS 460 / Lexus 600h / Lexus 500h Club
Somebody mention a "Montego" had one of the first estates to come off the assembly line bought at Lookers in Bolton mettalic blue but it was'nt put together properly and the front drivers door caught on the front wing when opening.Took it back and they had it a day and it opened ok but there was a gap that was'nt there before. A couple of days later it rained and the area on the cill below the edge that did'nt fit went all speckled red. We then discovered they had used an angle grinder on a brand new car to take some of the metal away. British workmanship of the 80s ,the car did take us all the way to Italy "Rimini", on a Cosmos find your way holiday through Europe but the front windows came off their slides and dissapeared into the doors, so it was a bit draughty coming home. As it turned out I had four more of those montys and the 2 litre version was pretty good. -
To be honest there's a bit more to getting at those bulbs than I imagined,I find it incredulous that what should be a simple task requires the virtual dismantling of the unit. On the backlighting for the mark1 it involved the removal of the facia to the console which is what I thought was the case here,anyway I got you halfway there and I am sure you would have found the rest of the exercise a breeze. Ps Having studied the pics and description further I have come to the conclusion the dismantling of the unit is not required The front facia will come off and the ribbons can be unclipped as it brought out from the top it is then the dismantle of the facia to get at the bulbs as described
-
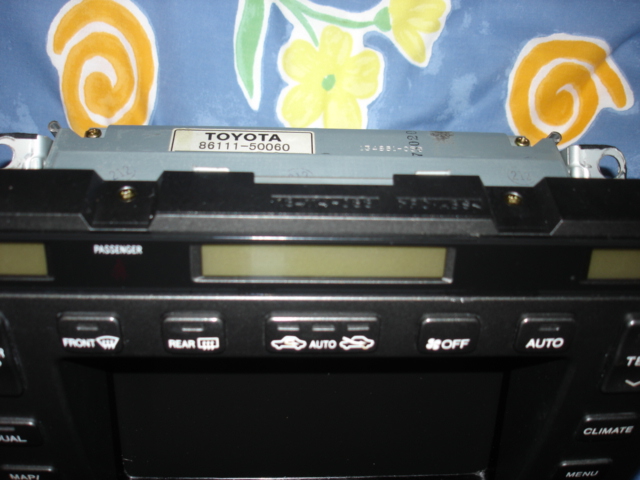
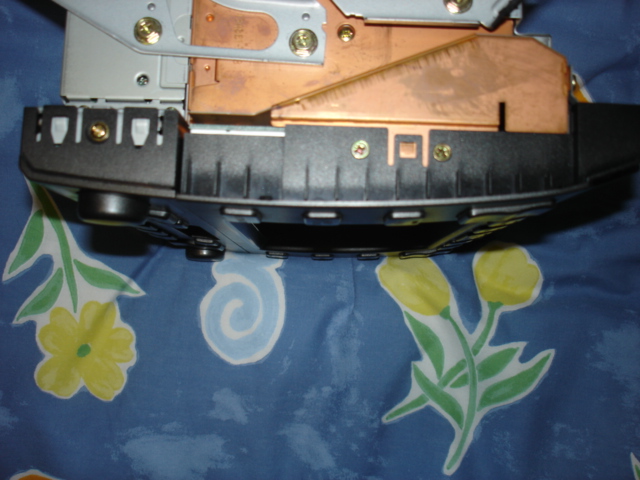
I Have taken some pics of the spare unit I bought when I first got the Mark 4 There are only 8 screws 6 are countersunk and two are domed .the pic of the side is mirrored ,the bottom has no screws and is clipped in place
-
It requires the removal of the centre console and then dismantling the unit from the back this then reveals the lighting board that as small bulbs in lock sockets. It is not difficult but care as to be taken during the removal of the console as not to scratch the veneer and uncoupling the wiring. The facia screws are countersunk along the edges but be careful when taking them out as the switches are all spring loaded and to make sure they don't go all over the place remove the facia evenly with the console face pointing upwards.
-
The wheels were on the wrong way, the spokes were pointing backwards in the correct fit and the tyre had to be fitted so they ran in the correct direction , basically this meant turning the tyres to suit the direction of the wheel spokes when fitting them I had to get my tyre people to refit new tyres when they put them on the wrong way and they were not pleased.
-
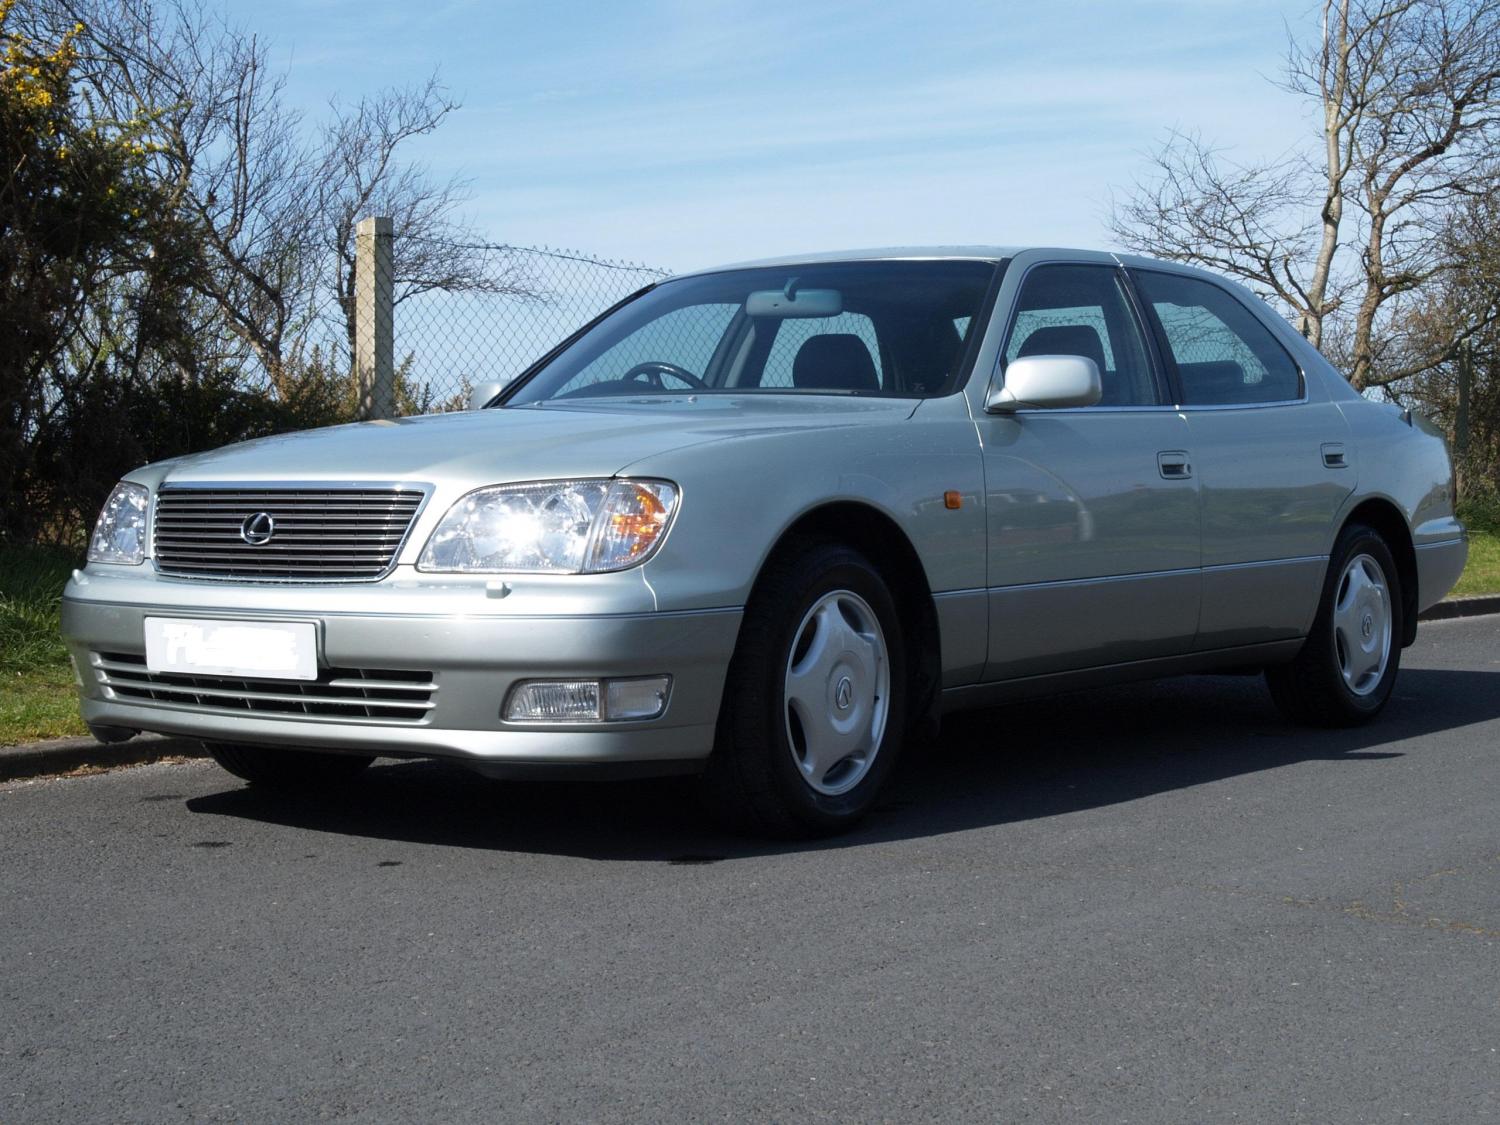
The car in the review was the same as my first LS back in 96 when I clapped eyes on it I was smitten ,still am.
-
The argument as been run through on a number of previous occasions "Is it worth the asking price" While I only paid £3750 for my 18k miles 98 Mark 4, that was 3 years ago and it as done 25K now but that is still 25k short of this one . So what is mine worth today? nothing ,because I am not selling and will probably take it to my grave. I decided when I found this car that was going to be the case,having owned 400s for over twenty years I don't think I can find a car that will match the model. So in the end the person who buys this will probably be thinking along the same lines as these examples are becoming as rare as rocking horse s---.
-
I did'nt know God was a roofer
-
The answer is no ,as the ecu that controls the compressor is different , as are the electronics in the compressor.
-
The early Ls400s had a clutch on the compressor that engaged and disengaged depending on the load the compressor was under .When stationary and revving at 650 which is normal it would frequently engage the clutch and the revs would go up to 850 or 900 after a minute the clutch would disengage and the revs dropped back to 650 .If the car was being driven the change was hardly noticable unless in cruise control because the higher revs kept the system pressured longer .The Mark4 was fitted with a new compressor type that maintains a constant pressure, so the clutch stays engaged all the time the A/C is switched on there is no change in the normal tickover revs and the clutch only disengages when the A/C is off.
-
Check out my submission 10 years ago in the archives ,It gives you an easy way to replace the Arms with no removal of any other part.
-
One of our members as within the last month done this task and documented and posted pics of the procedure including the sourcing of parts, check it out in the archives. "Cambelt Change by tinonline"
-
There are an awful lot of LS400 cars on second hand car pitches and people with no prior knowledge of the series are scared of them .I have spoken to people over the years who feel they are such a technically sophisticated car they are bound to go wrong and cost a fortune to put right this especially from the over 50s who remember old automatics that always had trouble . The liklehood over the next 5 years is that a very small niche of 400 owners will have much admired and rare examples of this mould breaking phenomenom as the less cared for meet their ultimate end.
-
Hi Gunnar The procedure for inputting the code is in the owners manual you only get three goes at it and then the radio locks up and as to be taken to Lexus to unlock it. The procedure for inputting the code you have is straight forward but involves pressing certain buttons on the radio some at the same time . I disposed of my Mark 1 some time ago and have forgotten the procedure. Try to get of a manual for your model as the procedure changed on later marques. As for the boot it unlocks with the ignition key.
-
I have seen their work on a vauxhall corsa and to be fair it was quite good but as you say the difference in basecoat depth is what makes the job difficult .In my experience stone chips down to metal on a Lexus will be at least .75 of a ml and it virtually impossible to fill that in one go without puddling when the paint dries. I have managed on my old Mark 1 to do it in stages with very careful drops of paint applied with a needle point leaving it slightly proud to the surface . Using a very fine 3M buffing paste to match surface then polish. With the new touch up paints the lacquer is mixed in so no lacquer is needed ,which in the past could be the hardest to match on the final application.
-
The window edges run only within the guides on the frame of the window and as Steve says there is no need to access the inside of the door to lubricate . It is a fair bit of work getting in and you would be destroying the seal that protects the workings within the door to no advantage. I had a 90 mark 1 and the windows did slow down on mine over the years as the window guides harden up with age ,a bit like my arteries. Follow Steves advice it will solve the problem
-
Ls400 Front Wishbone/suspension Arm Fitting?
ambermarine replied to Calster17's topic in Brakes & Suspension
Callum There is a an archive in the forum related to the upper arm replacement which I submitted 10 years ago ,You will save a whole lot of time if you follow the instructions.Last time I looked it had been hit around 8000 times and I believe is used by Lexus dealerships as against the workshop manual instructions.The lower arms are straight forward remove and replace but you will need some heavy duty pry bars and preferably an impact driver. -
Great job .
-
Hi Simon Just to lighten things up a bit ,The instruction to" pull the pin "sounds very scary. Good Luck.
-
I think the belt guide on the bottom crankshaft pulley goes on after you have placed the belt on all the pulleys .If you have reassembled it before placing the belt on the camshaft pulleys it won't go on ,is this the case?
-
If you go back to the tutorial I think you have to draw back the tensioner to get the belt on .When refitting the tensioner it should be held back on the piston with a allen key .Pull that key when the belt is on.
-
Pete ,If you look at the sight glass on the drier. the tubular canister in front of the Radiators , the glass should run clear of foaming bubbles after a few seconds after the A/C is switched on. If that is not happening the system is short of refrigerant. The pipe that should ice up is the thick one running into the condensor adjacent to the the battery it will show frost if the engine compartment is not hot . The narrow pipe on the firewall with the grey filler cap with a L on it should also be cold and will have condensation on it if everything is normal. Run the system analysis and check the code for compressor circuit fault, Its on the threads in the archives .