

Description
In order to replace the door mirror on the LS400 the internal door panel needs to be removed.
It is held by a series of both clips,bolts and screws.
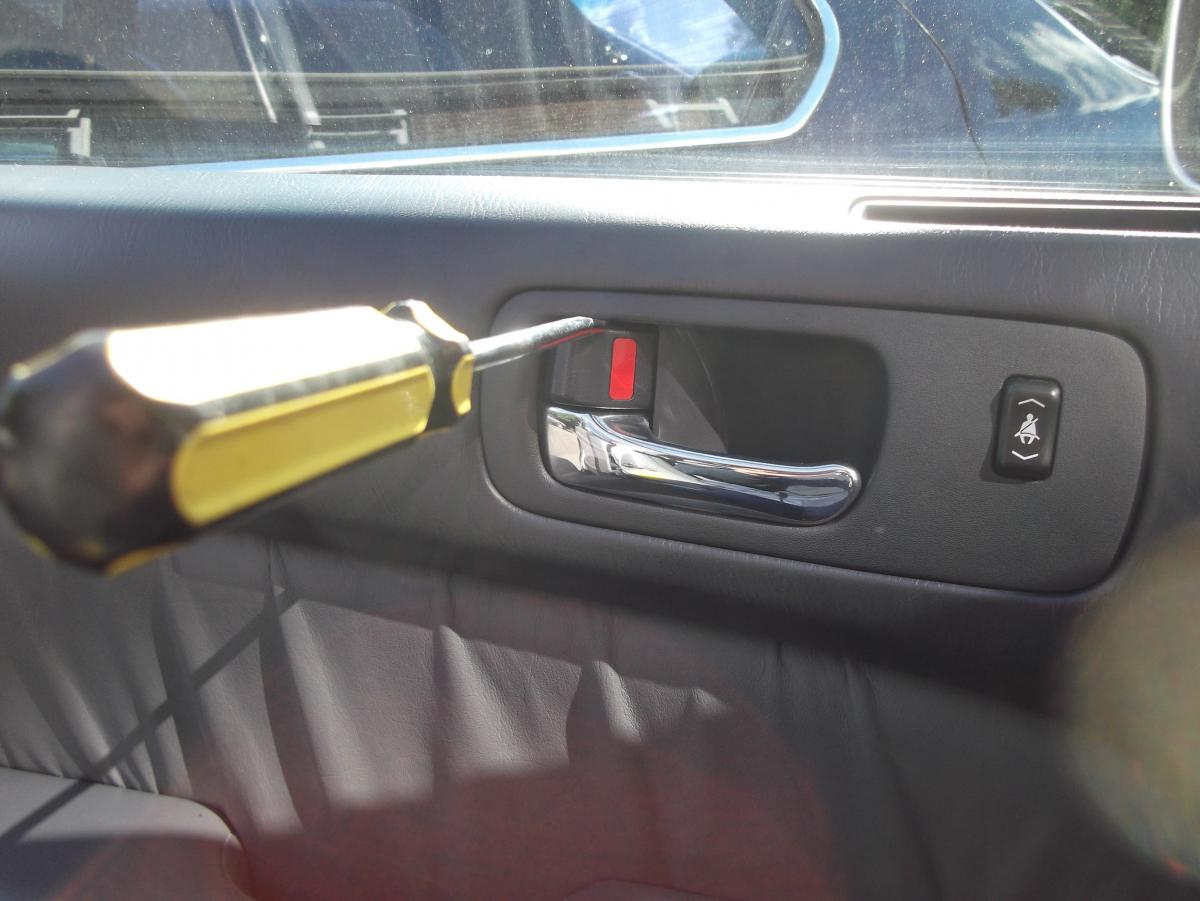
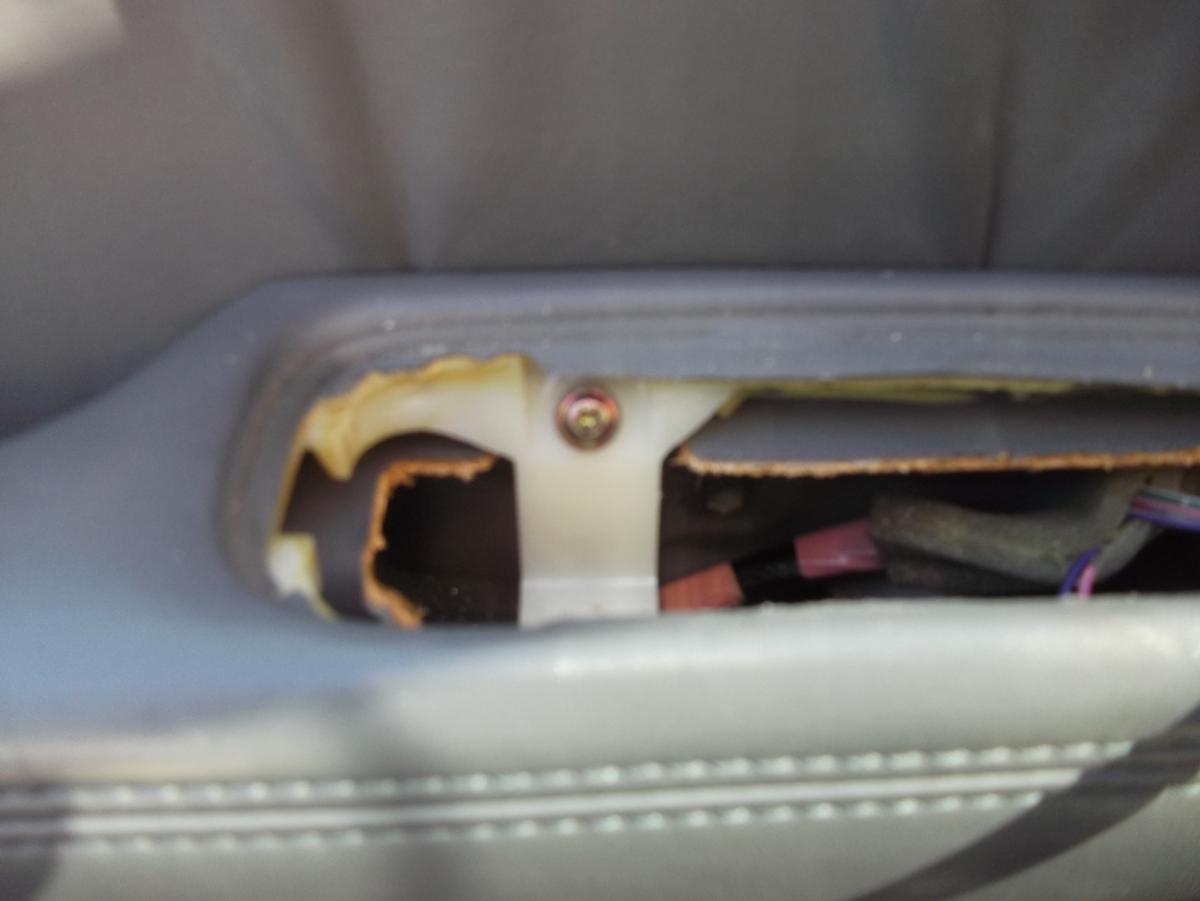
Begine by removing the internal door lock surround, this requires a little care not to damage the door lock button and the door release lever.
Insert a flat blade into the gap just above the door lock button and gently push the b;ade downwards to release the pin from the trim,do the same at the bottom of the door release handle but this time lever the tool upwards.
This should allow the trim to pop out at this end.
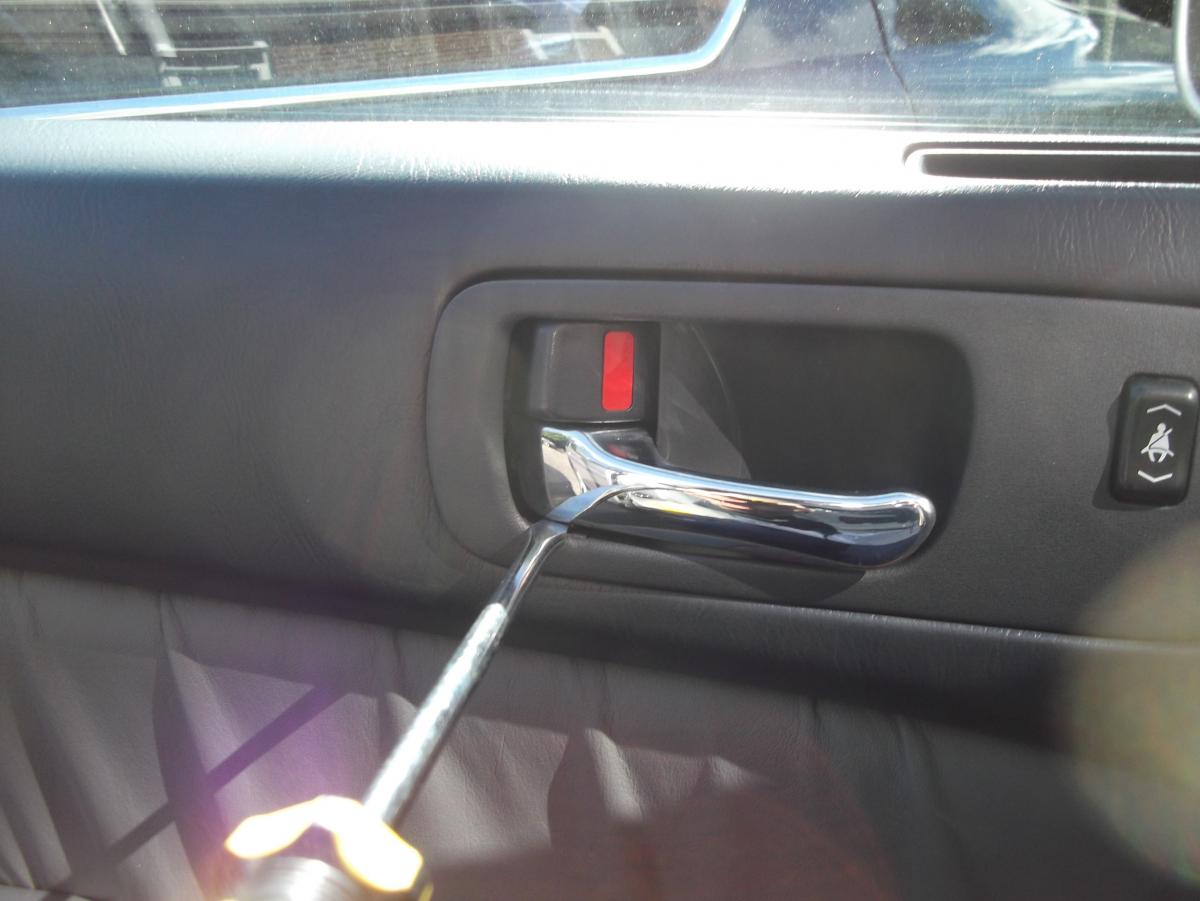
Pull the door release handle and feed the trim around it before completely removing it.
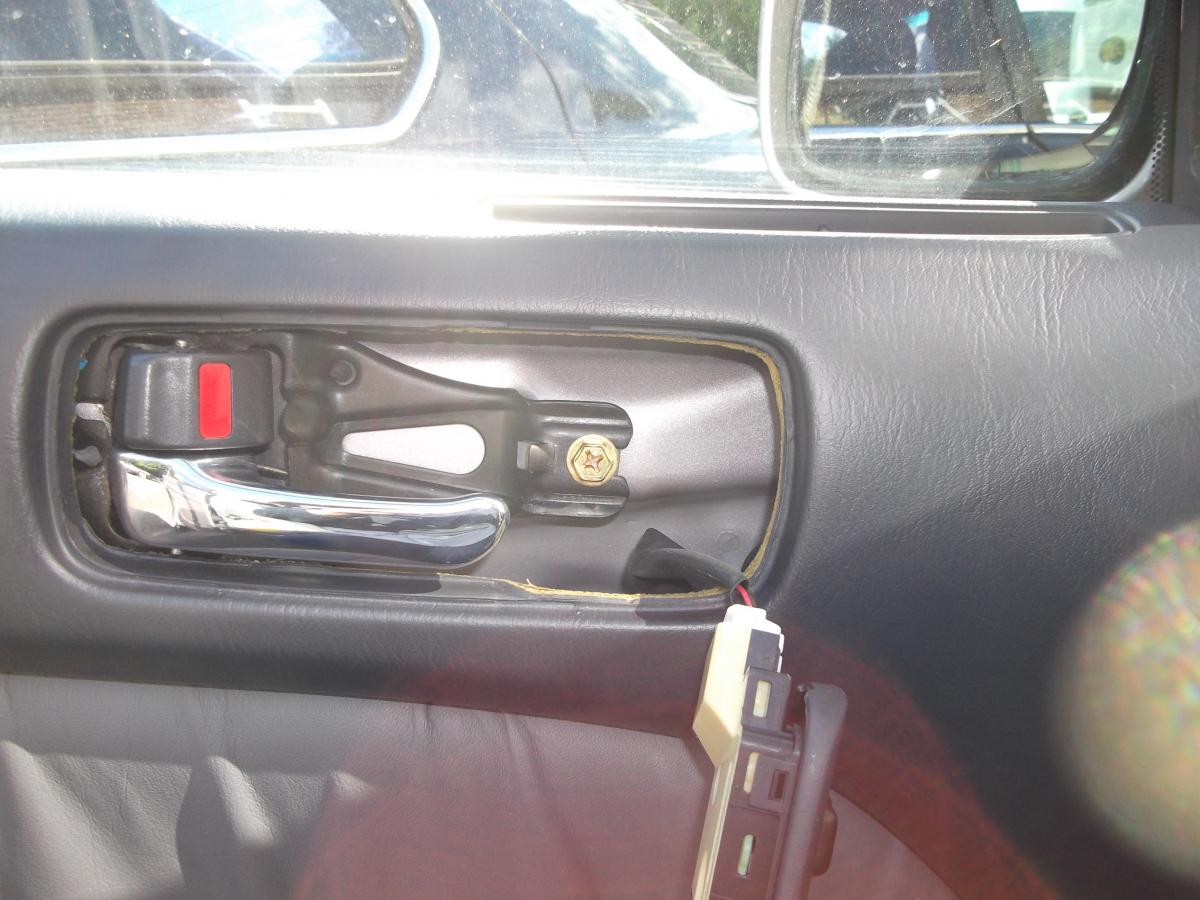
Remove the electrical connector by pressing the tab and pulling out of the socket.
When refitting this trim it has a locating lug which engages behind the little bracket to the left of the bolt shown in the picture,this can be a little tricky but if not refitted correctly the trim will not be flush with the door panel.
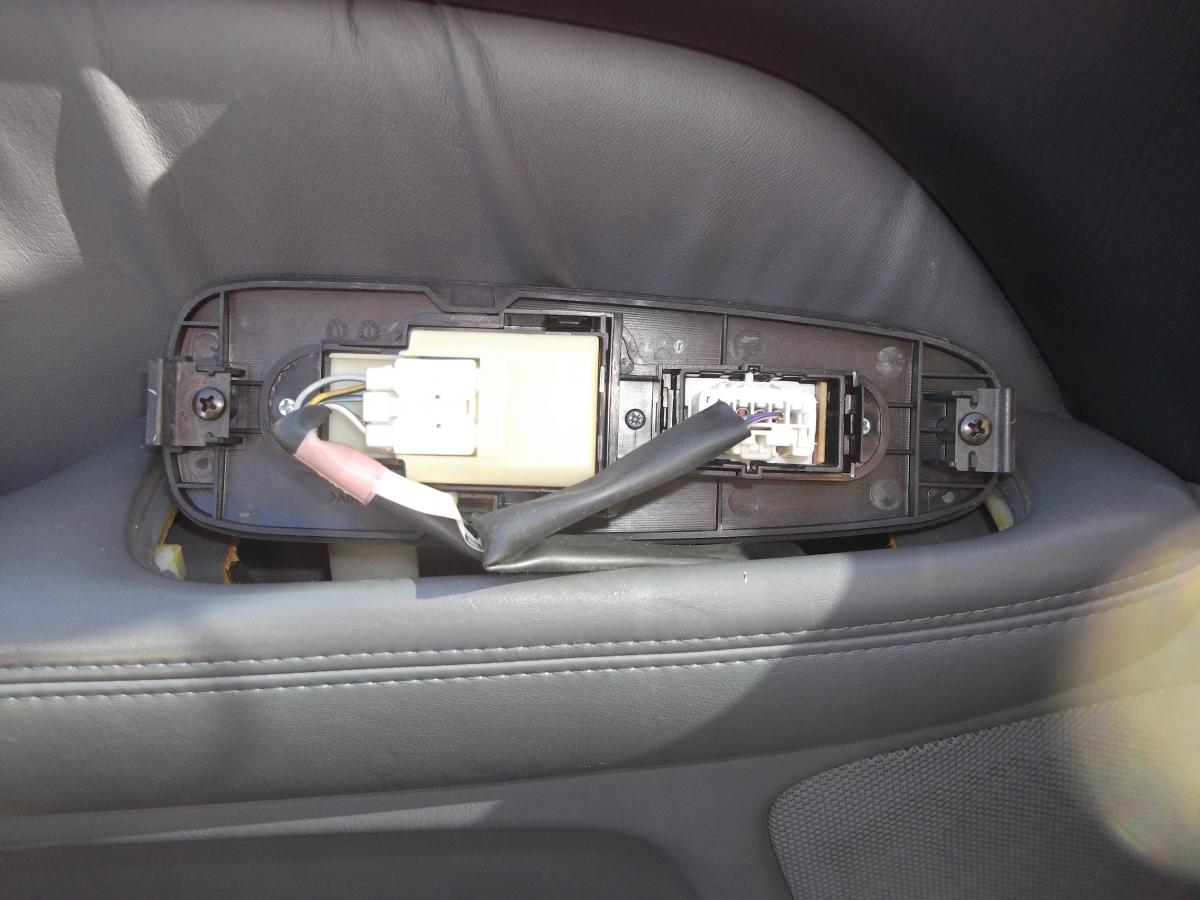
Next remove the window switch panel by using a flat bladed tool to push the clips in at both ends of the panel then again disconnect the electrical plugs.
Once the window switch panel is removed it will expose one of the screws Shown below) that need to be removed so remove this.
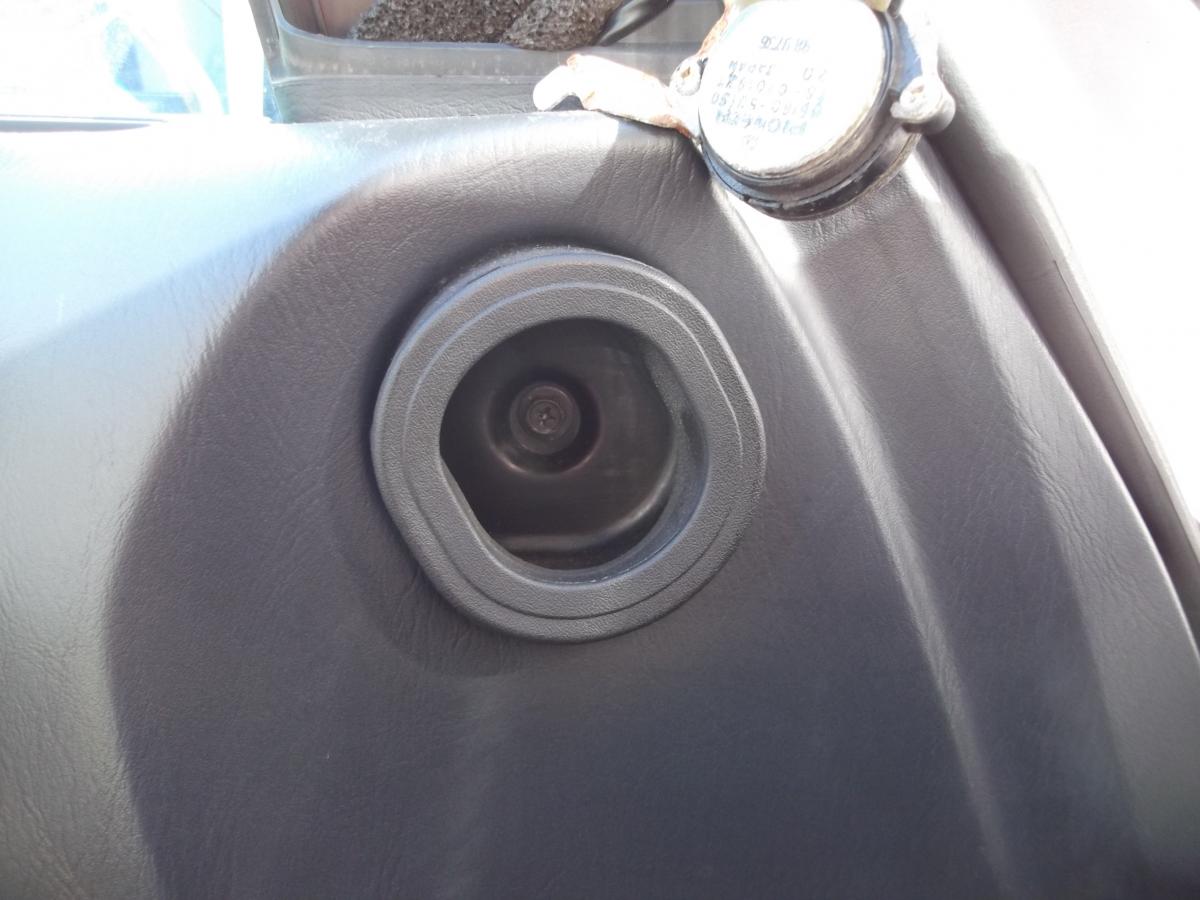
Also remove the screw inside the door air vent feed (below)
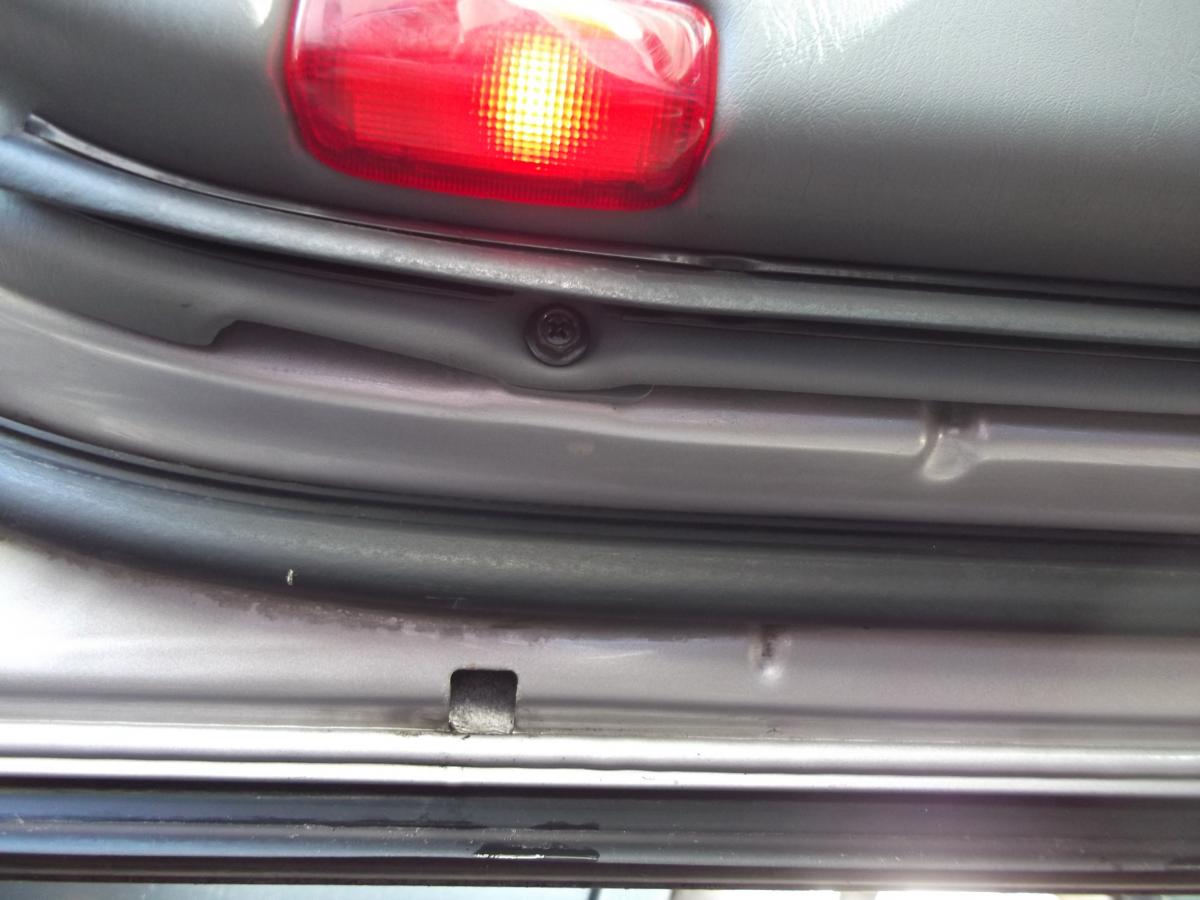
The screw located just below the door lock mechanism.
Then the four black coloured screws at the very bottom of the door trim shown below.
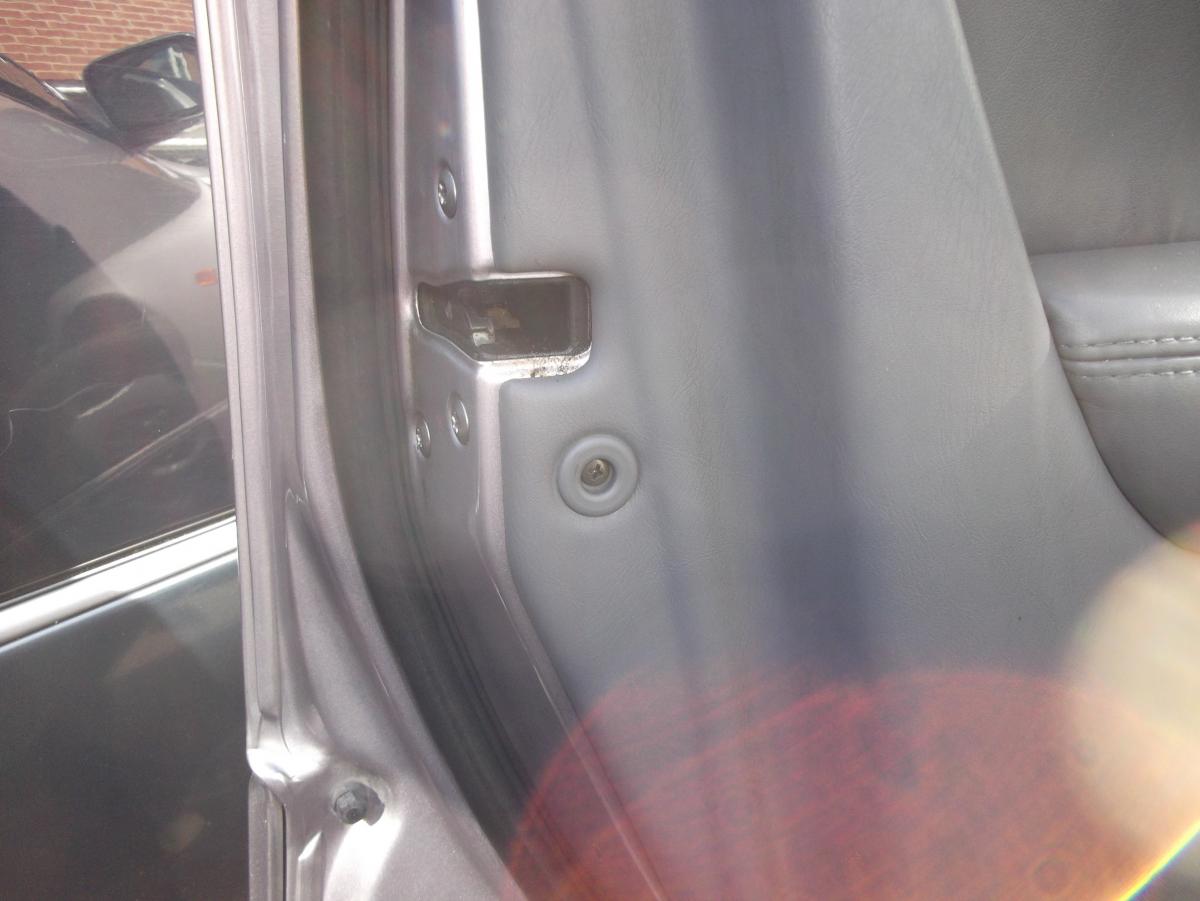
The last fixing screw is located in the top right corner of the door pocket below the door handle.
Once all the screws are removed it is a matter of gripping the bottom edge of the door trim panel and pulling to release the remaining plastic clips along here and up the sides, disconnect the puddle light connector once you can get to the light fitting.
Once the panel is completely loose lift it up and over the top of the door where it meets the bottom of the window, it may take a little effort but nothing will break.
Now you have the door trim off you need to remove the tweeter speaker cover by pulling it at the top and unclipping it.
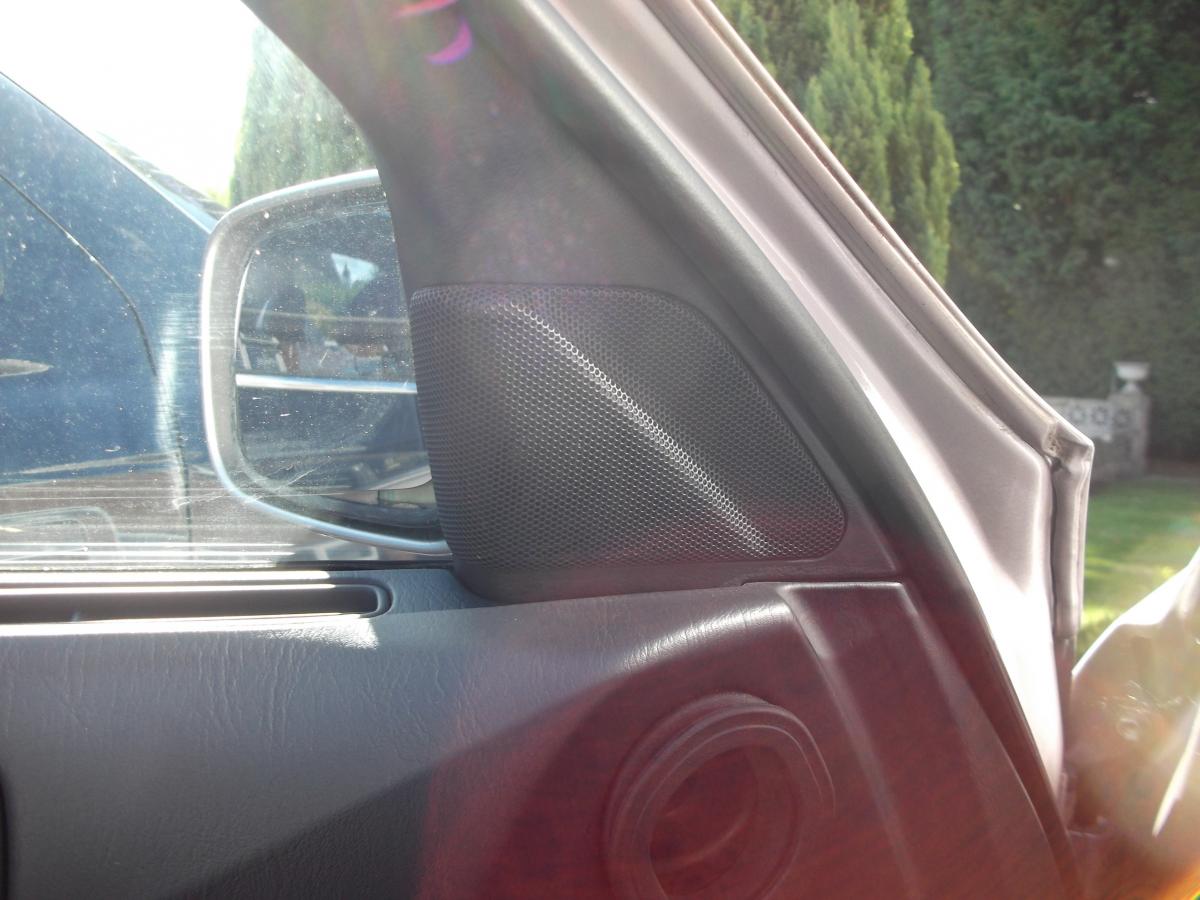
Remove the single screw holding the tweeter in position release it from its lower mount and let it hang down.
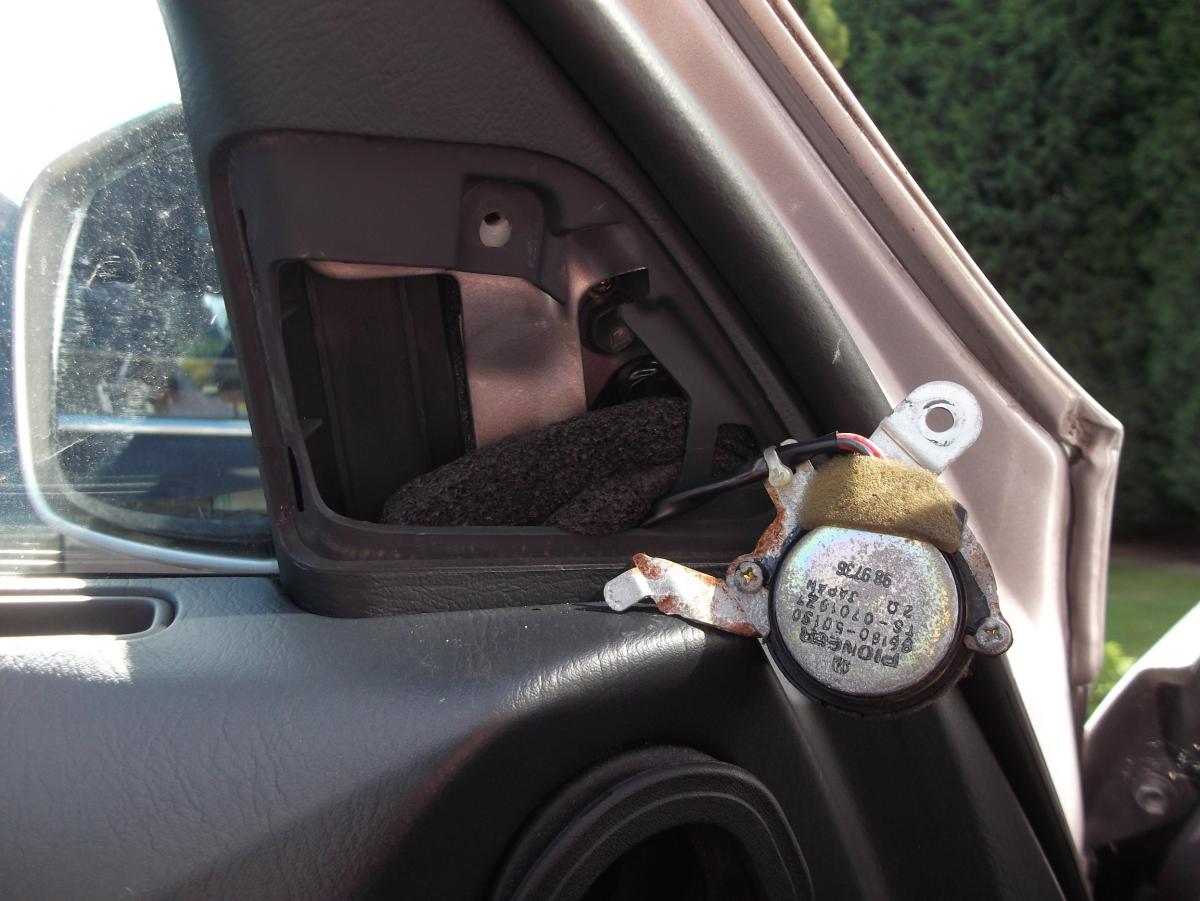
You can now see one of the mirror fixing screws behind where the tweeter was, gently pull the upper door garnish away enough to gain access to the mirror fixing bolts, remove these and then disconnect the electrical connector.
There may be some black foam packing in the area, remove as required to gain clear access.
The top door garnish is clipped all the way around the door frame with clips which do have a tendency to break so I would advise against removing it completely just pull it back enough as described above.
Fit the replacement mirror and then read the above backwards to get it all back together.
Extra Fields
General
-
Time Taken?
40-50 mimuntes
-
Tools Used?
Basic hand tools, flat blade screwdriver,philps screwdriver,clip prise tool.
-
Difficulty Level? 1-5
2

Recommended Comments
Join the conversation
You can post now and register later. If you have an account, sign in now to post with your account.