
Description
If your like me, the best part about owning a Lexus is the nice toys and technology that Lexus offer.
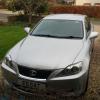
I've recently swapped my IS220D SE-L for a IS250 SE, The SE-L was fitted with the illuminated door sills that light up "Lexus" when you open the doors, a really nice feature which should be standard in my opinion.
Unfortunately my 250 SE only had the basic plastic sills that look a bit cheap on a Luxury car so i pulled off the plastic ones to find that the cars are fitted as standard with the plug for the illuminated sills, so I thought I could just buy the illuminated sills and plug them in.
Unfortunately it turned out that this is not the case, all the cars do indeed have the plug however the plug is only wired in on the Luxury and sports spec models, to get around this problem you need to do some basic home wiring which I will show you now.
Please note: I take no responsibility for any damage done to your vehicle while following this guide.
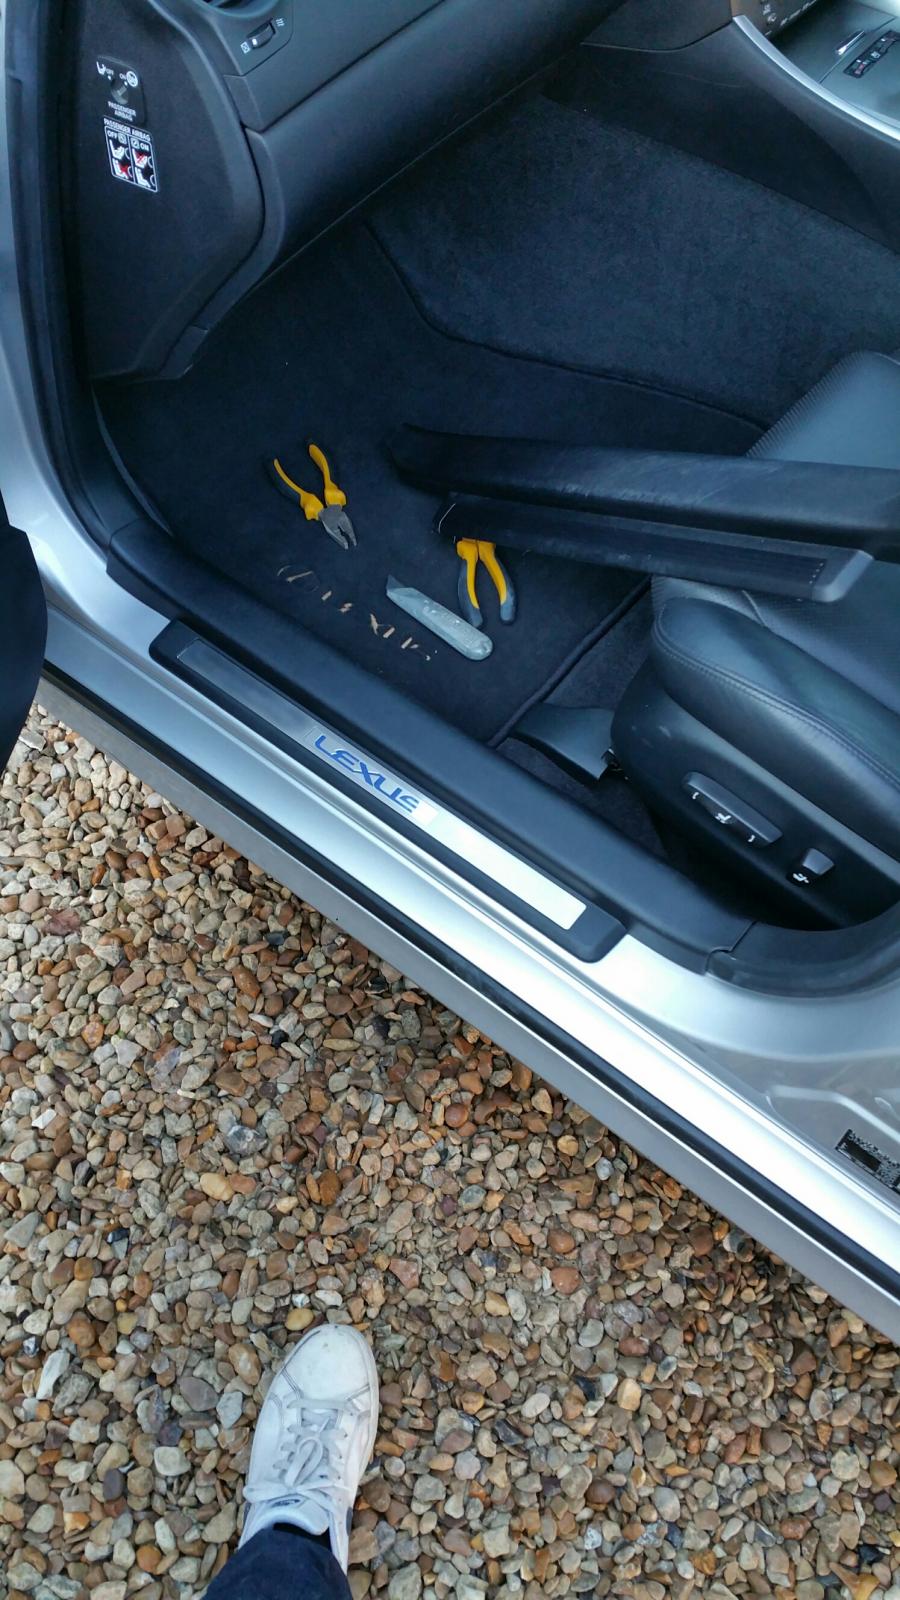
For this modification you will need the following:
1-2M of Auto Wire
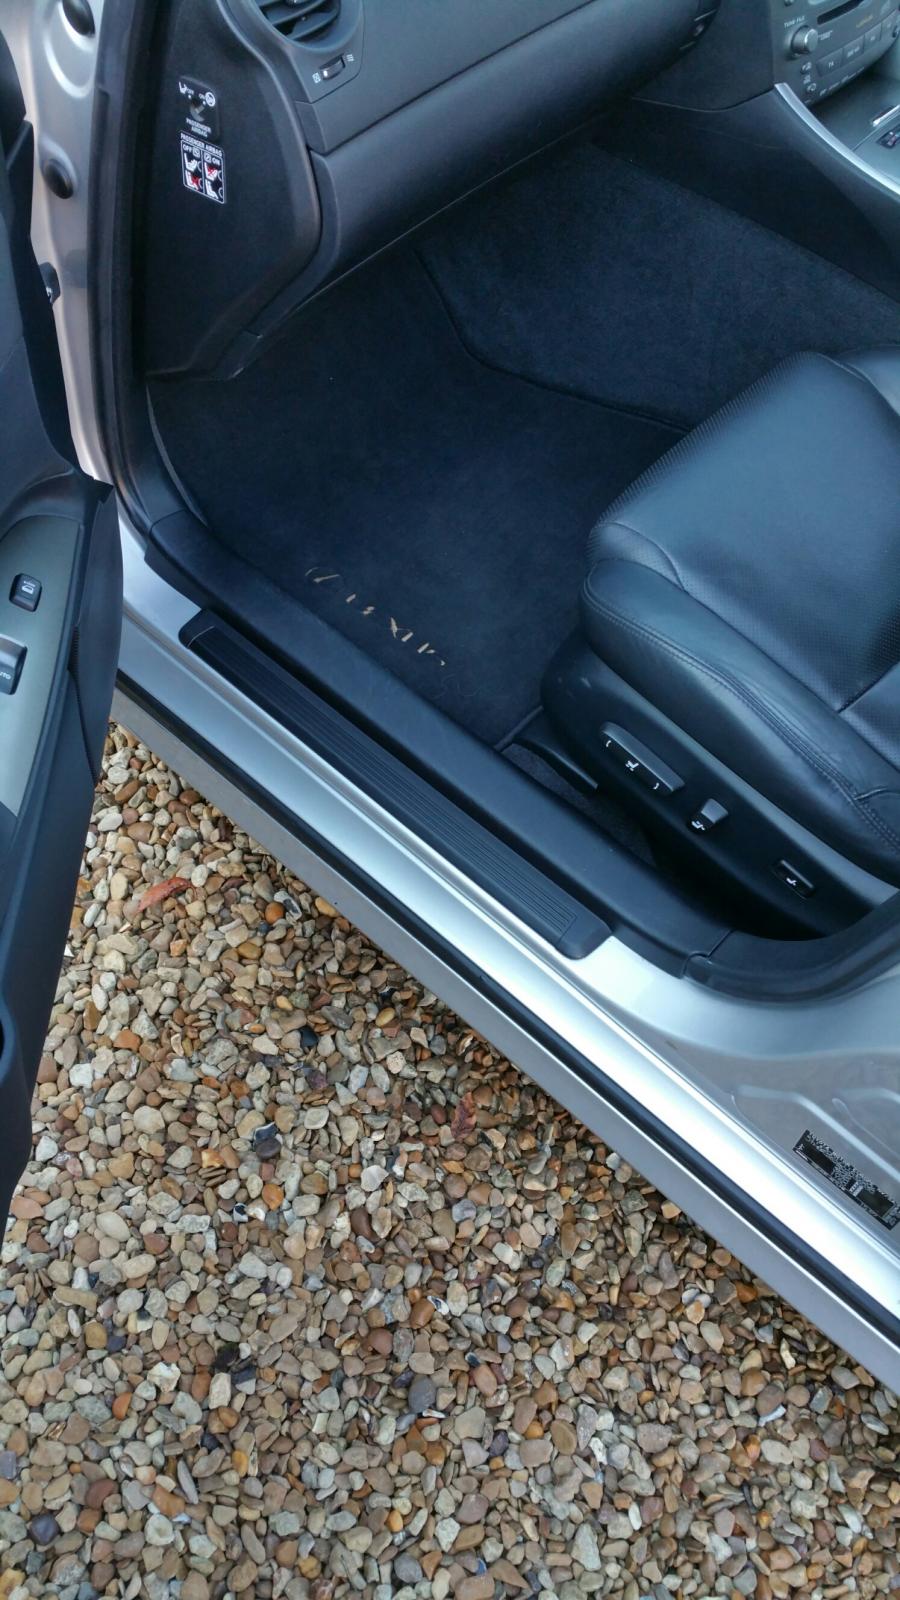
4x Scotch Locks
A Pair of Bull Nose Pliers
A Pair of Snips
Stanley Knife/Craft knife
Step 1:
Remove the existing door sills to reveal the wiring loom underneath ( A bit of brute force pulling straight up will remove the sills)
Step 2:
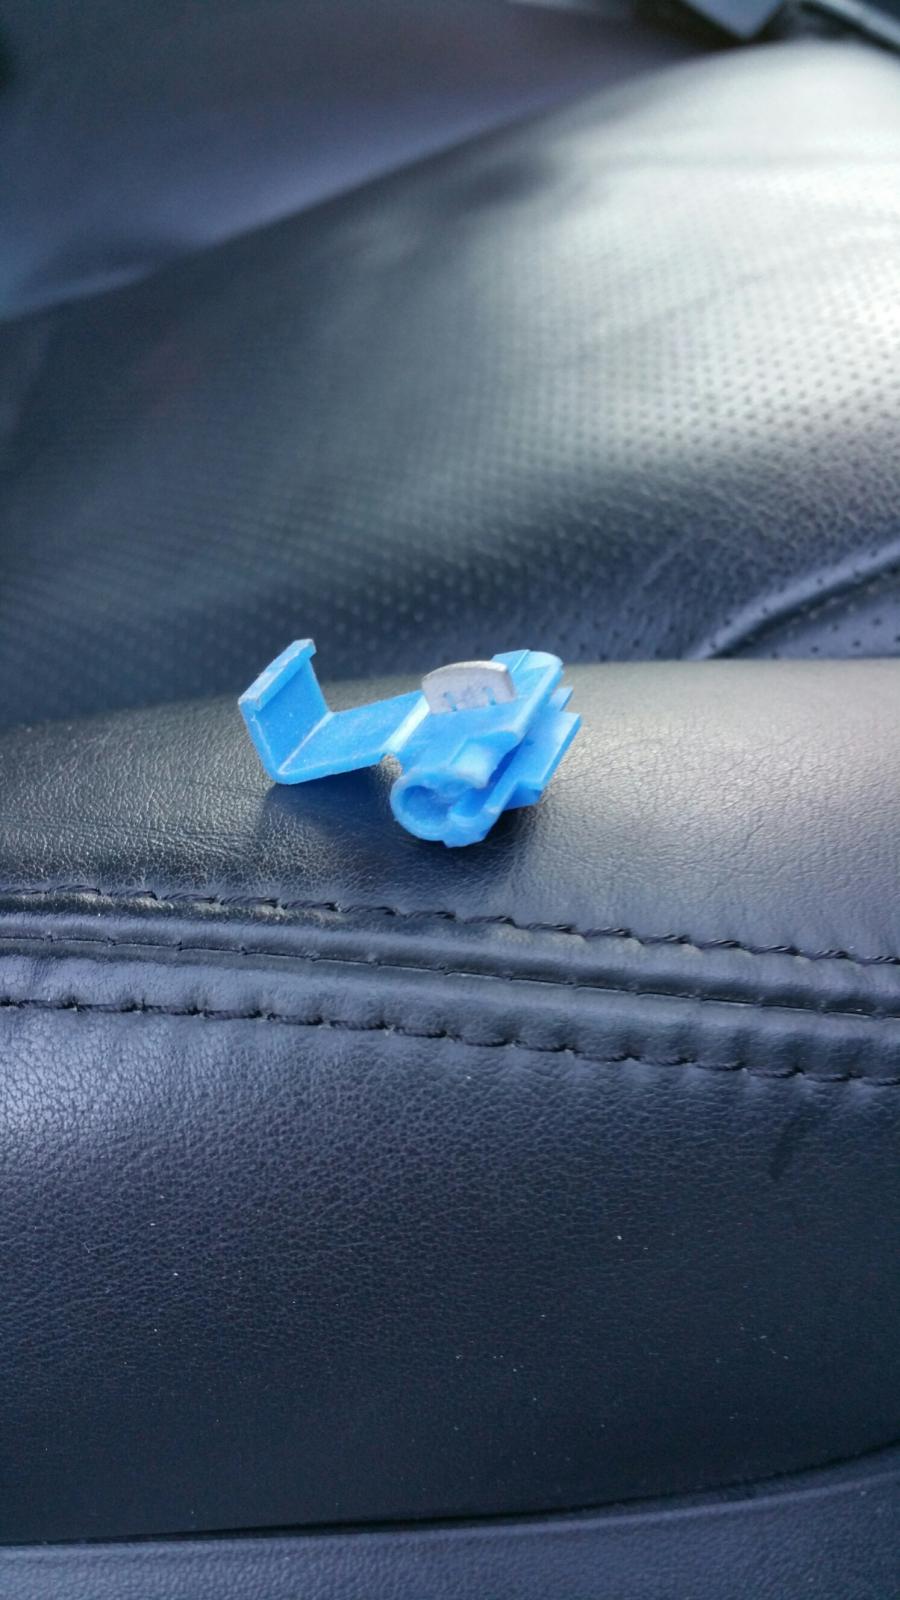
Using a Stanley Knife or Craft knife, carefully cut away the electrical tape that covers the wires that go into the door sill connector (Be particularly careful not to cut into any wires in the loom).
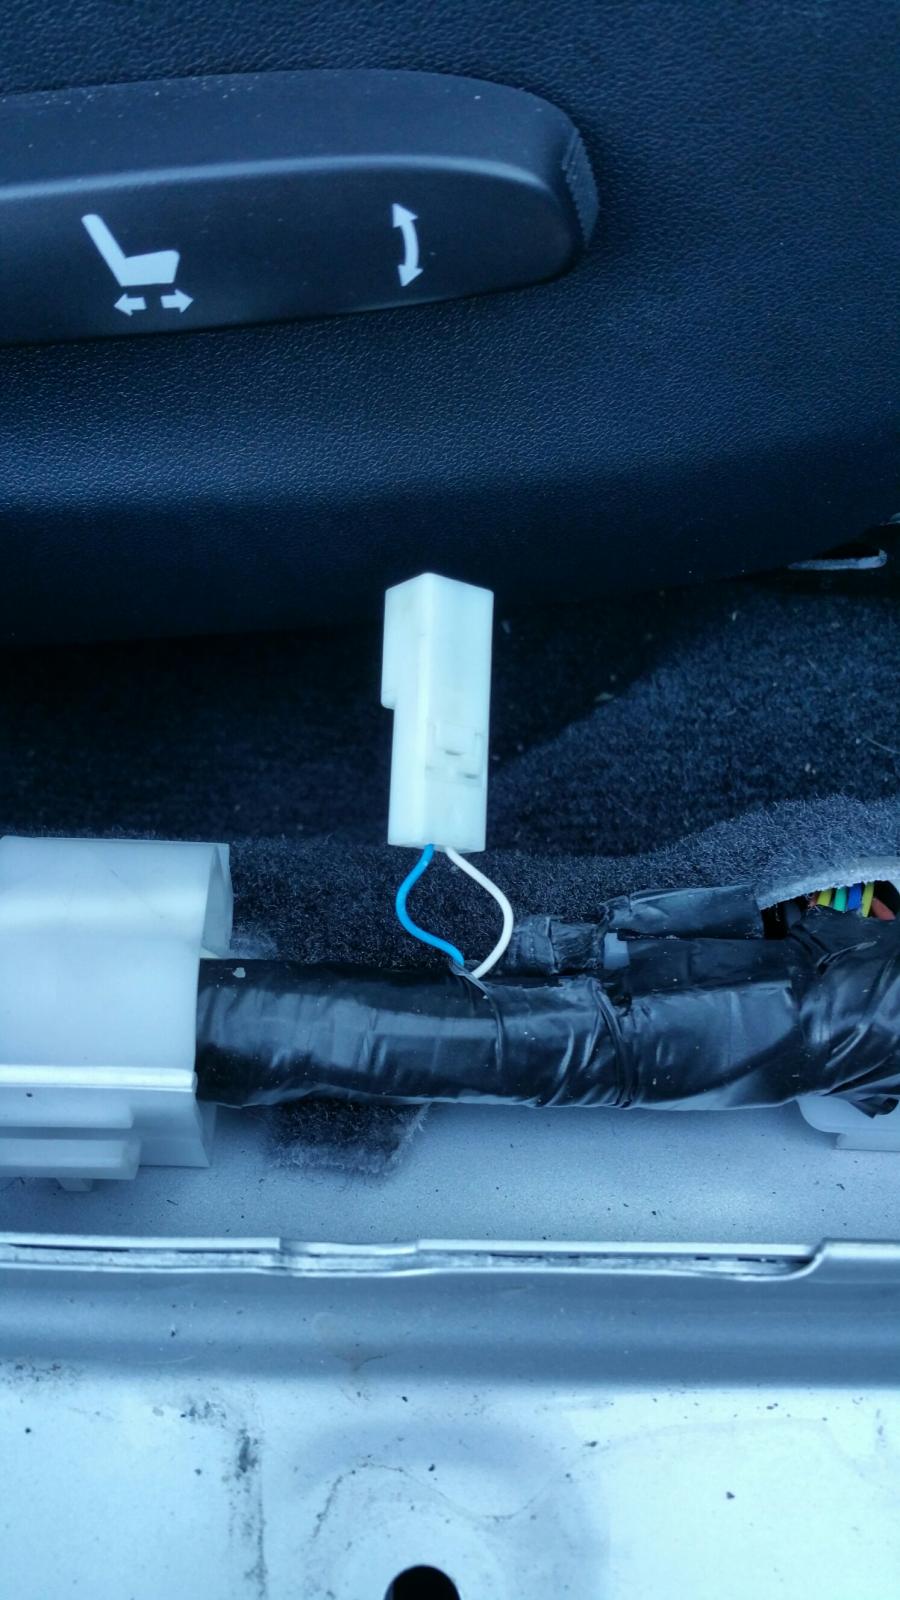
Step 3:
Take your Auto Wire and 1 scotch lock and Scotch lock your auto wire and the White wire going into the Door Sill Connector together (Leave the blue wire as it is).
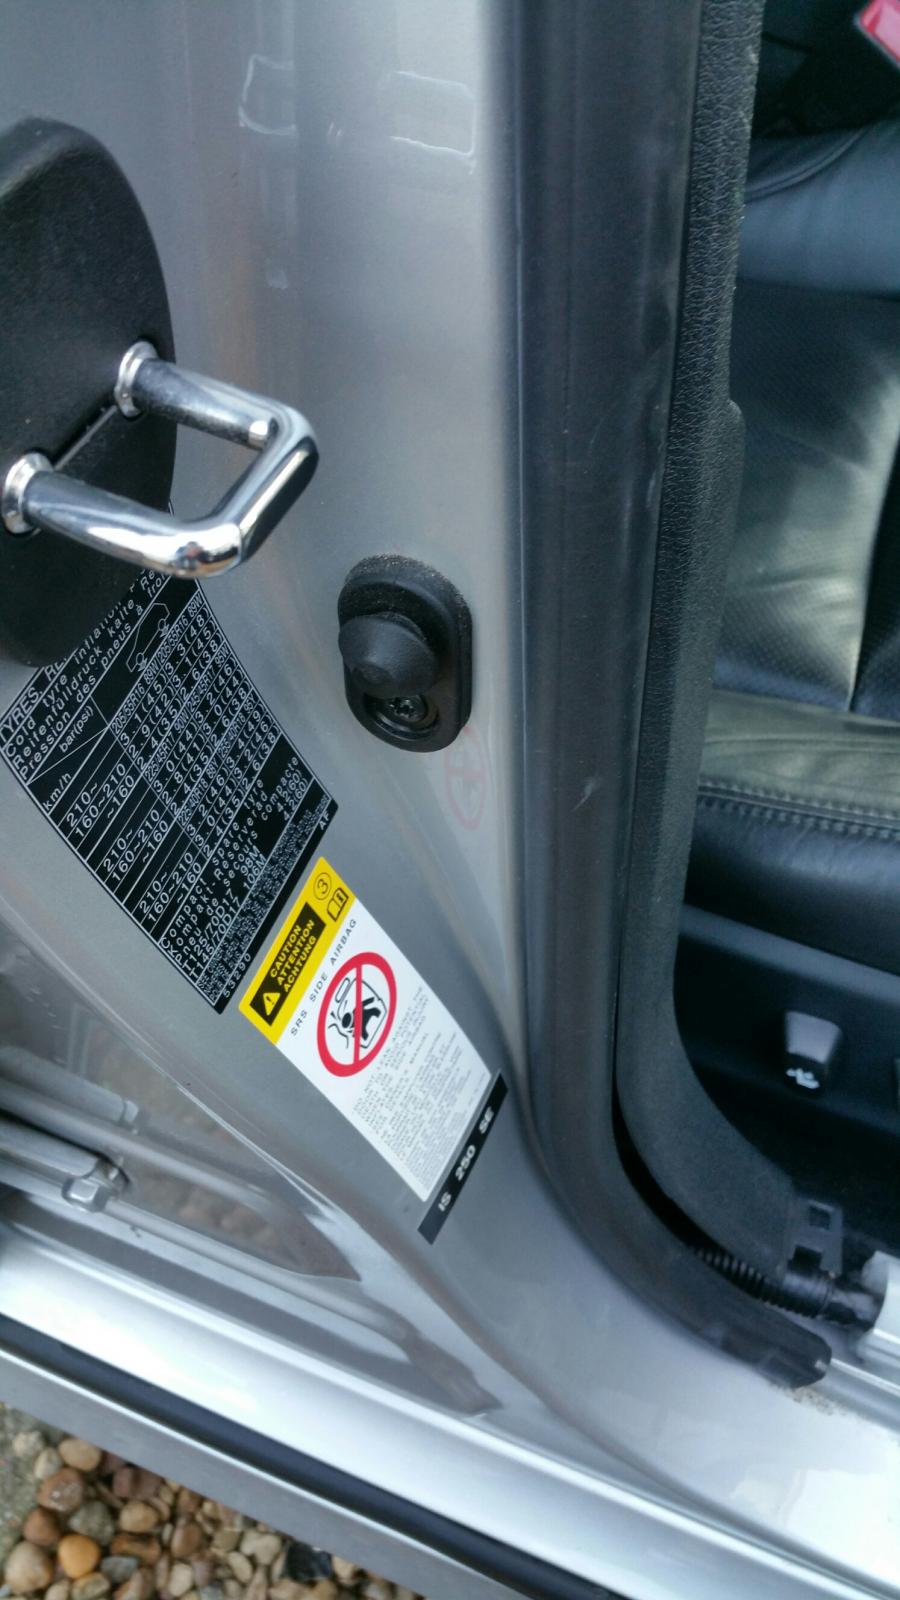
Step 4:
Remove the interior trim that covers the seat belt tensioner system (to aid this process put the seat in the fully back position and the backrest all the way back, and open the rear door. Again some force will release the clips holding the panel on).
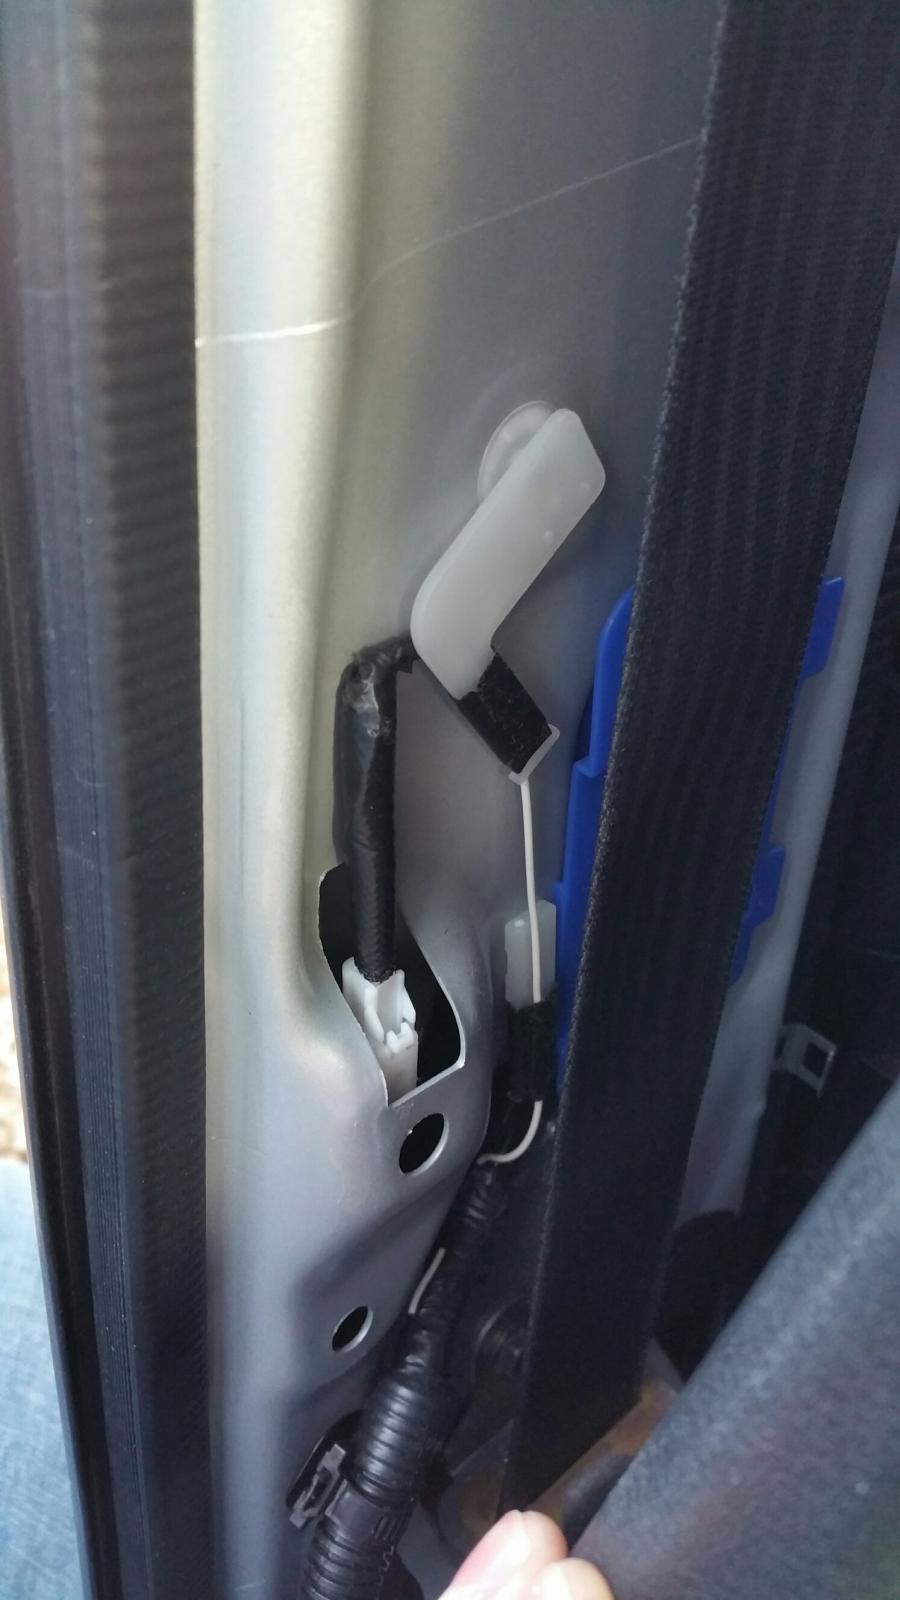
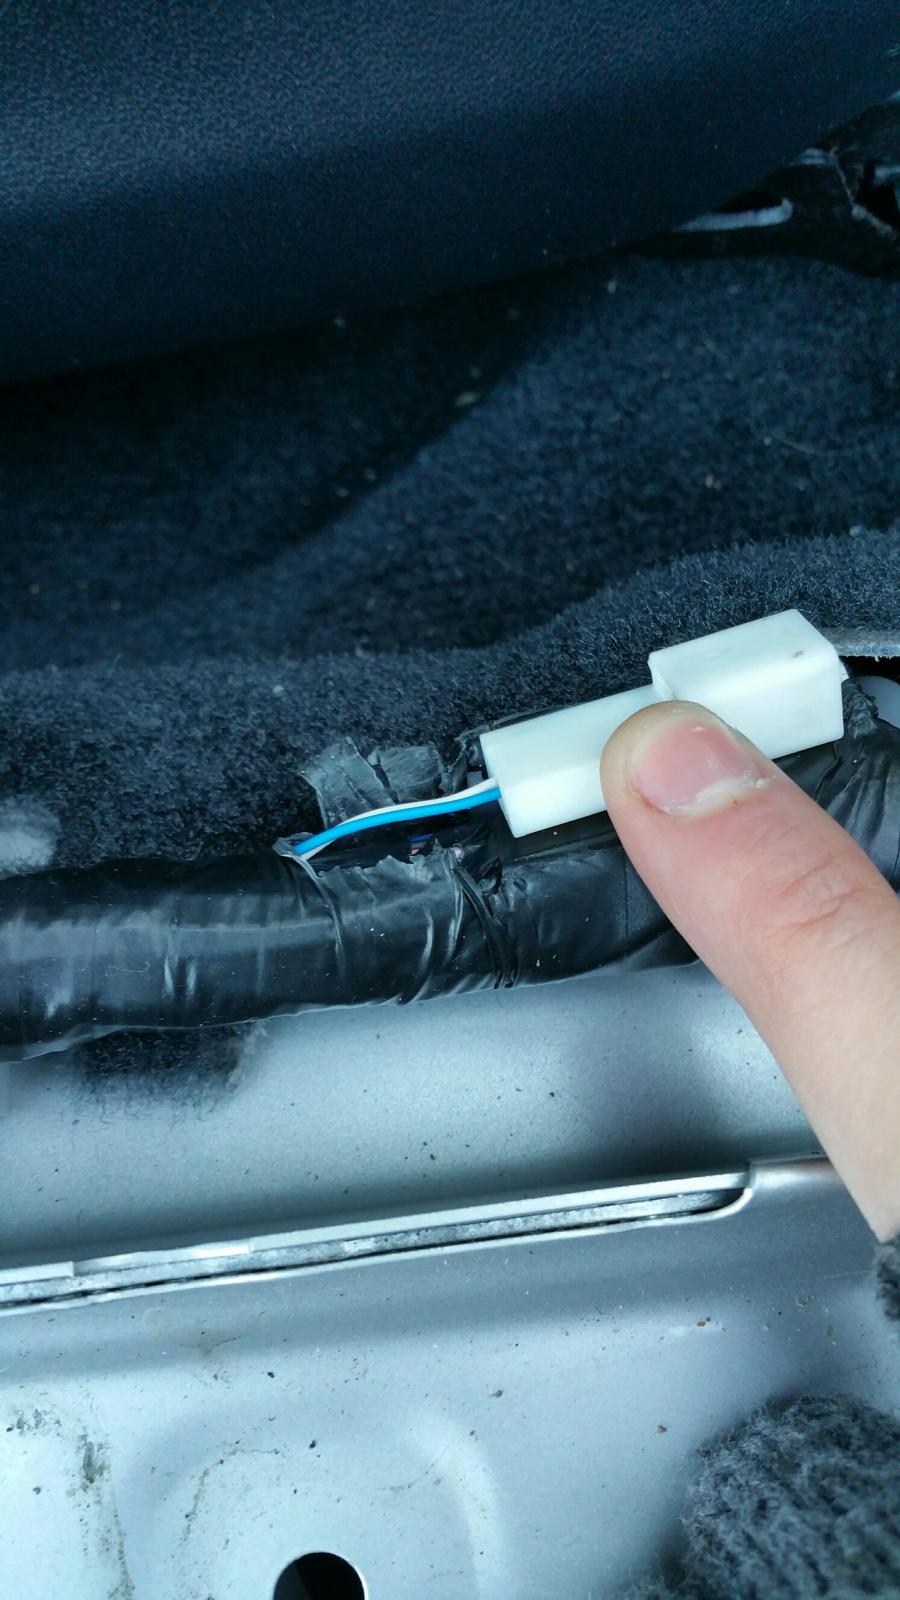
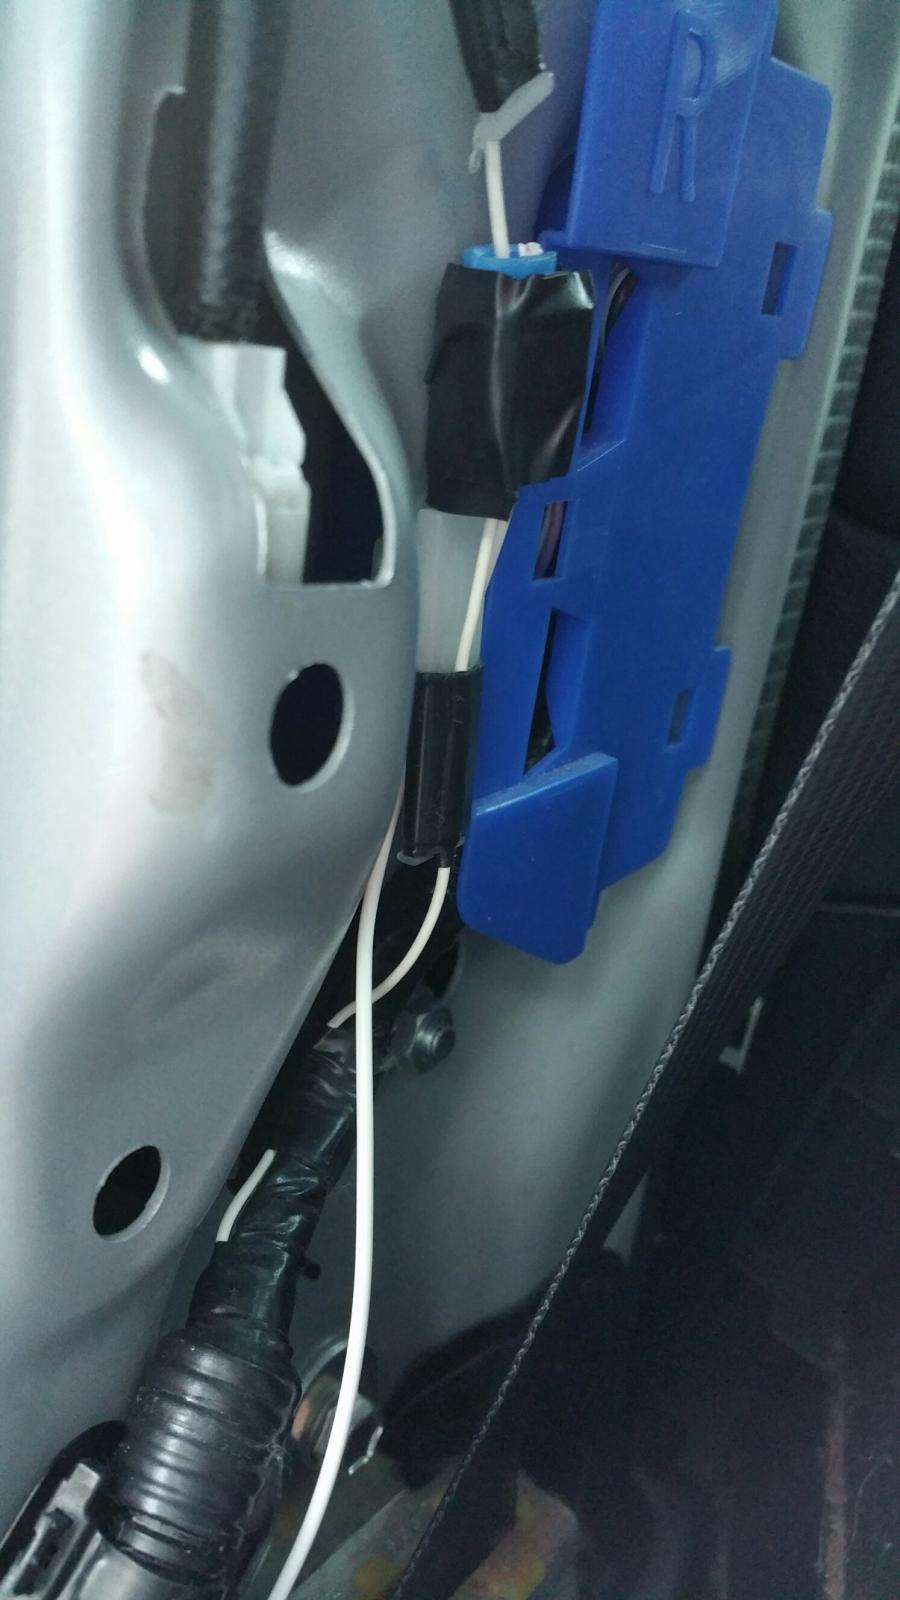
Step 5:
Locate the wire that connects to the Door switch, it sits on the inside of the pillar behind the switch. (A White Wire on the drivers side and Purple on the Passengers side, shown in the image above).
Step 6:
Trace your auto wire around the current loom to reach the Door Switch wire behind the seat belt panel. (when doing this ensure that your auto wire cannot rub on the seat belt as it moves back and forth during use).
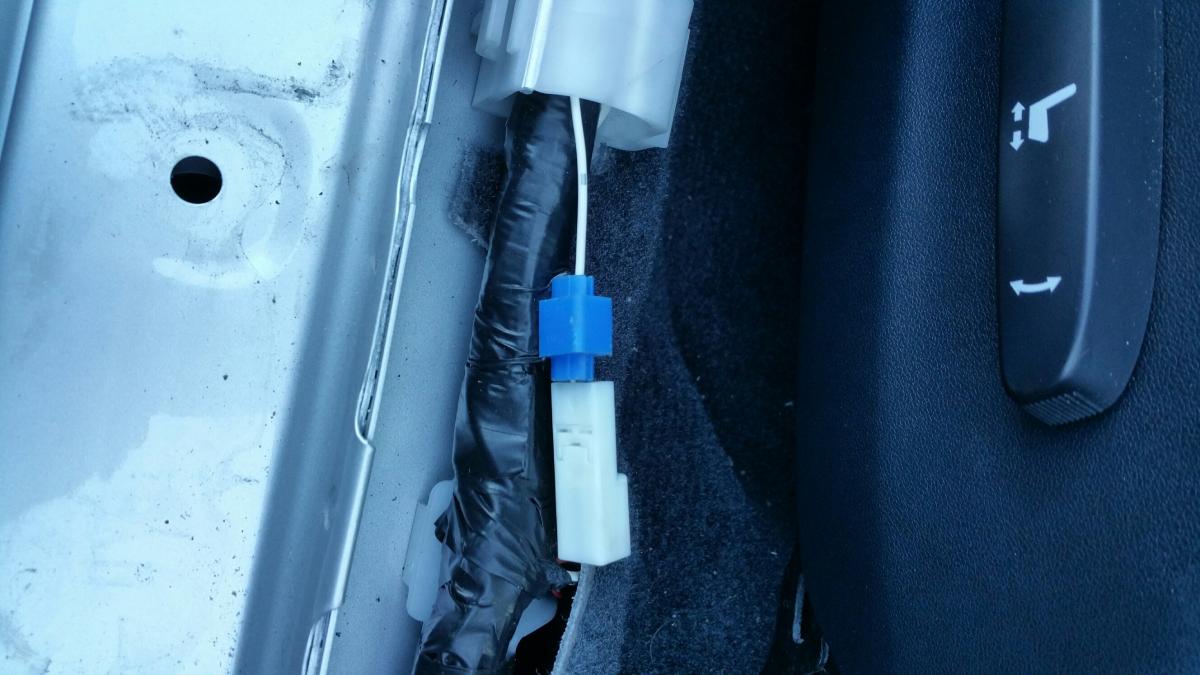
Step 7:
Take a Scotch lock and scotch lock the Door Switch wire and auto wire together (Ensure you don't short out the wire on the vehicle's body work while using metal tools. I also wrapped some electrical tape around the scotch lock to ensure nothing metal would contact the bodywork in the future).
Step 8:
Plug in your illuminated door sills to ensure they are working correctly, when you push the Door switch the Sills should shut off and then light up when the switch is released. (If your Sills don't light up please check to see if you have your interior light switch set to come on when the doors open).
Step 9:
When you are happy that everything is working correctly, push the interior trim panels back into place. Some pressure on the areas should clip everything back in to place.
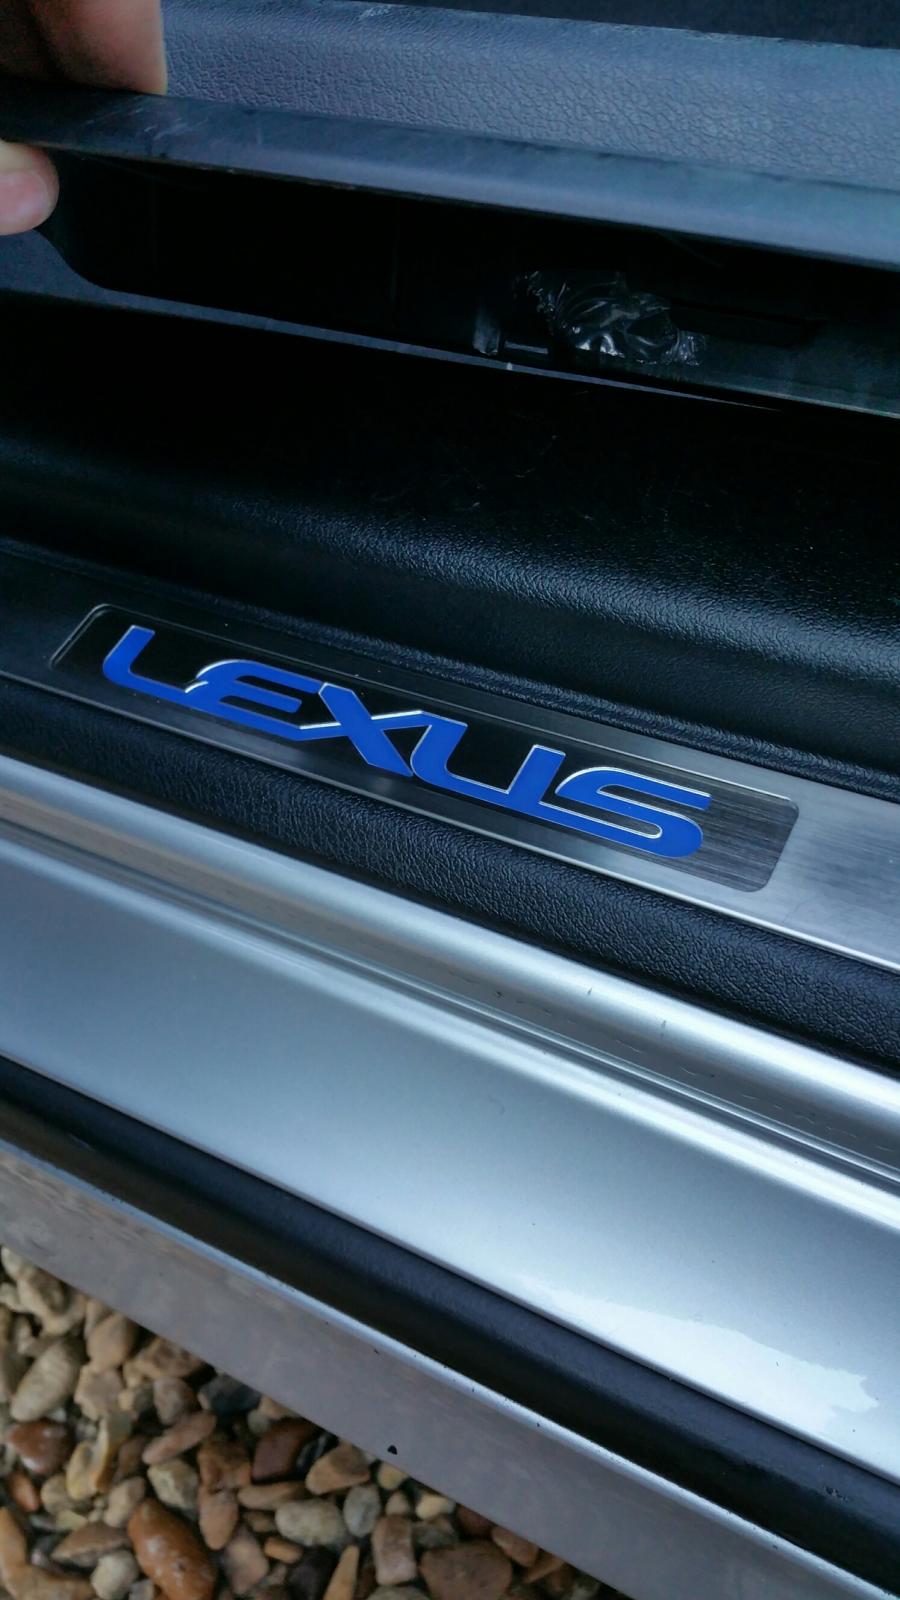
Finished Product.
I hope this guide was helpful, if i've missed anything or you have any questions please post here and I will endeavour to help the best I can.

Recommended Comments
There are no comments to display.
Join the conversation
You can post now and register later. If you have an account, sign in now to post with your account.