

Description
There are many descriptions on the Internet of how to remove the overhead console on Lexus cars but I spent many, many hours trying to find one specifically for a Mk4 GS450h without success. I thought I'd add this in the hope that it might help any other soul who was trying to mount a dash cam or a speed camera detector connected to the wiring in the overhead console.
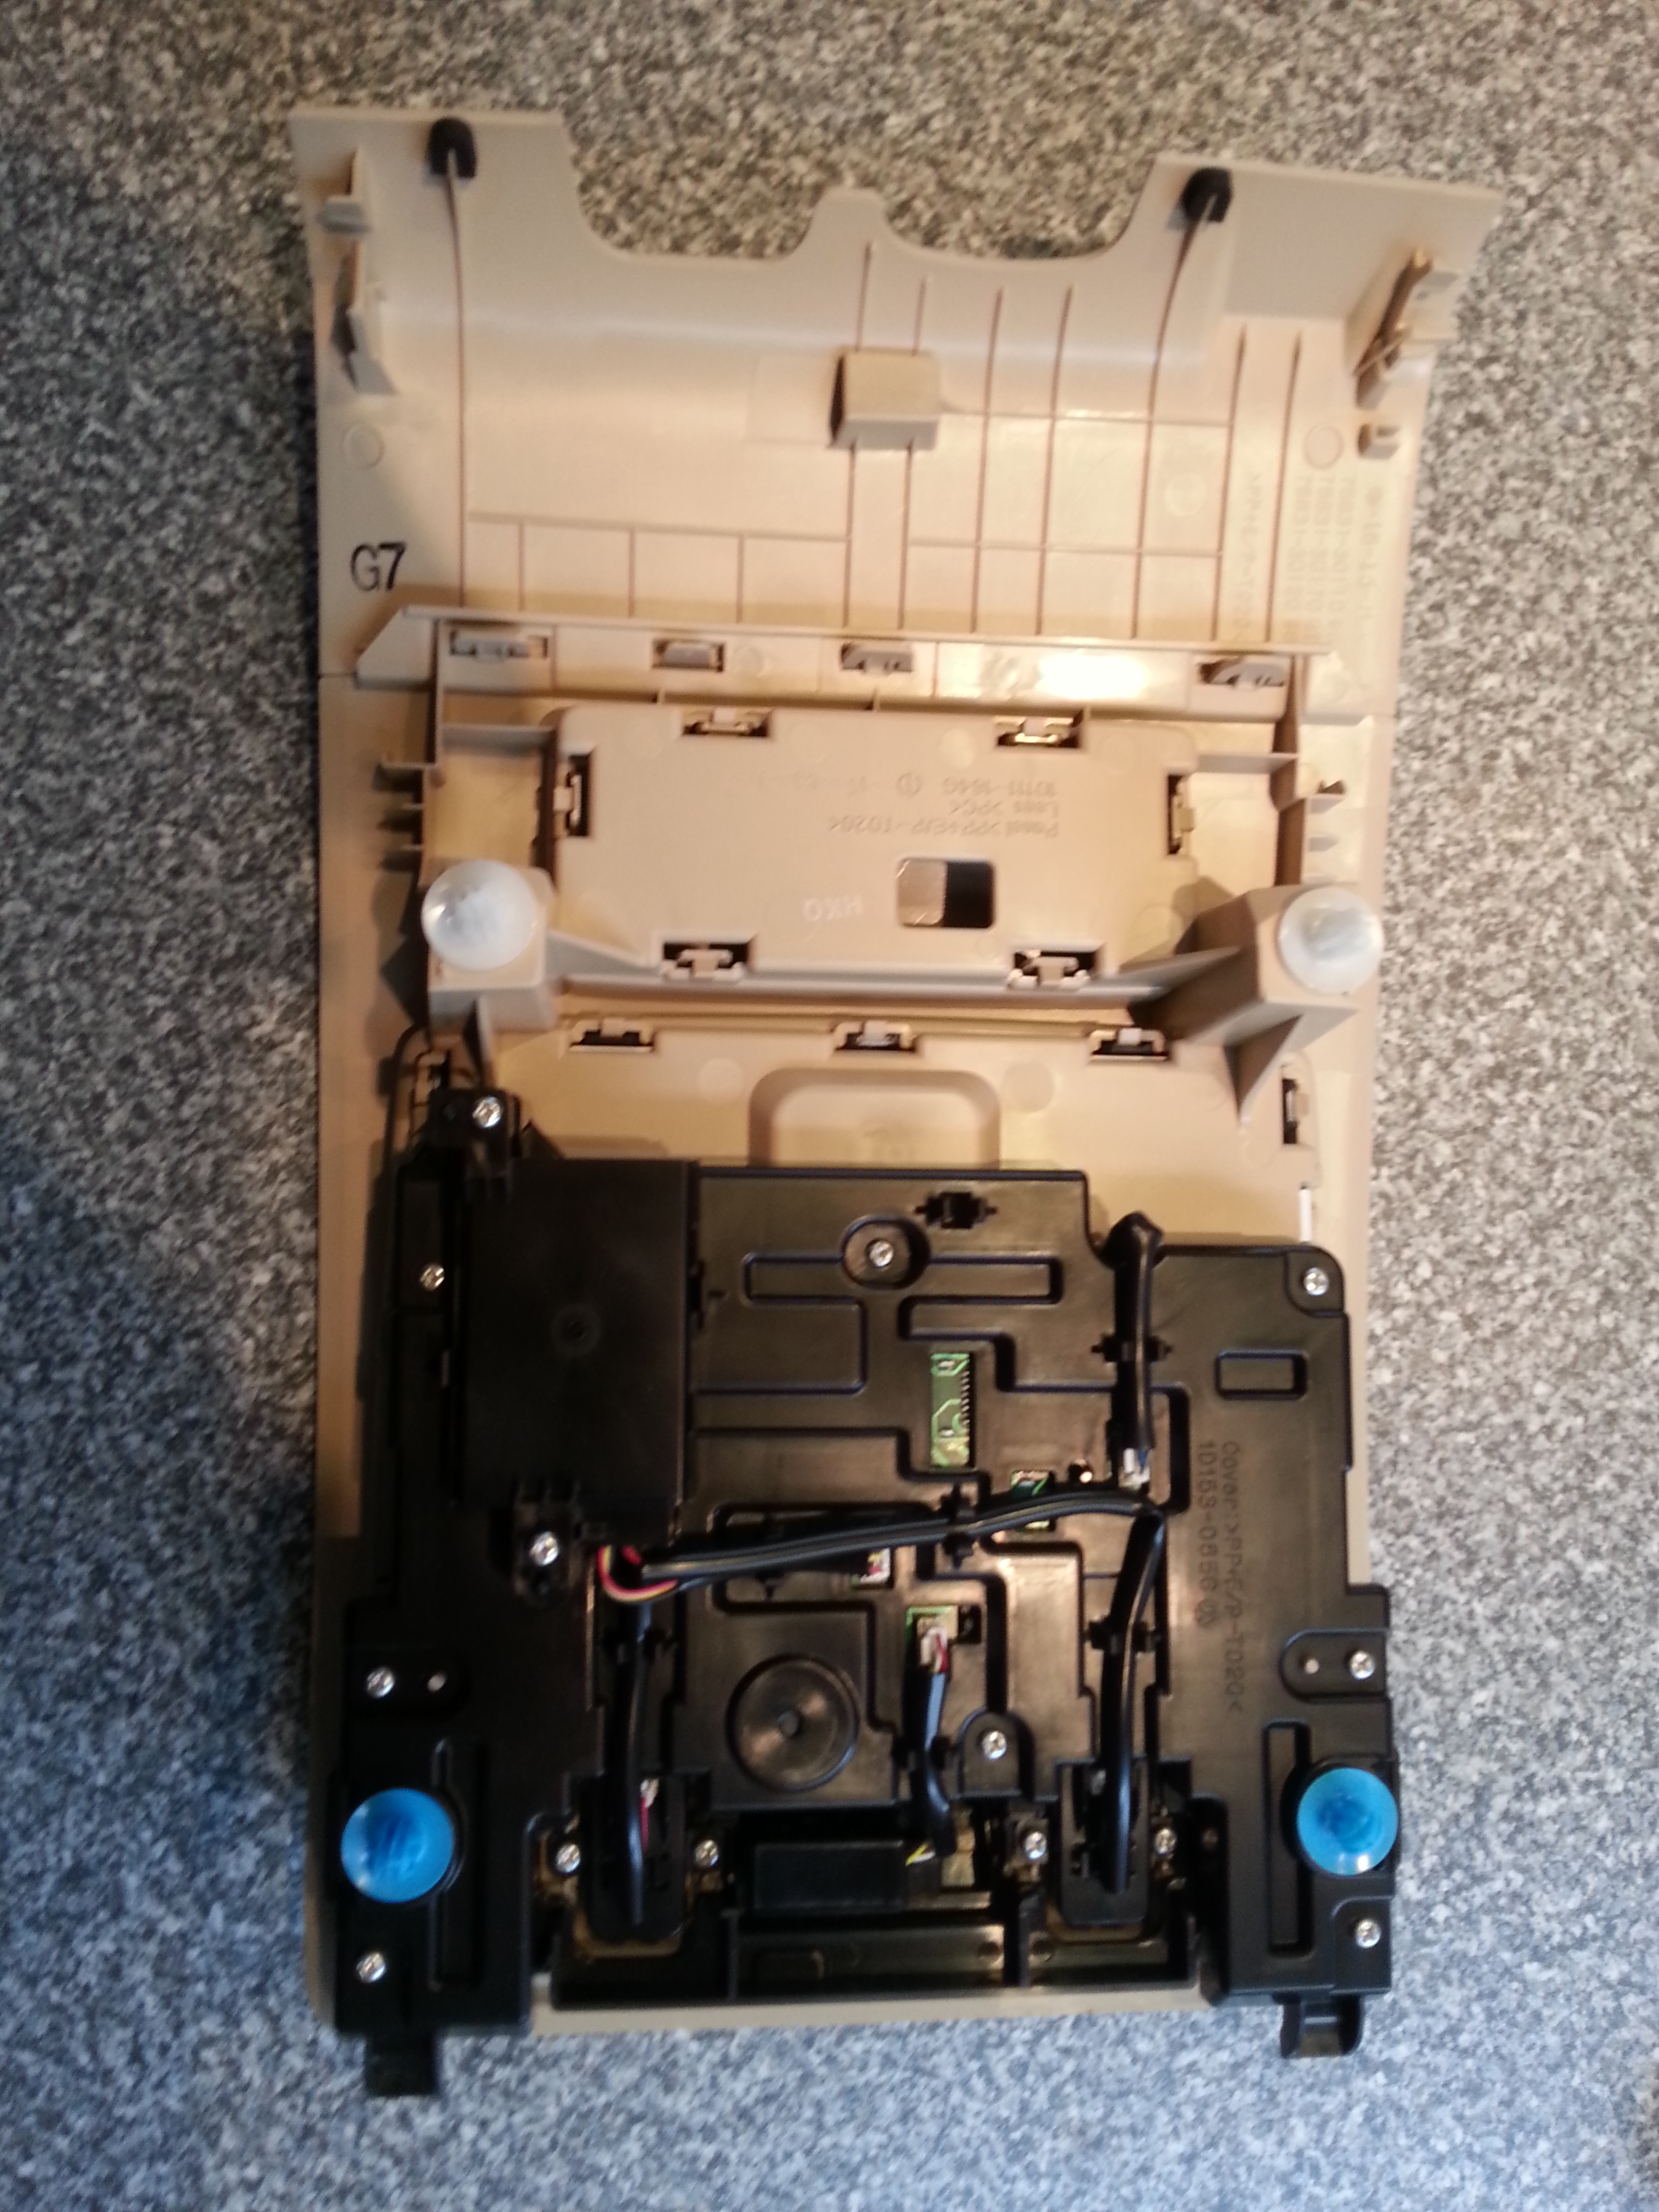
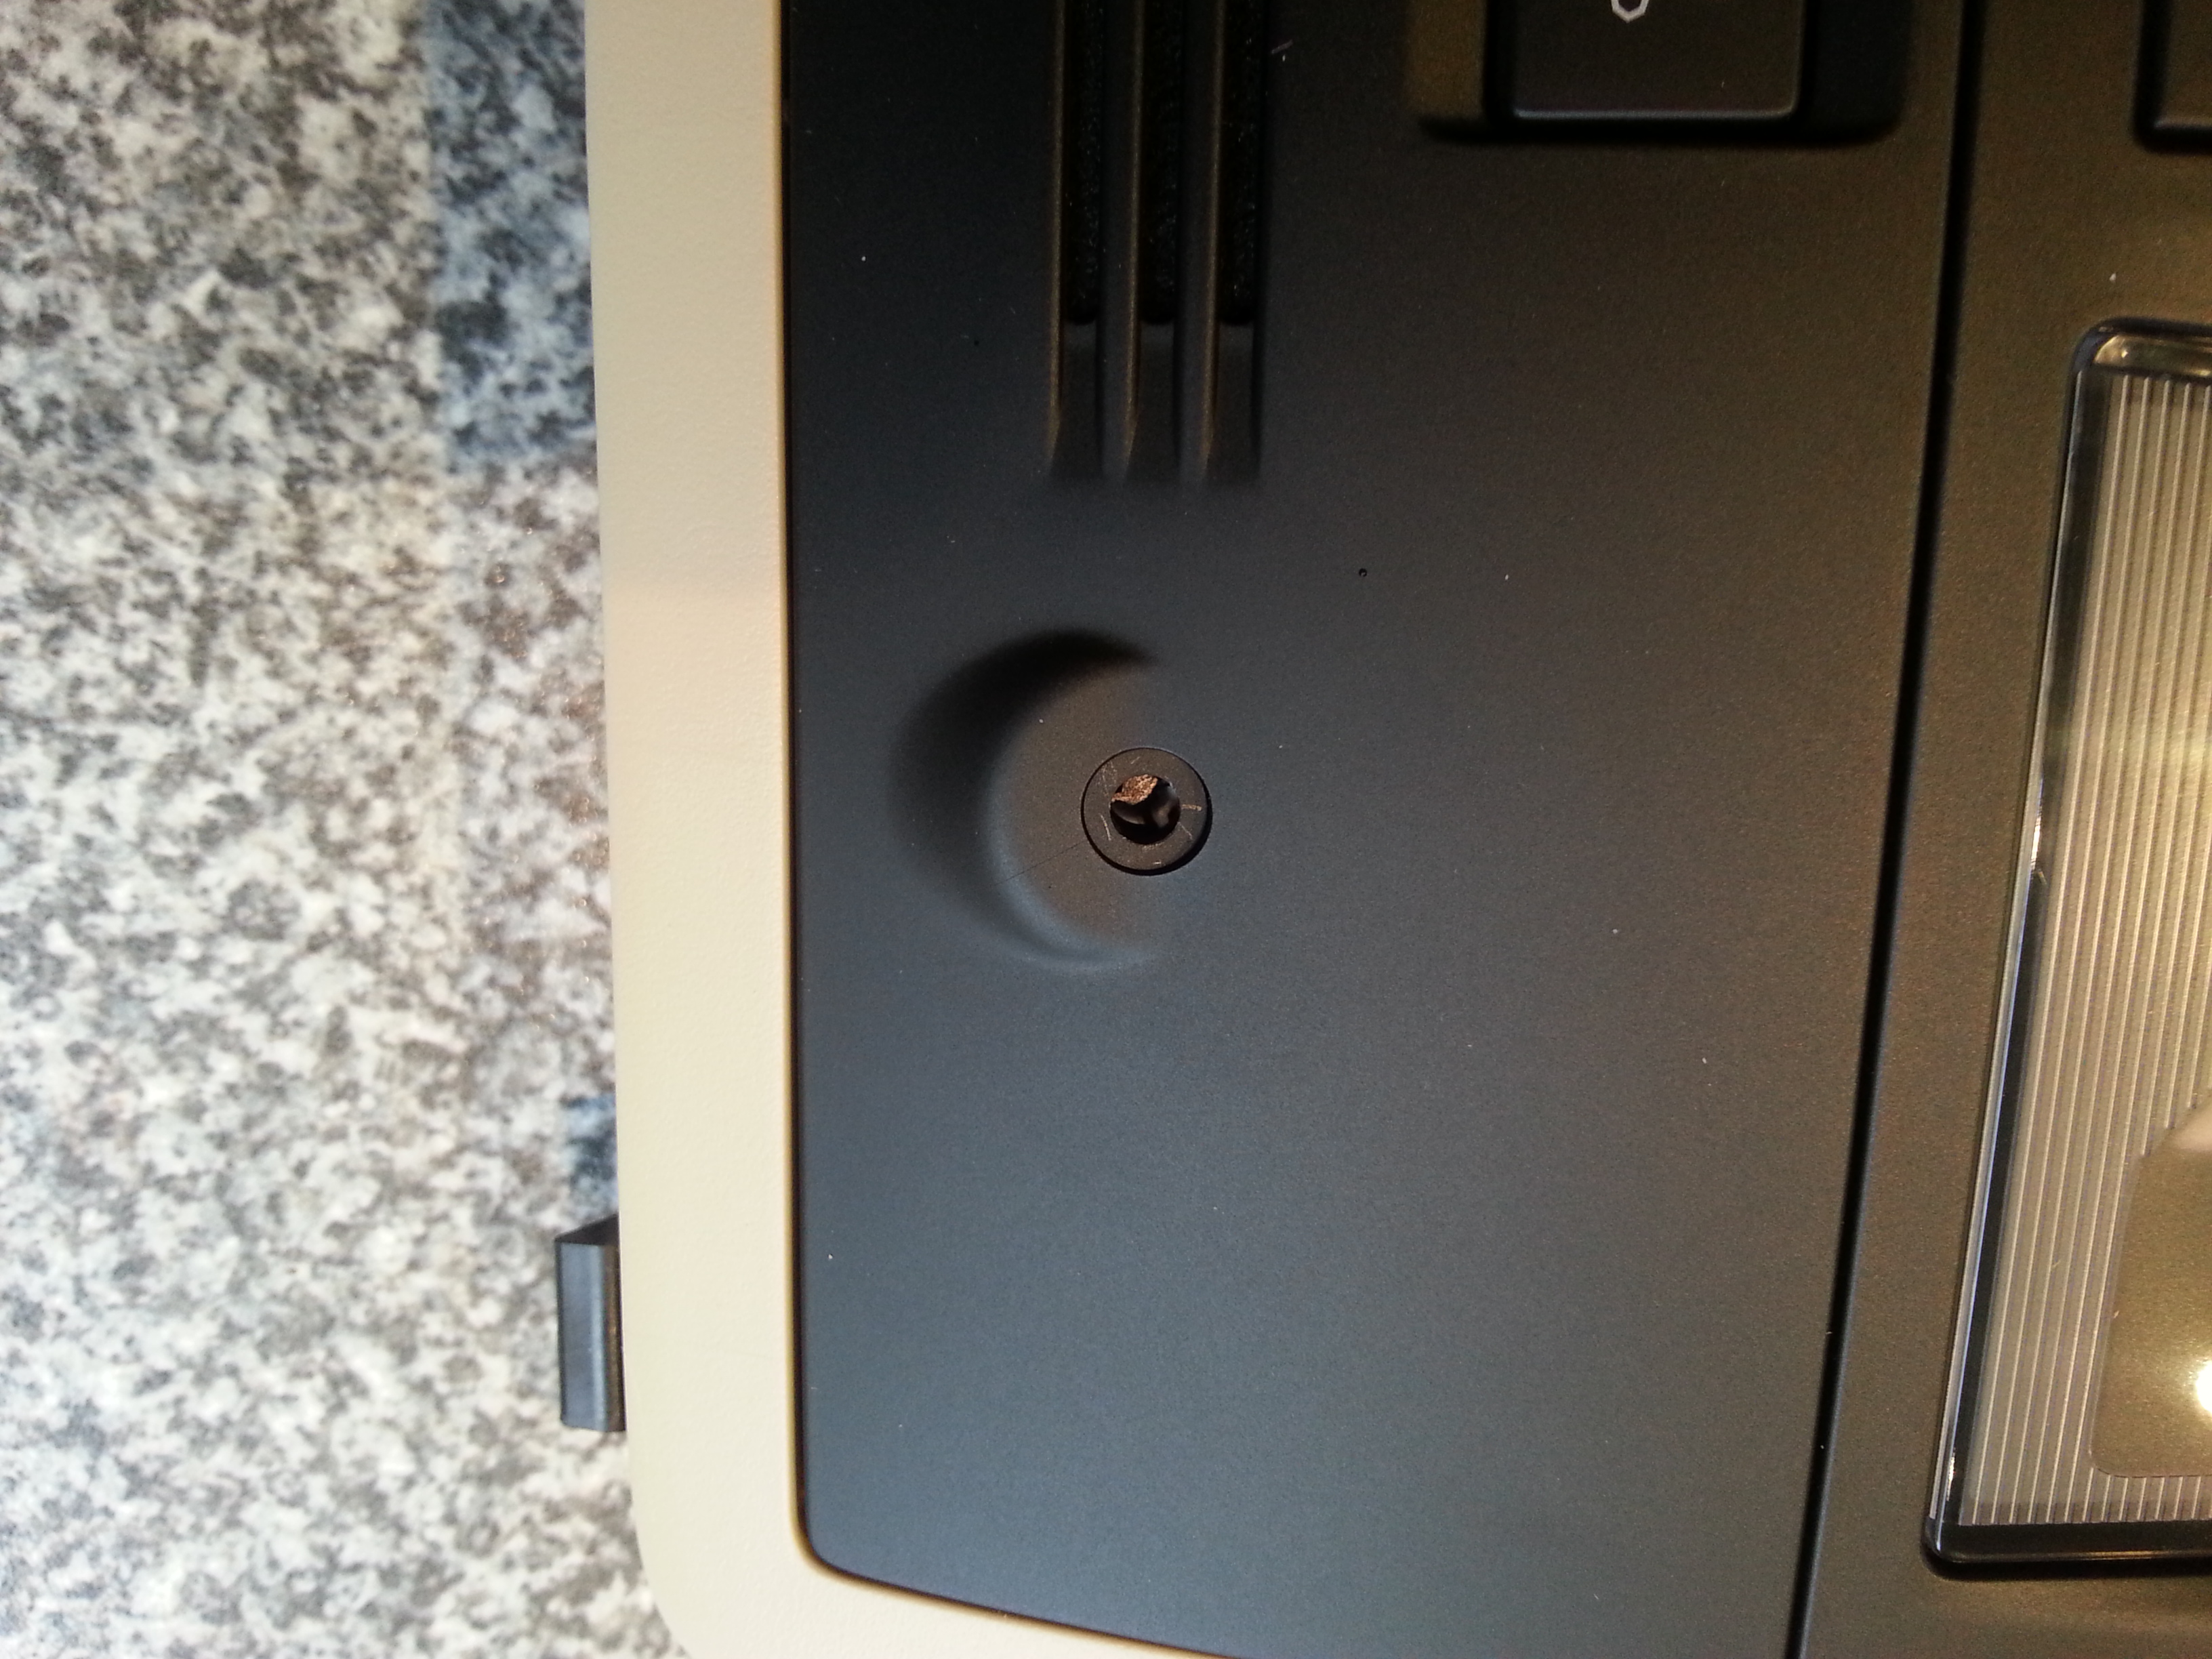
The console is held into position only by clips. there are no screws to undo. The two tiny screws in tiny holes in my unit (see third photo) are for electrical purposes not for fixing. There are tools for removing car trim but I used an old credit card to squeeze in between the joints and spread the force to avoid damage but provide the leverage I needed. I started at the front of the console and worked backwards. The front section is held by different fitments on the left to that on the right so I tried both to see which yielded more easily. Once the front was detached I worked backwards - there are two "poppers" which on mine were white (not that I could see them at that stage) which I pulled free first another two really stiff blue ones at the back in addition to two hooks holding the rear of the unit in place. I just needed to keep levering with the credit card and pulling with my fingers. It was scary and I was sure I was going to cause some damage but when the rear two stiff "poppers" came free (I pulled down and a bit forward to free the clips) there was a loud bang and I thought I'd dented the roof but in fact I didn't damage anything. There is a multi-way plug on each side which needs to be removed to free the console completely.
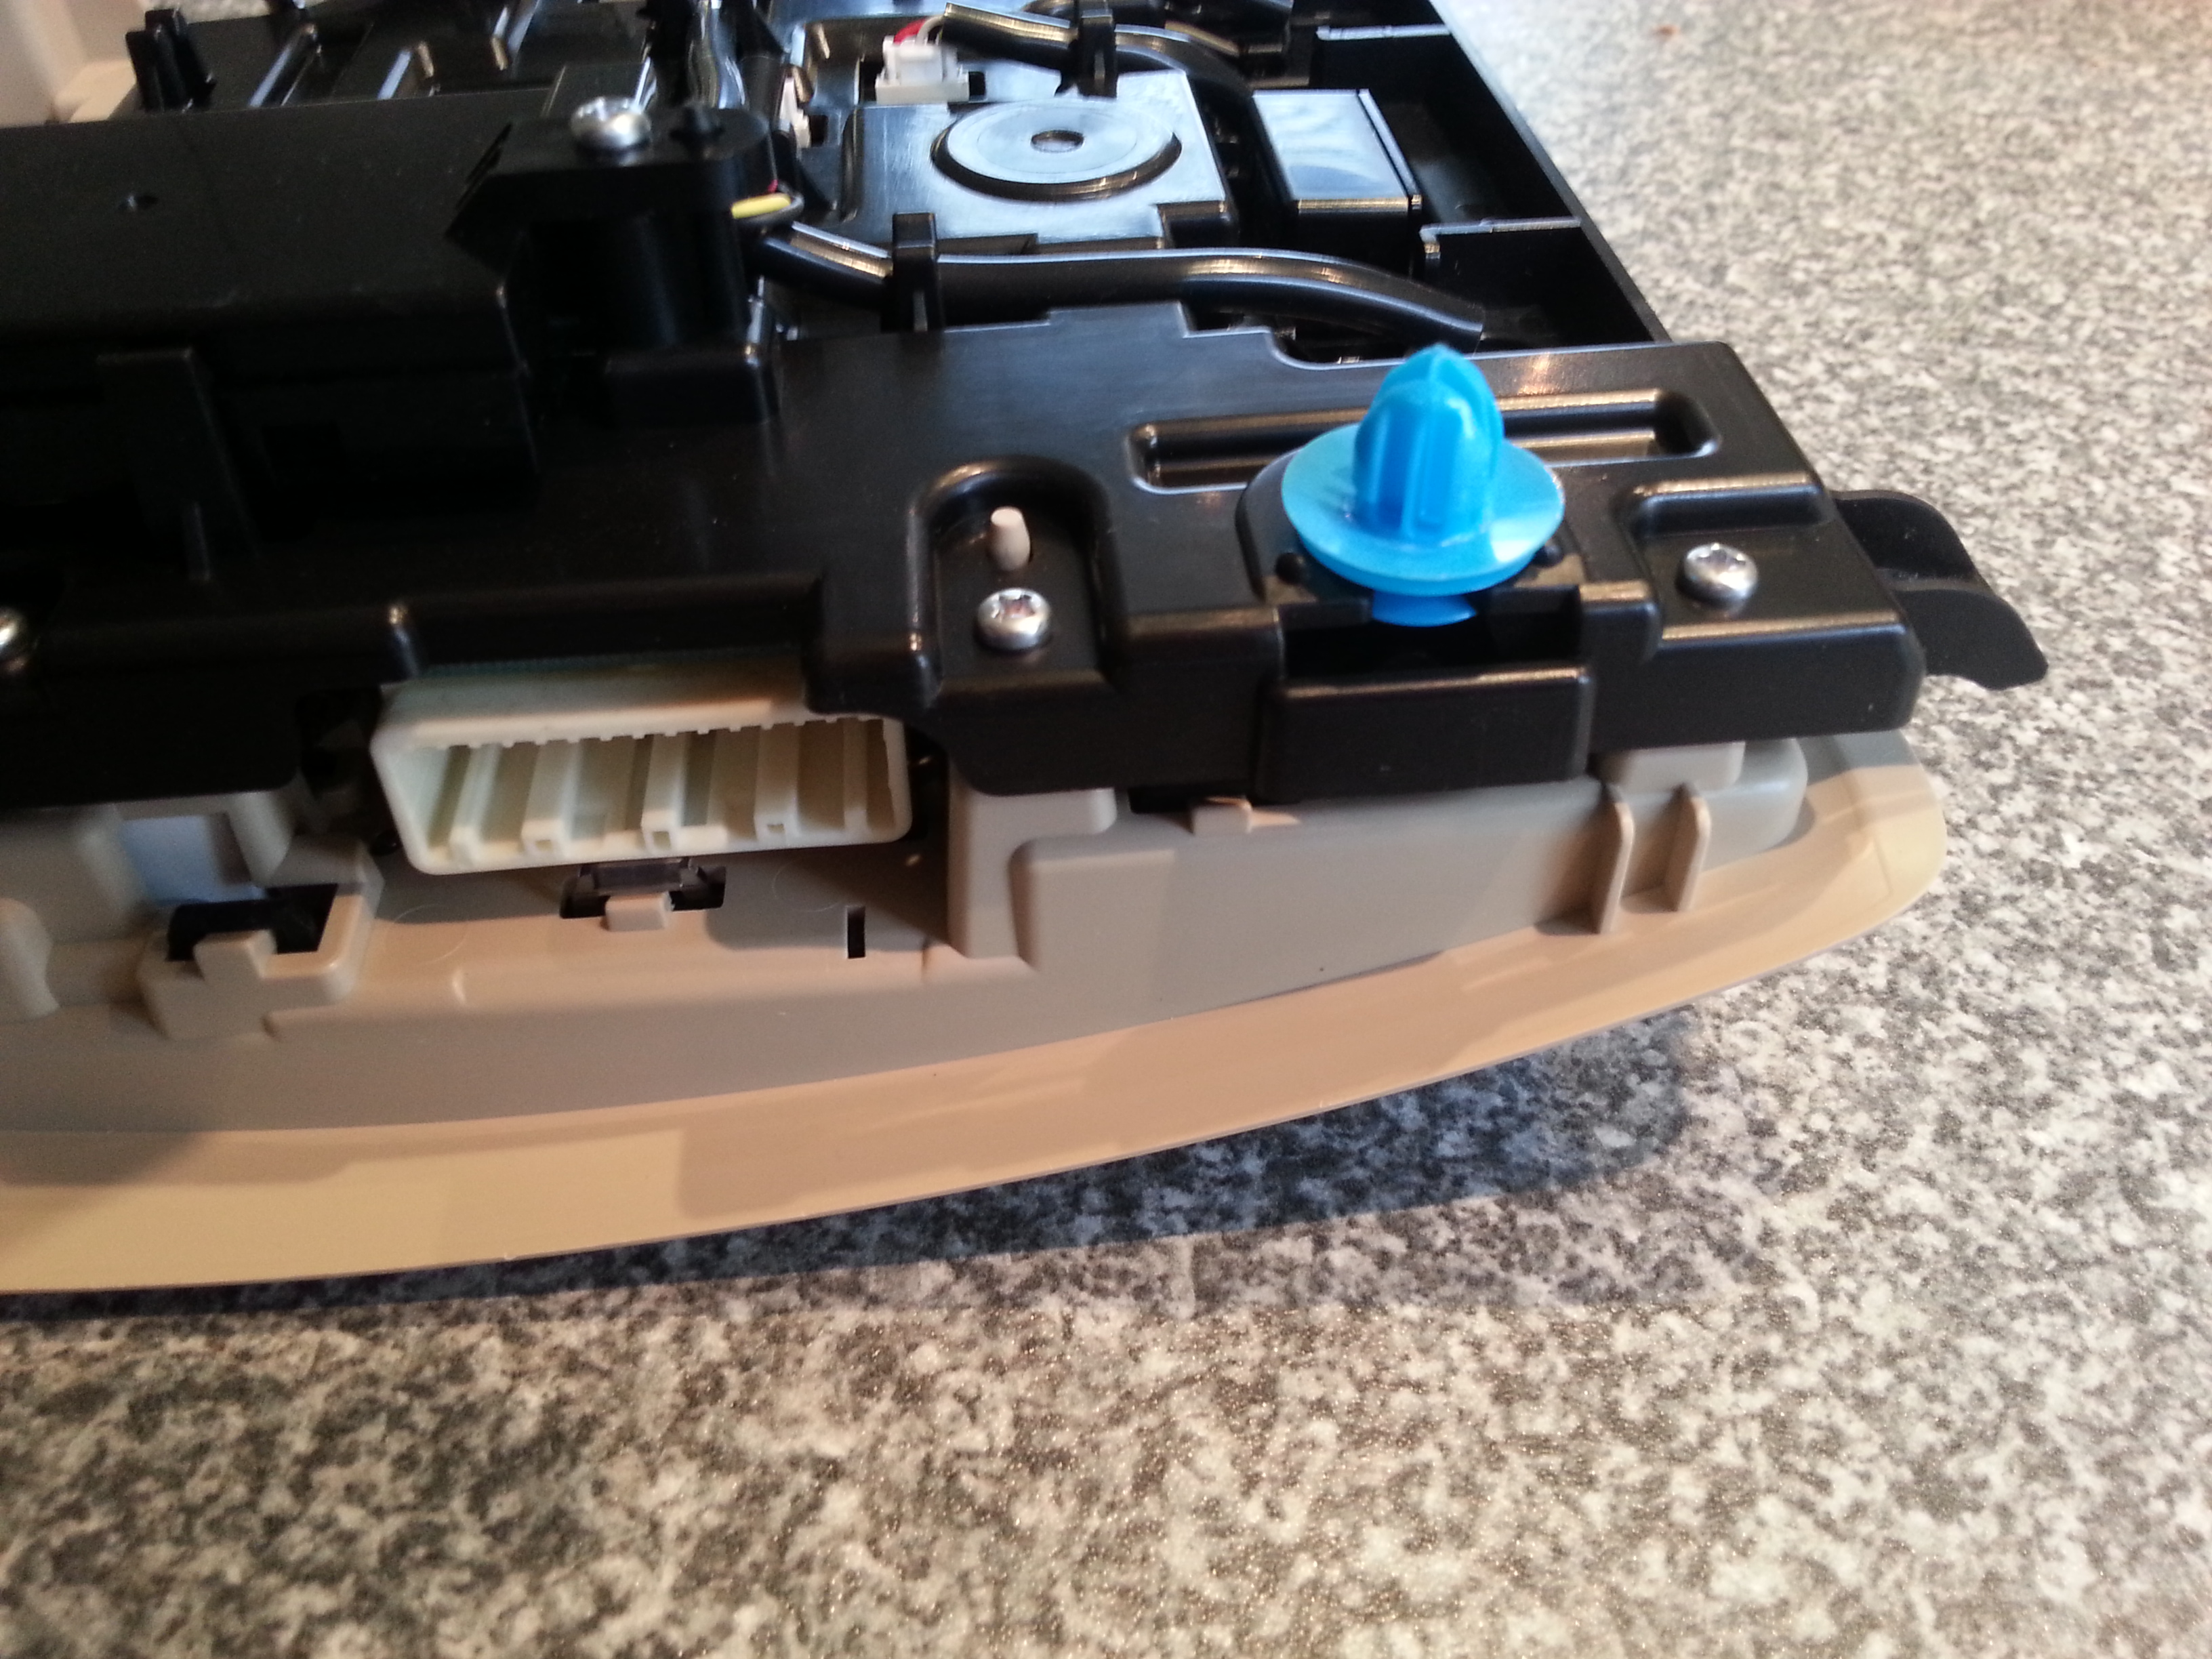
The first image shows the white "poppers" and the really stiff blue ones. Note also in the second photo the black plastic hooks which hold the back of the unit close to the headlining.
I connected my "dash" camera via a 12V to 5V "DC transformer" to the wires for the auto-dimming mirror. I managed to unplug the mirror to find a neutral (white and black on mine) and a live (pale blue on mine) I stripped non adjacent sections of the two wires and soldered on the "transformer" wires insulating with tape as I went, then used a double sided sponge pad to fix the transformer to the metal of the structure which holds the console - there was plenty of space. tidying up the wiring was tricky but I think I did a reasonable job and it shouldn't rattle.
I found that to reassemble it was best to remove the front section from the main console. Look at the top of the first photo to see where it is joined. I used a small screwdriver to free the three clips The fourth bit that looks like a clip is actually just a locating tab. I then fitted the console, minus the front section, from the back working forwards pushing the plugs firmly in with a thump of my hand. The clips on the left and right of the front of the forward section are different. I found it best to locate the right (driver's side on my UK model) first because there is a pointed tab which needs to be located to hold the front firmly up to the headlining then I pushed in the left side and the three clips holding the two parts of the console together.
If you are doing this job I hope my experience helps you. I take no responsibility for any damage you do or for the accuracy of what I have written despite trying hard to do a good job.
Extra Fields
General
-
Time Taken?
Ages. I put off doing it because I was scared of doing damage.
-
Tools Used?
Credit card, screwdrivers.
-
List Parts Used?
Camera, 12V to 5V DC converter
-
Costs?
Couple of quid for the converter, My camera cost about £60
-
Difficulty Level? 1-5
3

Recommended Comments
Join the conversation
You can post now and register later. If you have an account, sign in now to post with your account.