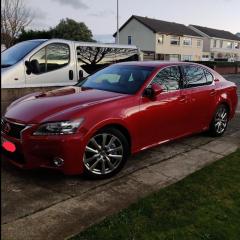
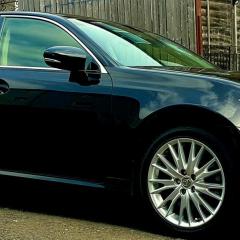
Headlight change

-
Topics
-
Our picks
-

Lexus opens pre-sales for the all-new LBX compact crossover
Lexus Owners Club posted an article in Lexus News Articles,
Lexus has opened pre-sales for the all-new LBX, just eight weeks after the “breakthrough crossover” made its world debut
Picked By
Lexus Owners Club, -
-

All-new Lexus LBX embarks on UK debut tour
Lexus Owners Club posted an article in Lexus News Articles,
The all-new Lexus LBX is appearing for the first time in the UK on a month-long tour of city centre locations and prestige visitor attractions

Picked By
Lexus Owners Club, -
-

Increased range, new features for the all-electric Lexus UX 300e
Lexus Owners Club posted an article in Lexus News Articles,
Wide-ranging upgrades have strengthened the appeal of the Lexus UX 300e, the urban crossover launched three years ago as Lexus’s first all-electric model. These revisions enable the UX 300e to go further between charges; raise the cabin’s aesthetic appeal, comfort, and convenience; and make the car – Lexus’s “Creative Urban Explorer” – even more enjoyable to drive
Picked By
Lexus Owners Club, -
-

World premiere of the all-new Lexus LBX
Lexus Owners Club posted an article in Lexus News Articles,
Lexus has a proud history of pushing boundaries and challenging the status quo. Since its founding in 1989, it has repeatedly pioneered new thinking and new products that have changed people’s perceptions and reshaped the luxury car market. It has constantly evolved the concept of what luxury means, not just by creating desirable and exciting products, but also by redefining the complete ownership experience.
Picked By
Lexus Owners Club, -
-

Lexus LC Ultimate Edition: the last word in exclusivity
Lexus Owners Club posted an article in Lexus News Articles,
In 2012, Lexus caused a sensation with the unveiling of its LF-LC concept at the Detroit motor show, its vision for a radical new flagship coupe. Four years later, the concept became reality with an almost unchanged design for the production-ready LC. Now that model’s award-winning history reaches its pinnacle with the new LC 500 Ultimate Edition
Picked By
Lexus Owners Club, -
-
×
- Create New...


Recommended Posts
Lexus Official Store
Sponsored Ad
Name: eBay
Lexus Model: Lexus Store
Lexus Year: 2024
Latest Deals
Lexus Official Store for genuine Lexus parts & accessoriesDisclaimer: As the club is an eBay Partner, The club may be compensated if you make a purchase via eBay links
Join the conversation
You can post now and register later. If you have an account, sign in now to post with your account.