seecarr11
-
Posts
132 -
Joined
-
Last visited
Content Type
Profiles
Forums
Events
Store
Gallery
Tutorials
Lexus Owners Club
Gold Membership Discounts
Lexus Owners Club Video
News & Articles
Everything posted by seecarr11
-
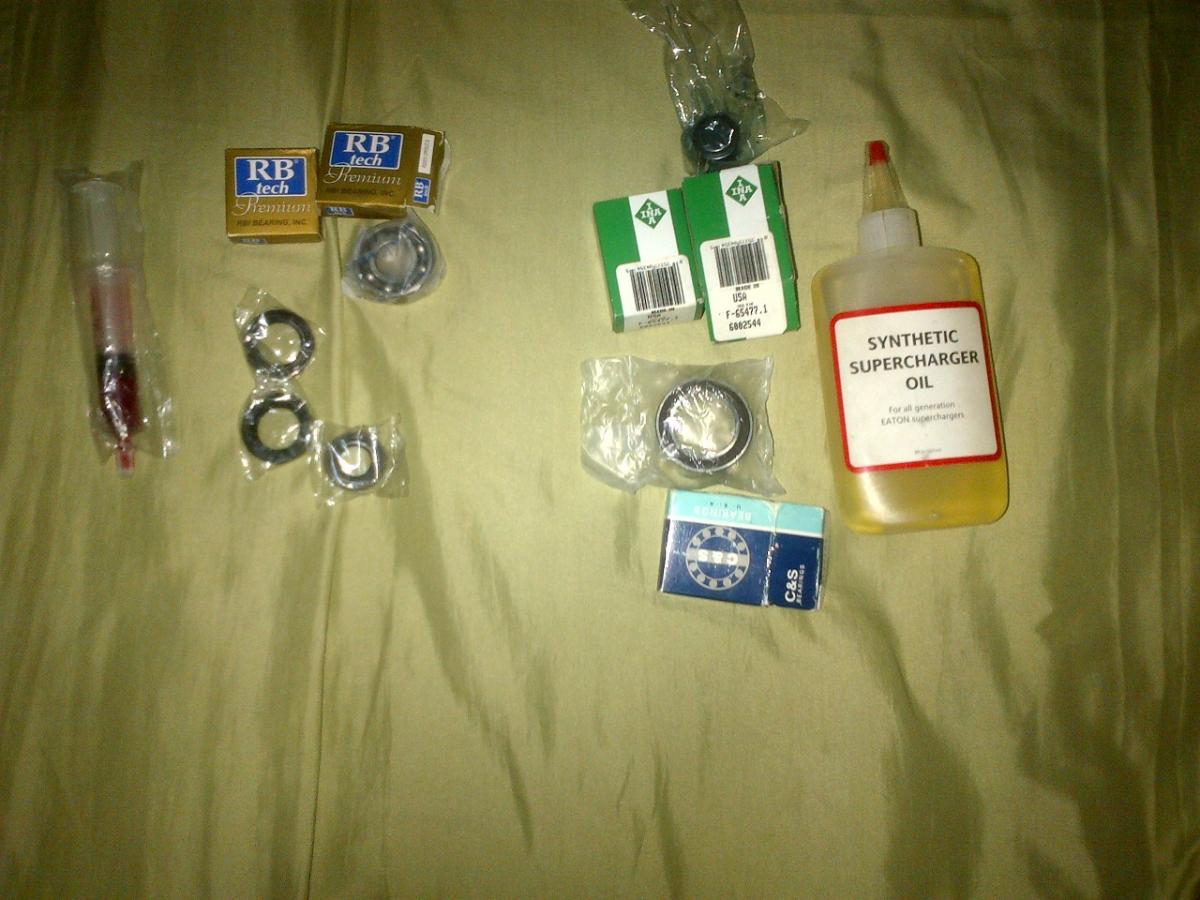
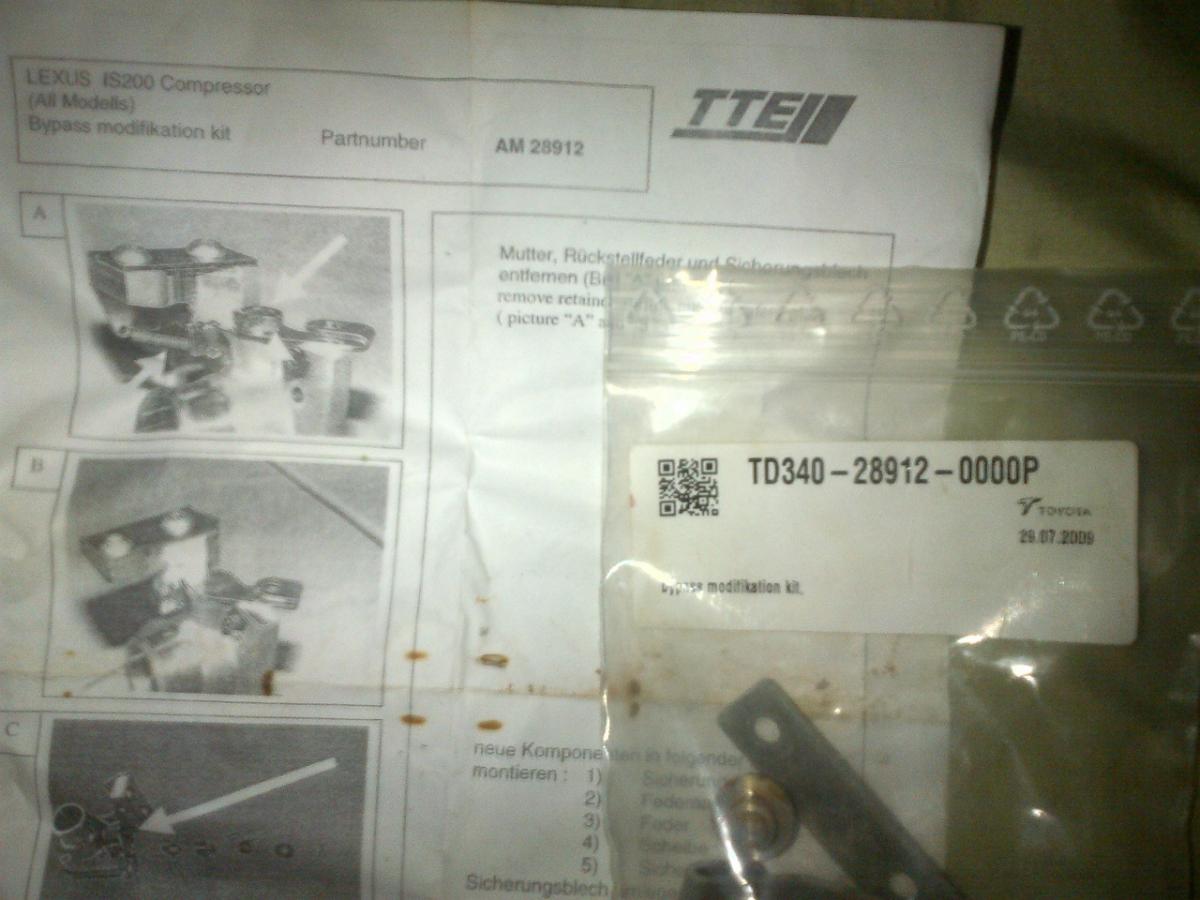
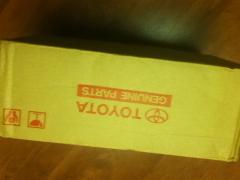
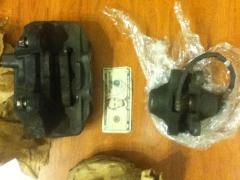
found it . this is everything i got in the kit. the parts on the right are the things you'll need when you rebuild - 2 rear bearings, (green boxes) 1 front bearing (blue box) and replacement oil. Rob's rebuild thread will guide you. It might be hard to get just the supercharger housing. its easier to find a complete charger over here rather than just a shell second pic was something i found with the supercharger rebuild kit, the TTE supercharger bypass mod to fix the snapped bypass cable problem, complete with instructions. i completely forgot i had it. it sat here for close to 4 years. i planned to install it when i took the charger down for maintenance. i sold the charger setup before i got around to it.

-
http://www.ebay.com/itm/2000-Mercedes-Benz-C230-Supercharger-New-do-not-have-original-packaging-/331044662546?pt=Motors_Car_Truck_Parts_Accessories&hash=item4d13ccad12&vxp=mtr http://www.ebay.com/itm/98-99-00-01-02-MERCEDES-BENZ-C230-KOMPRESSOR-A1110900380-SUPERCHARGER-/281209762810?pt=Motors_Car_Truck_Parts_Accessories&hash=item41796873fa&vxp=mtr Two links to the superchargers we need, one new, one used. When my charger needed a service, I bought a kit that covered the m62 with a snout, but i used only the parts that our chargers needed I never paid any attention to the shape of the opening to be honest Actually now that u mention it, i think i still have a spare kit somewhere.. i'll post pics of it when i find it or you can buy this kit but you'll save more if you buy your parts separately http://www.ebay.com/itm/MERCEDES-CLUTCHED-SUPERCHARGER-REFRESH-KIT-/370943878343?pt=Motors_Car_Truck_Parts_Accessories&hash=item565dfa64c7&vxp=mtr. For anybody that comes to this tread long after these ebay links are dead, search ebay (ebay usa)for "mercedes supercharger" or "supercharger rebuild kit" and you should be able to get the stuff u need. "eaton m62" search will get you too many hits to other types that wont work.
-
 i'm in the caribbean. it would cost you too much to ship over there to be practical. you'll probably save more if you just bought it from a breaker in the uk. if i have any smaller lighter bits that might be easier if you're willing to pay for shipping. let me know what u need and i'll look around the garage and see if its still there. i was getting ready to clean out anyway
 -
i remember this "bank 2 sensor 1":-(. it was the most annoying sensor to fix especially if you had the charger fitted, you have to take everything down to get at its location plus it begin so close to the firewall didnt help either. Once u can reach it you should be alright thou. i gave it a good bath with wd-40 and a got a big 22mm spanner to get some leverage to crack that bad boy out of there, after that just put in the replacement with some anti seize on the thread and you should be good to go. just don't get it on the sensor. i still have my stock manifold here with cats intact and good working order, i would give it to you if i could, no charge. i can't use it now anyway
-
Sorry, i never did update this threat . I will answer any questions you have just post them up and i'll be sure to reply About the Cradle, i wanted to do the custom fab at first but it was alot more complicated than i thought. I was never able to get detailed drawing and dimensions, so it would have been trail and error to get it done. eventually i just bought support cradle from TTE. It was worth it. You pay more for the R&D, but you get the peace of mind. In any case, after i got it, it was clear without those fab drawings i would have never been able to get it built correctly. There were support points on the engine block i would have never considered if i did it myself and the angles that were required. i probably would have ended up with lots of vibration cause i missed those little things
-
New Moon Roof, Need Help Installing Drainlines
seecarr11 replied to seecarr11's topic in Lexus IS200 / Lexus IS300 Club
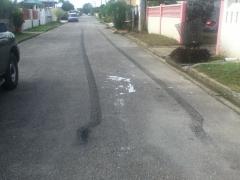
ok i was able to run the rear lines along the "c" pillars then thru the hole at the base of the pillar, just about the rear dash. from there it fed into the wheel well without a problem. i found a rubber plug in the base of the well, popped them out and fed the line thru. I used some slicone and tie strap as a stop to prevent the lines from coming out as i didnt have the gromet drain plugs the fronts were a differnt story.followed the same as the rear, along the pillar and then through a hole in the metal just above the dash but i couldnt feed the line past the "A"pillars. it kept getting stuck on something so i routed the passanger side thru the drain line gormet for the acc that is just to the left of the ac console and the right side through another stop plug just infront of the driver seat so it drains unto the long splash shield that runs below the car. I made sure there were no pockets or pinch points in the lines so it will be a smooth gravity flow just like lexus intented. i used 3/8" air hose from the local pet shop at the front and 1/2" for the rear. the 1/2 happened to be the same size of the hole in the trunk wheel well so its nice and snug. i should have taken some pics. sorry. if i pull up the floor mat again i will -
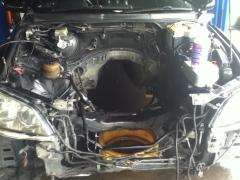
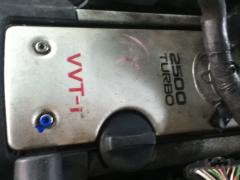
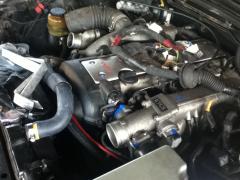
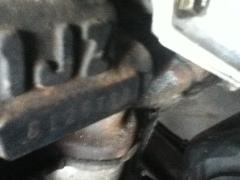
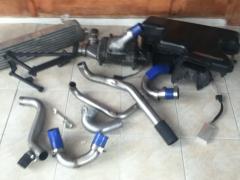
from supercharger to turbo
Images added to a gallery album owned by seecarr11 in Member's Miscellaneous Gallery
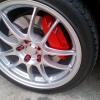
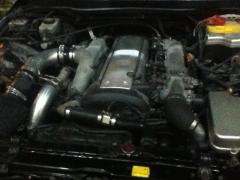
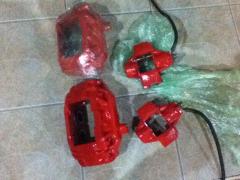
TTE compressor swap to 1JZ-GTE VVTi -
-
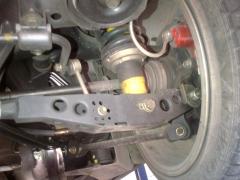
From the album: from supercharger to turbo
-

From the album: from supercharger to turbo
-
From the album: from supercharger to turbo
-

From the album: from supercharger to turbo
-
From the album: from supercharger to turbo
-
From the album: from supercharger to turbo
-
From the album: from supercharger to turbo
-
From the album: from supercharger to turbo
-
From the album: from supercharger to turbo
-
From the album: from supercharger to turbo
-
From the album: from supercharger to turbo
-

From the album: from supercharger to turbo
-
From the album: from supercharger to turbo
-
From the album: from supercharger to turbo
-
From the album: from supercharger to turbo
-
From the album: from supercharger to turbo
-
From the album: from supercharger to turbo
-
From the album: from supercharger to turbo