Gtownsman
-
Posts
27 -
Joined
-
Last visited
-
Days Won
1
Content Type
Profiles
Forums
Events
Store
Gallery
Tutorials
Lexus Owners Club
Gold Membership Discounts
Lexus Owners Club Video
News & Articles
Everything posted by Gtownsman
-
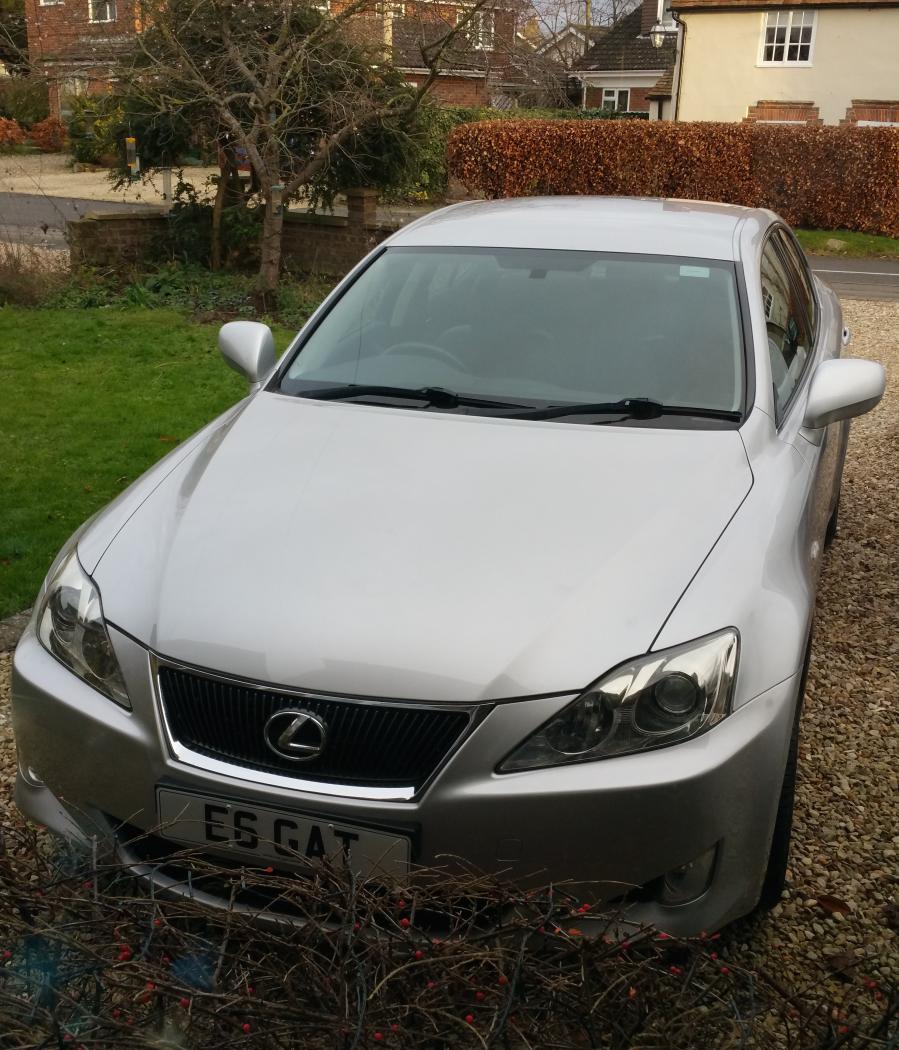
 It's done 62k in great shape all round, FLSH, I had it up for £6500 to start with and i literally couldn't stop my phone from ringing while at work today so I put it up to £6750 just to shut my phone up! I've got someone coming to look tomorrow morning but I don't like the sound of him. It might sound strange but I'd like it to go to someone who actually cares about it like I do. Here's the Ad if anyone is interested or you know anyone. http://www.autotrader.co.uk/classified/advert/201512289683241?make=lexus&page=1&quicksearch=true&sort=default&onesearchad=used%2Cnearlynew%2Cnew&postcode=ox106rr&radius=1&search-target=usedcars&logcode=p
 -
Thanks everyone, I will look into the kit for this. I have to be honest I've just this morning put my IS250 on the trader. Might be a mistake but we will see.
-
Don't spend loads of money on anything fancy. This is £8 and works great http://www.amazon.co.uk/VicTsing-Bluetooth-Receiver-Handsfree-Smartphones/dp/B00LUNWN7E/ref=sr_1_10?ie=UTF8&qid=1453800853&sr=8-10&keywords=bluetooth+receiver
-
Hi All This may just be a no answer but I'm going to ask anyway. I would love my mirrors to fold in automatically when I lock the car, and unfold when unlocking. Is this possible with any add-on or settings change? Thanks GT
-
Hi All I swapped my 220D for a 250 for multiple reasons however one of the main ones was the very poor gearing in the 6 speed gearbox. I always found that it was pointless trying to get into 6th unless you were going 80+ anything below that caused the engine to sound like it was struggling and caused some vibrations throughout the car. I always found that sticking in 5th gear produced better results in regards to the MPG. With a mixture of motorway and town driving I only even achieved an average of 40-45 MPG from the 220D over a tank. I'm now happily getting 30-35 MPG from my 250 with no gearing problems at all (best choice I ever made).
-
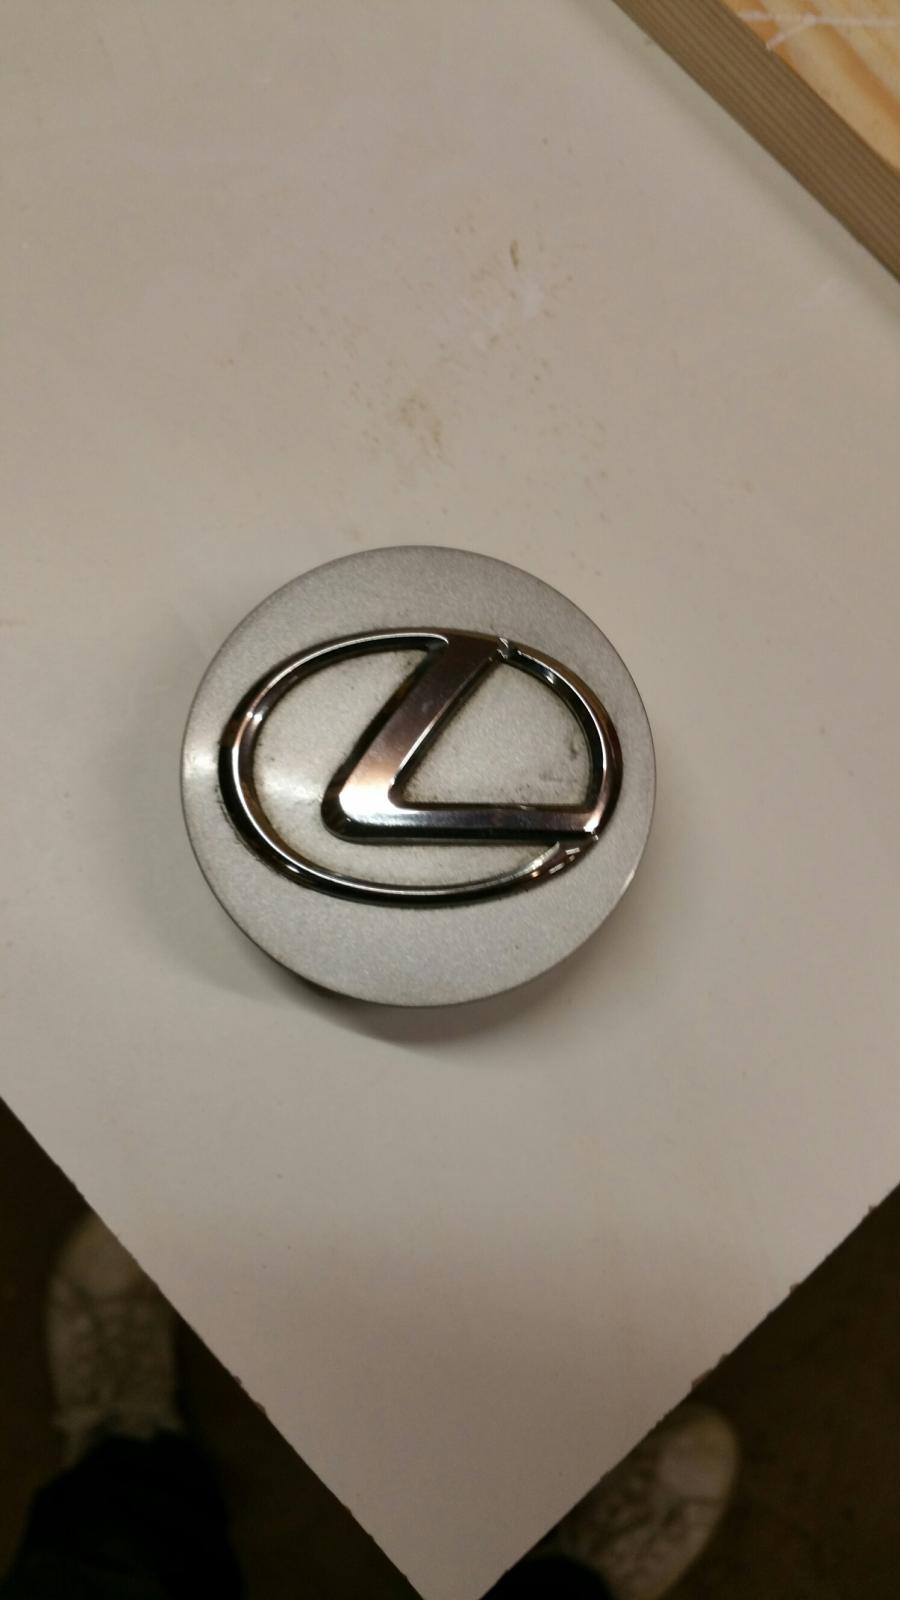
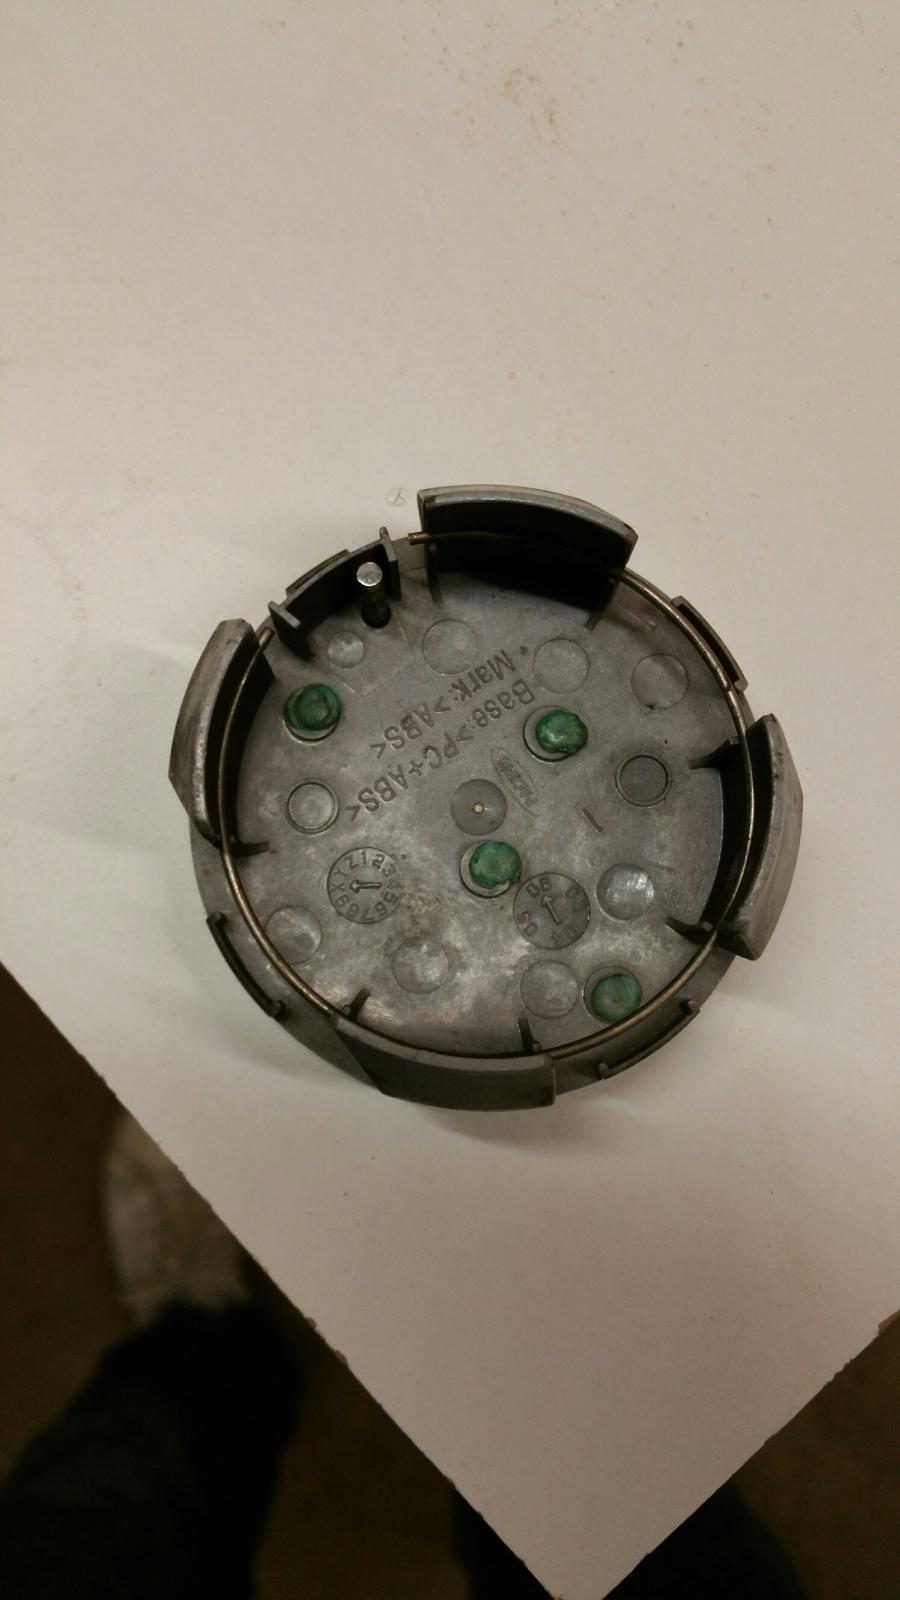
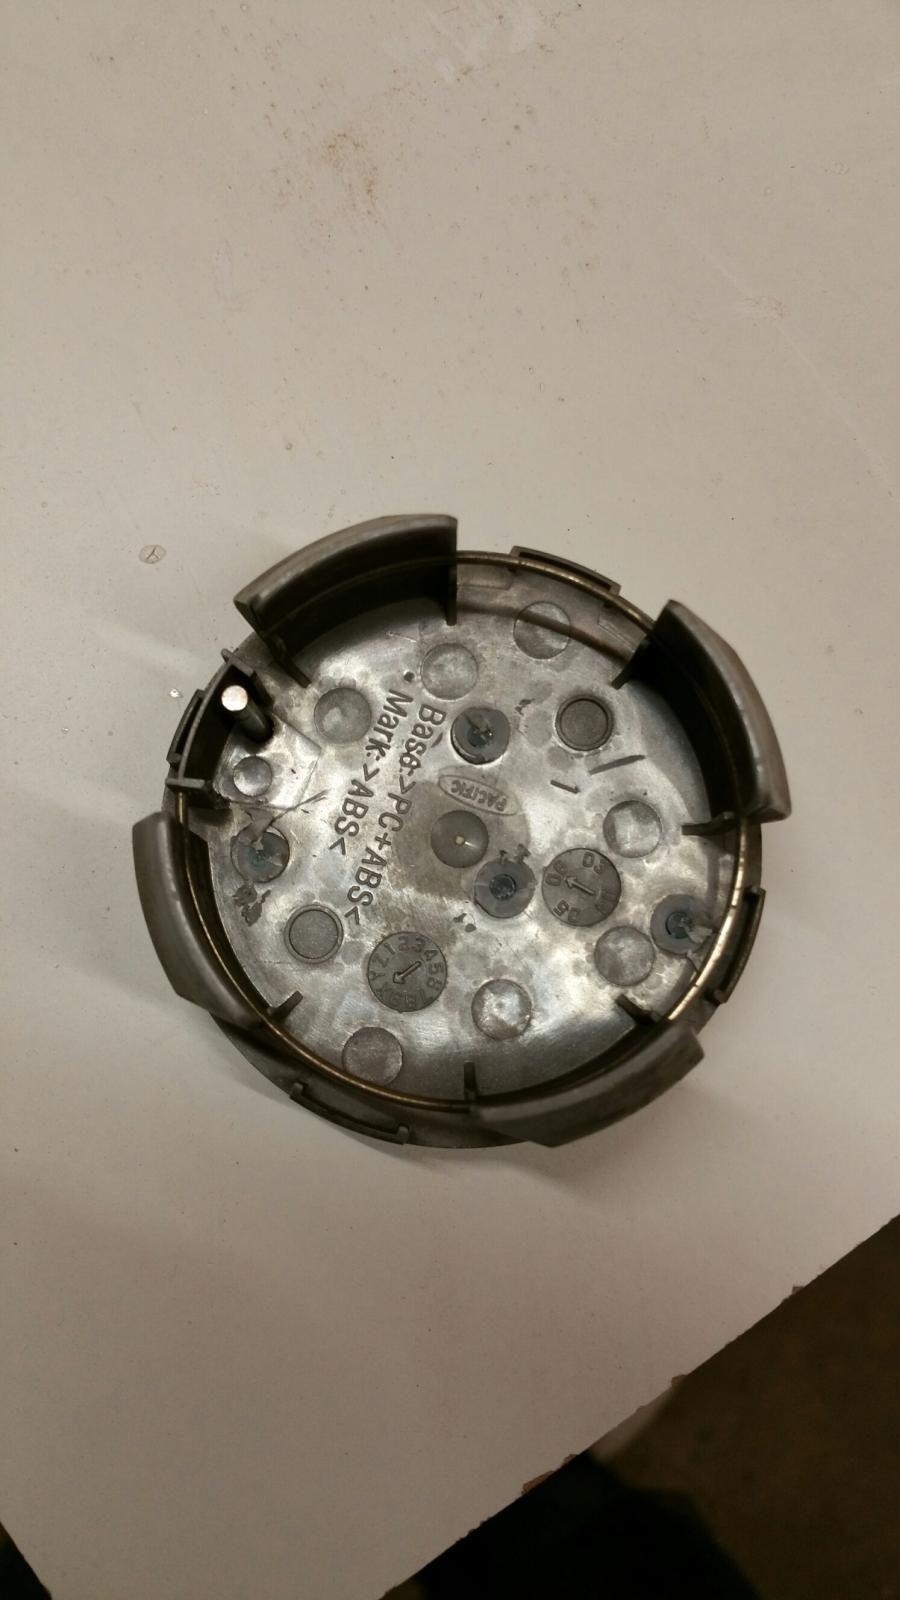
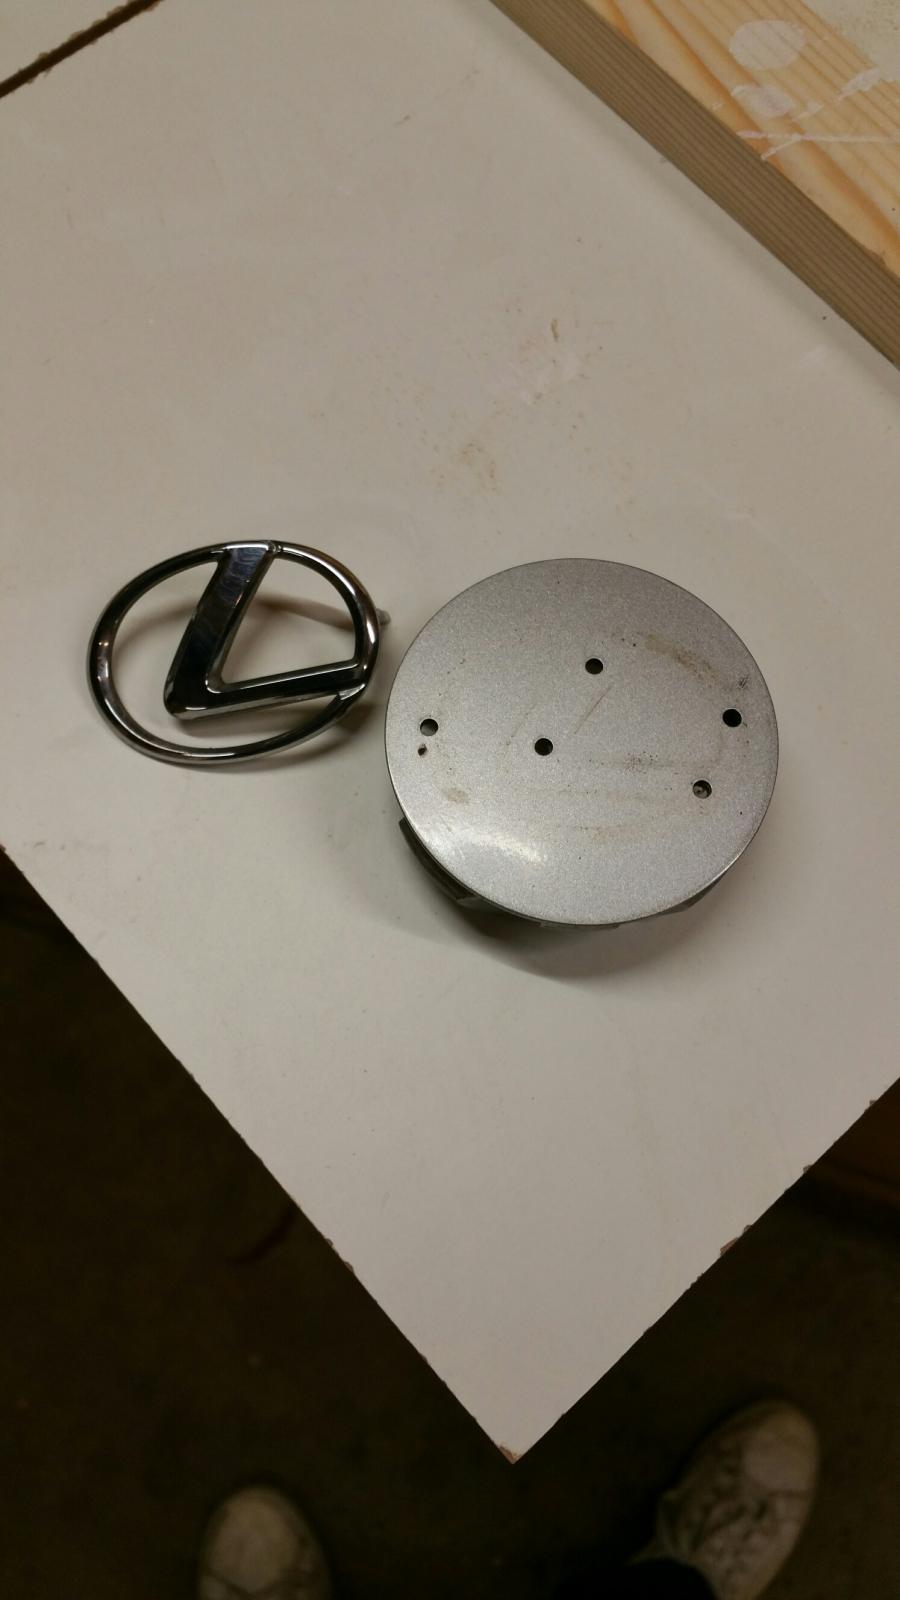
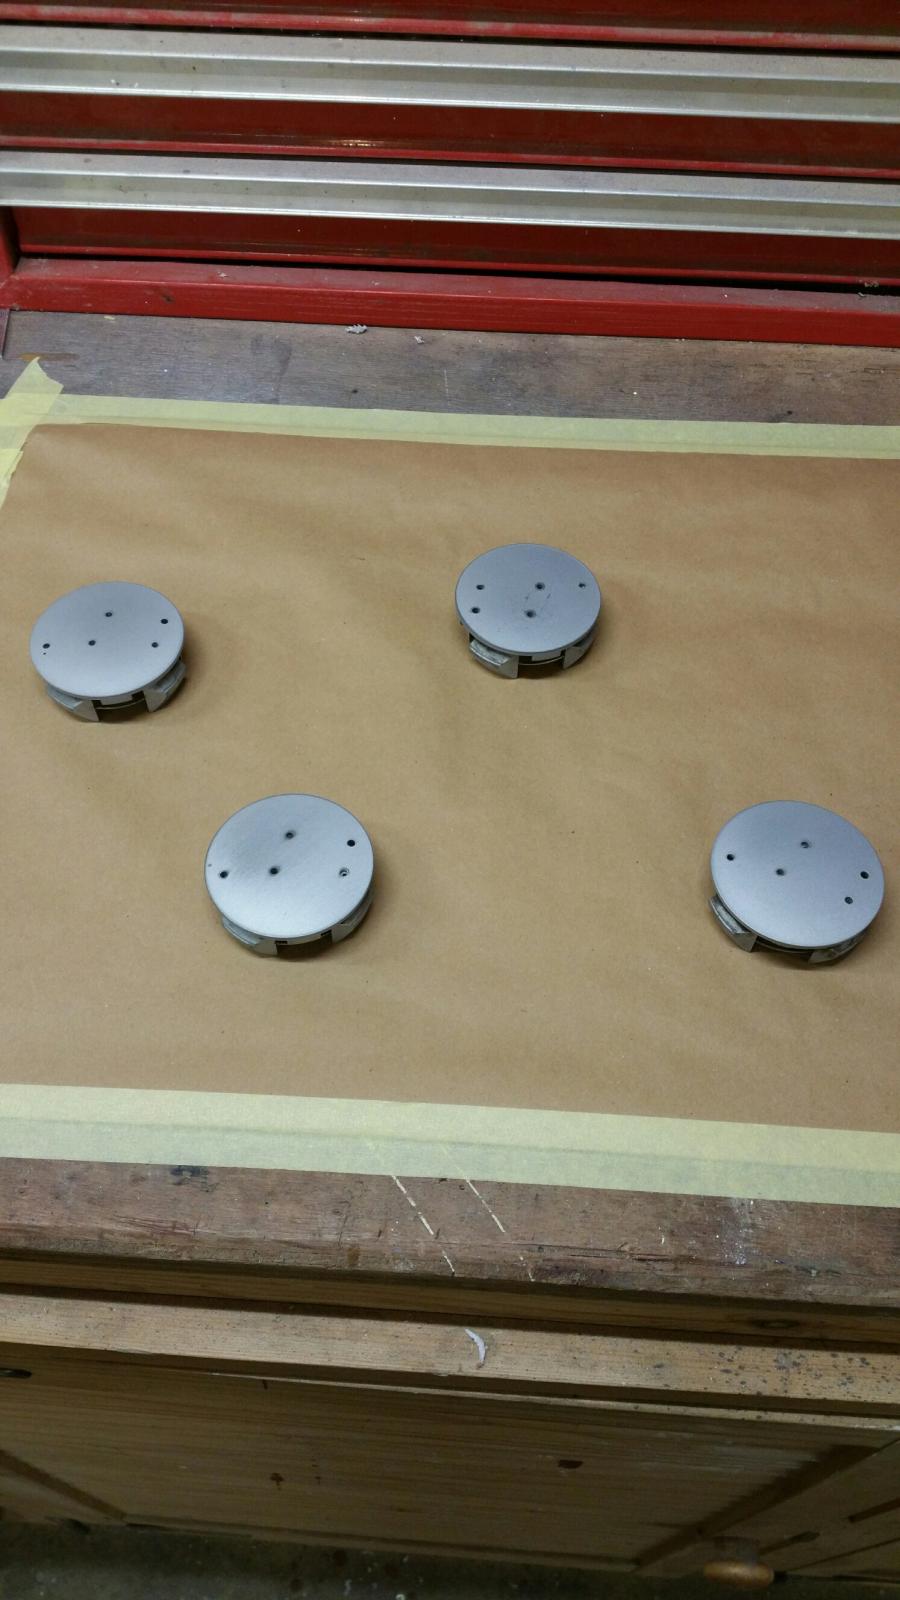
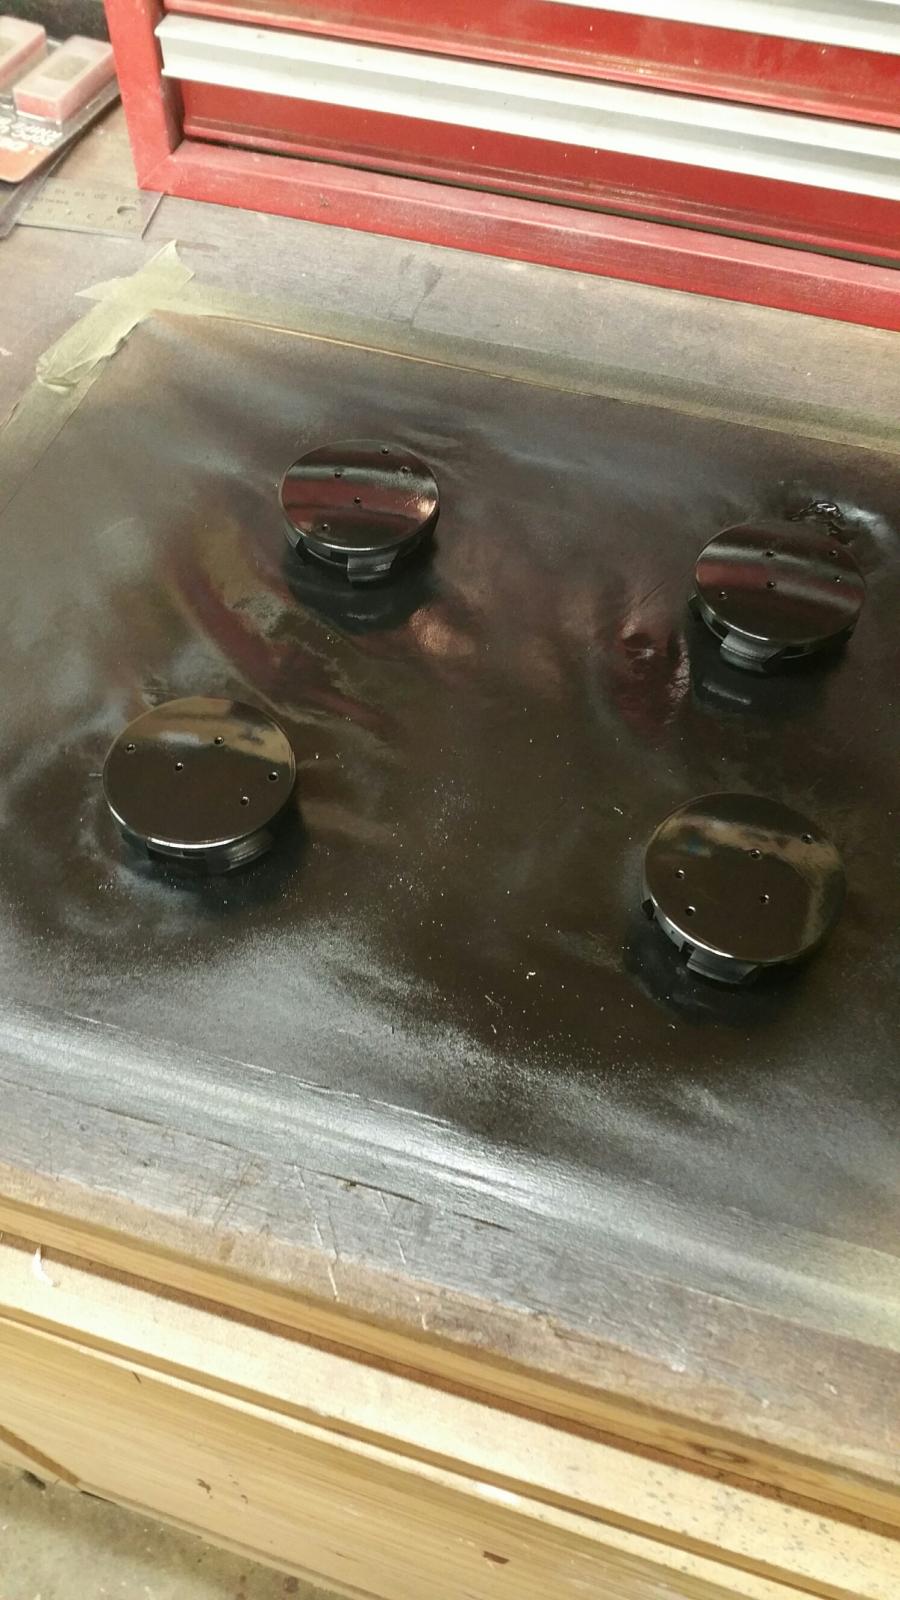
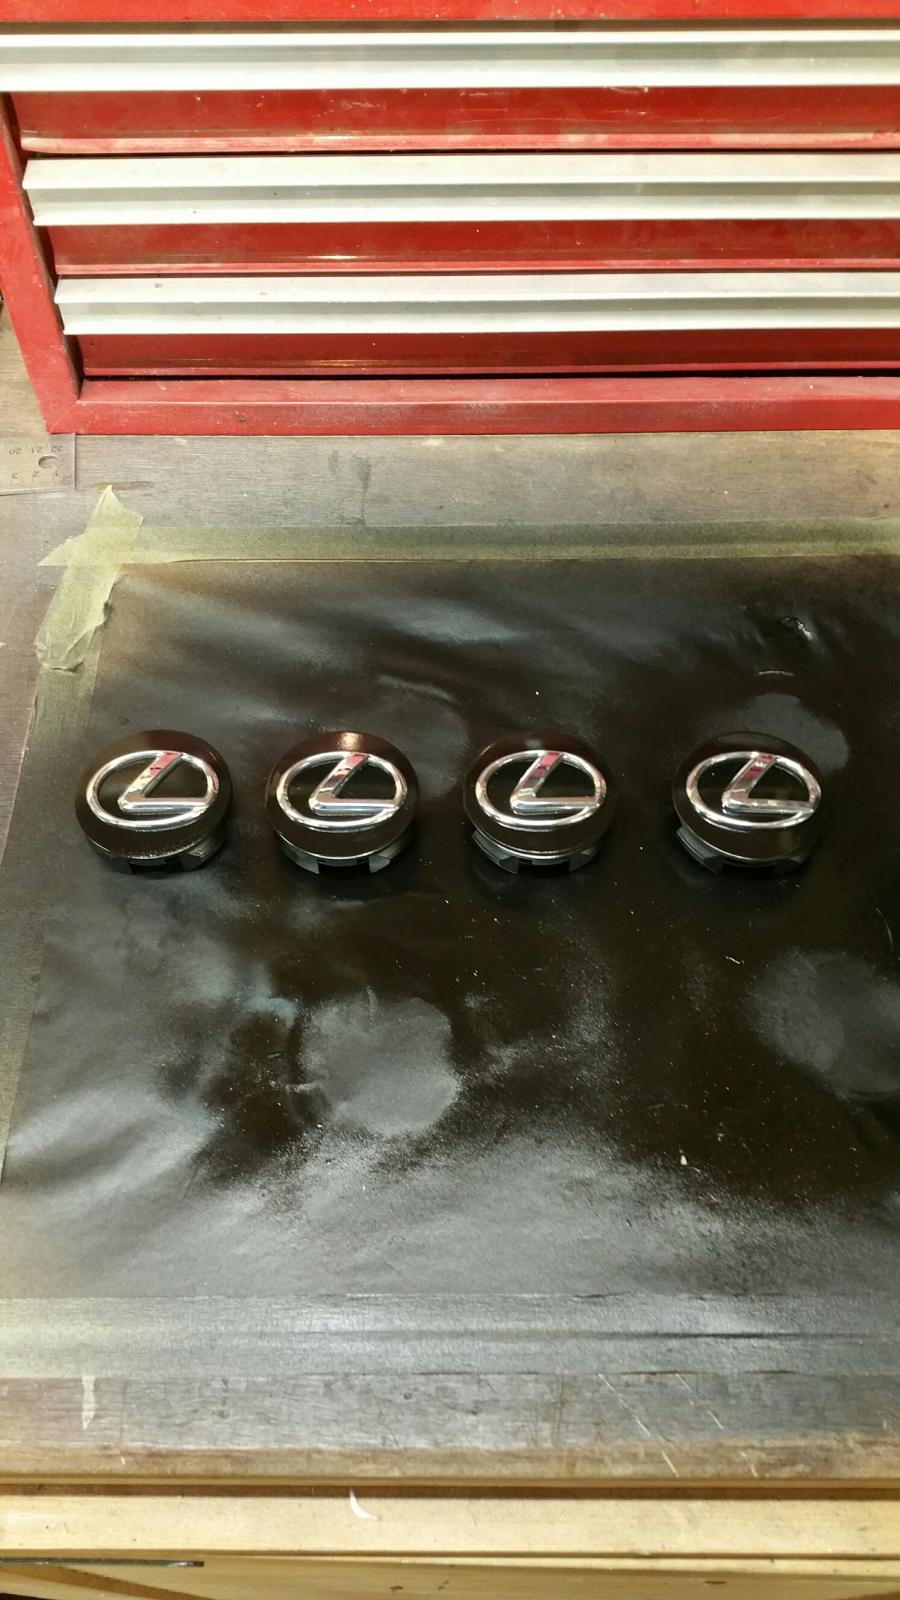
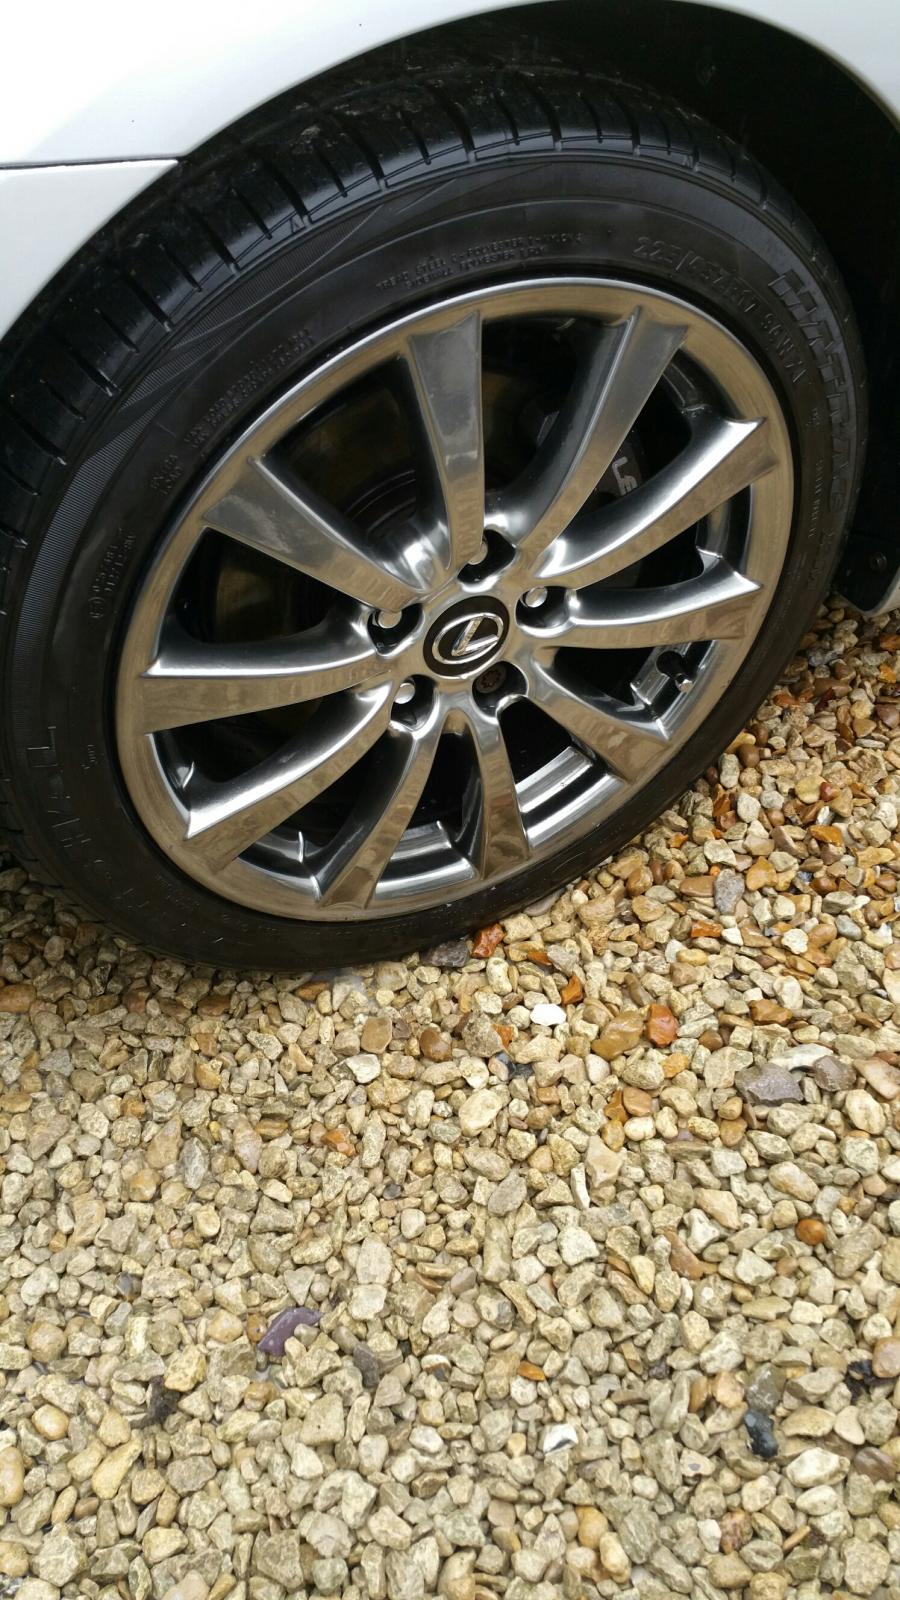
Hi All I've decided to post another Mod for under £10. After getting my alloys back from being refinished in Shadow Chrome the silver Wheel caps didn't quite look right on the car. I have seen that the IS-F has back centers with the graphite wheels which I think looks pretty good, So I started to look around the internet to buy some of these and the only place I could get them was from the USA for £100 for a set! So here's the cheap fix! You will need: Can of Gloss Black spray paint Drill and 6mm Drill bit Scotch-bright pad cleaning spirit news paper or painting paper Super glue 1. Removing the silver Lexus badge. place the badge upside down on a covered surface to avoid any damage to the badge. carefully drill out the tabs holding the badge in place, don't drill too far the plastic is quite thin, just remove the heads. Once the heads have been drilled off you should be able to push the silver badge out of the center cap. 2. Prep for paint. Using the Scotch pad key up the surface and edges of the center caps until you can see that there are tiny scratches across the entire surface. In a clean area put paper and mark out you painting area, If you are working in a dusty environment use a hoover or air compressor to clean the area before hand to avoid getting any dirt in your paint. With cleaning spirit and a cloth or tissue wipe the surfaces of the center caps clean and place them in the painting area. 3. Painting. Ensure you shake your can of paint well before use, to ensure a even and good coverage dust the paint over the center caps gradually. If you hit the caps too heavy with the paint you will end up with paint running and an uneven paint job. Once you are done painting leave the paint to dry. 4. Reassembly. once the paint has totally dried flip the center caps and apply a small dab of glue into the back of the holes where the silver logo studs sit. Place the logos back into the caps and allow the glue to dry. Once everything has dried add the center caps back to your car :) Thanks for reading, I hope you found this useful. Let me know what you think. If you would like to see what else i'm doing with my car please follow me on Instagram @gtownsman.

-
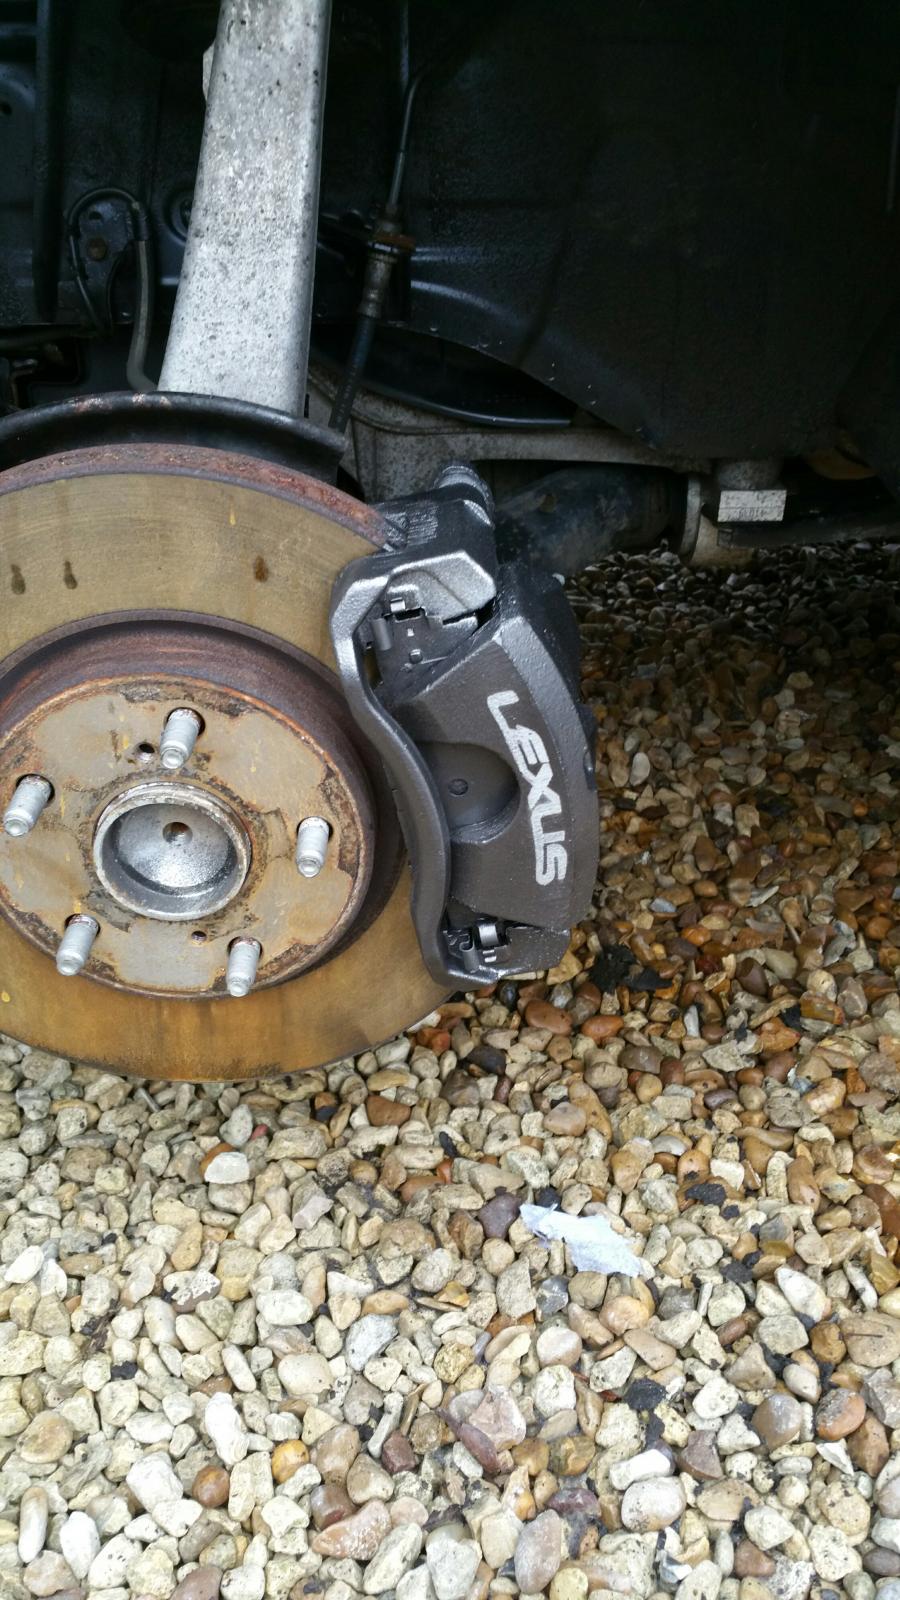
Subtle Improvement For Under £10 - Brake Calipers
Gtownsman replied to Gtownsman's topic in Modifications & Tuning
Thanks everyone, it doesn't actually take that long to do once you've got the wheels off. My alloys were away for refurbishment anyway so I had some time to play with. -
Subtle Improvement For Under £10 - Brake Calipers
Gtownsman posted a topic in Modifications & Tuning
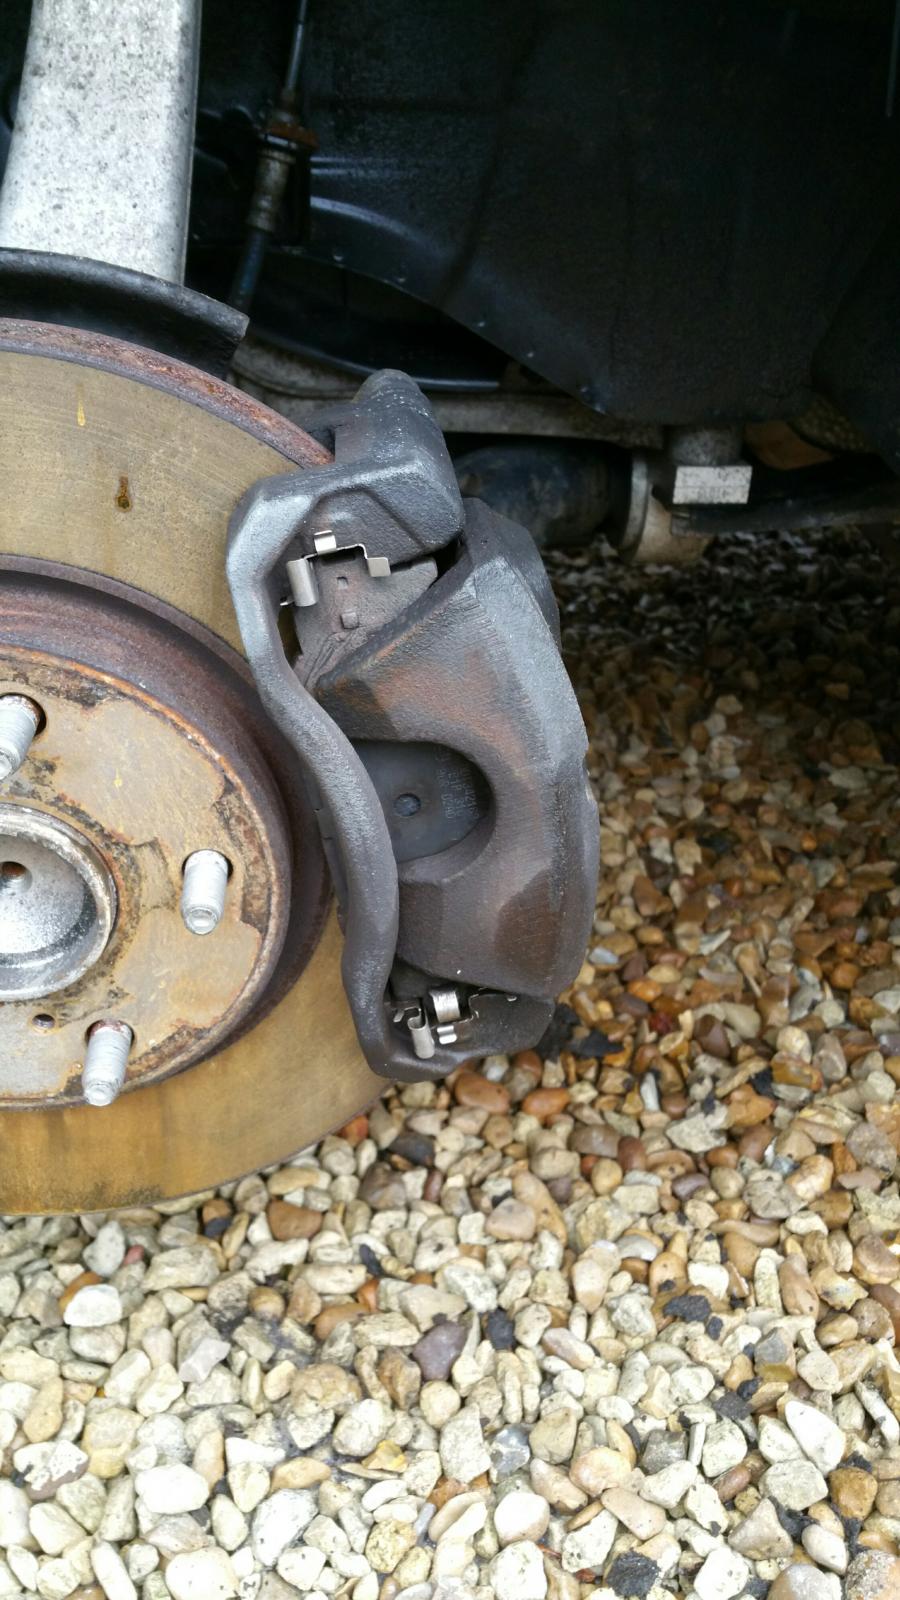
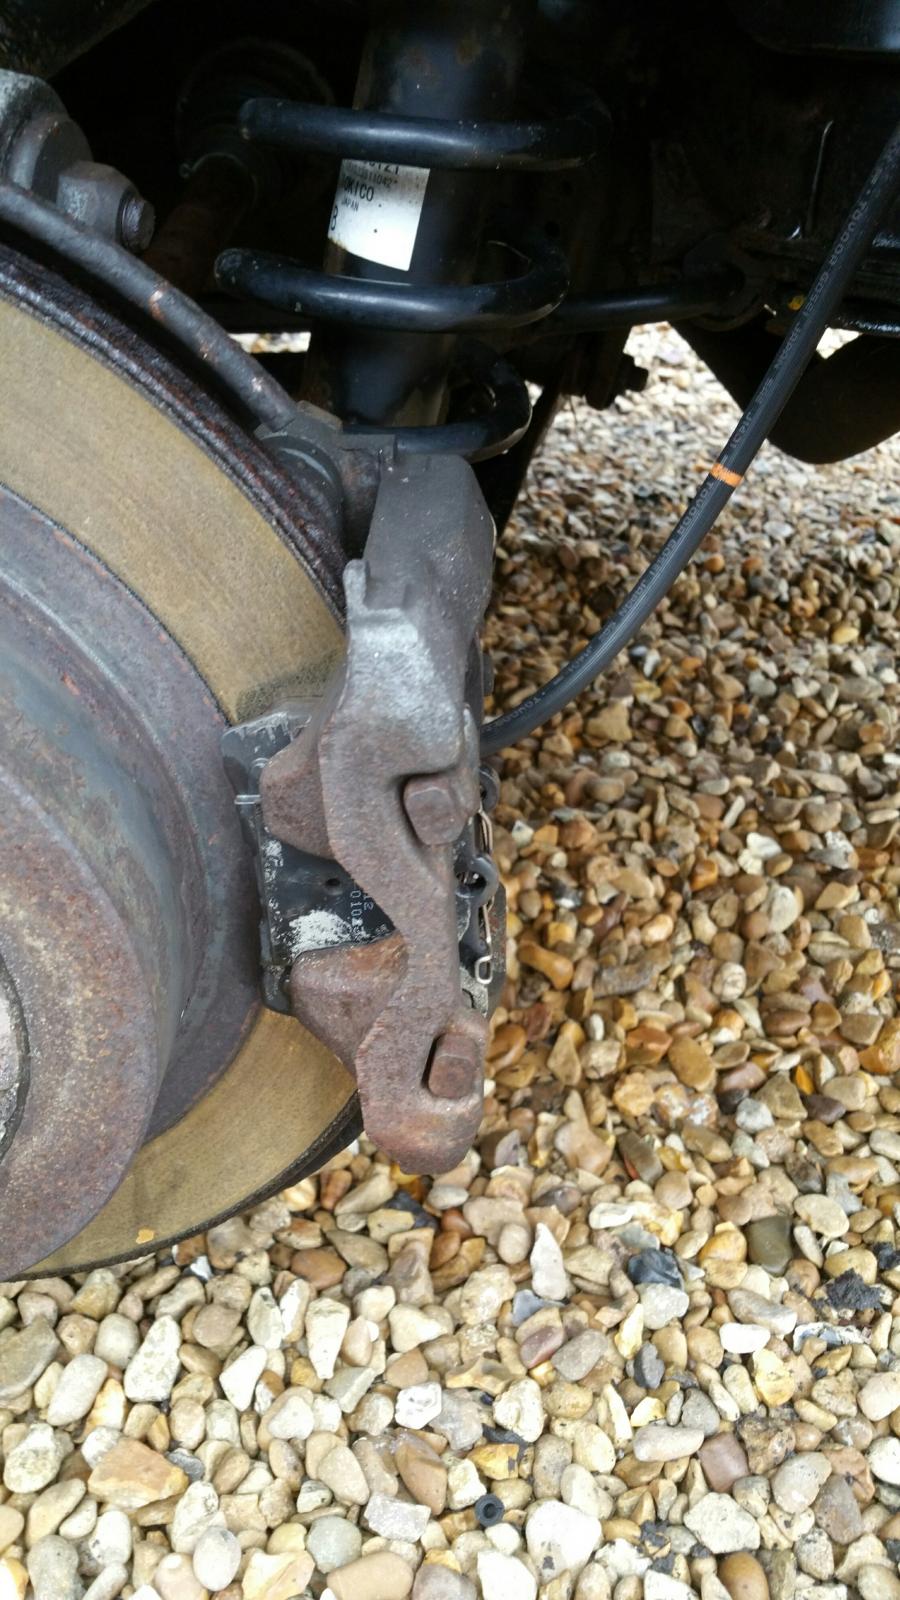
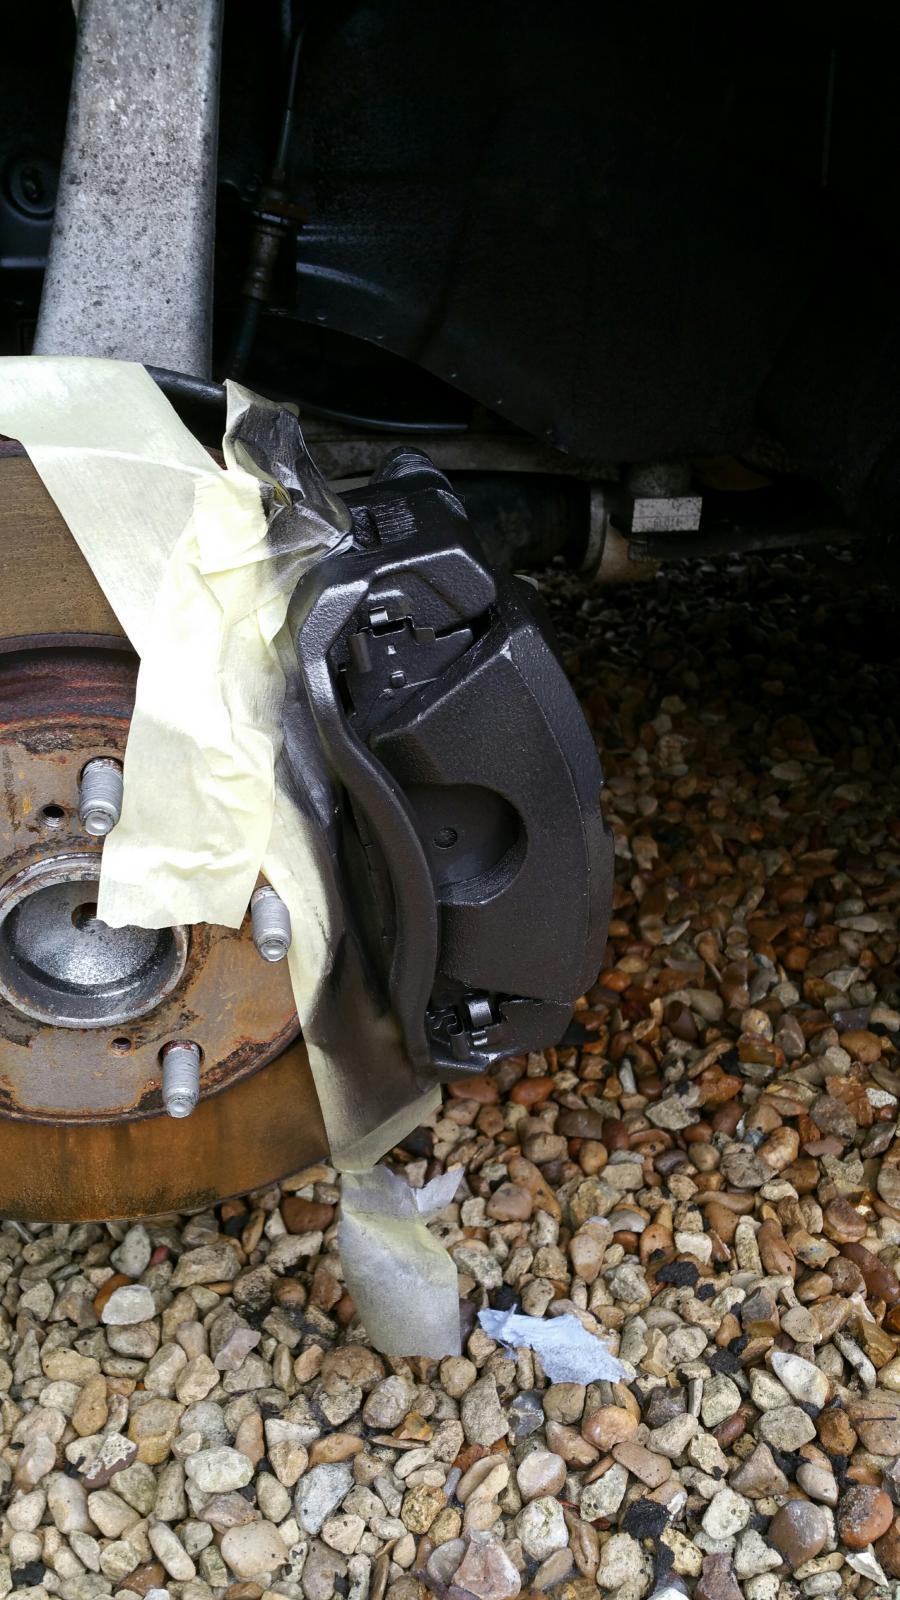
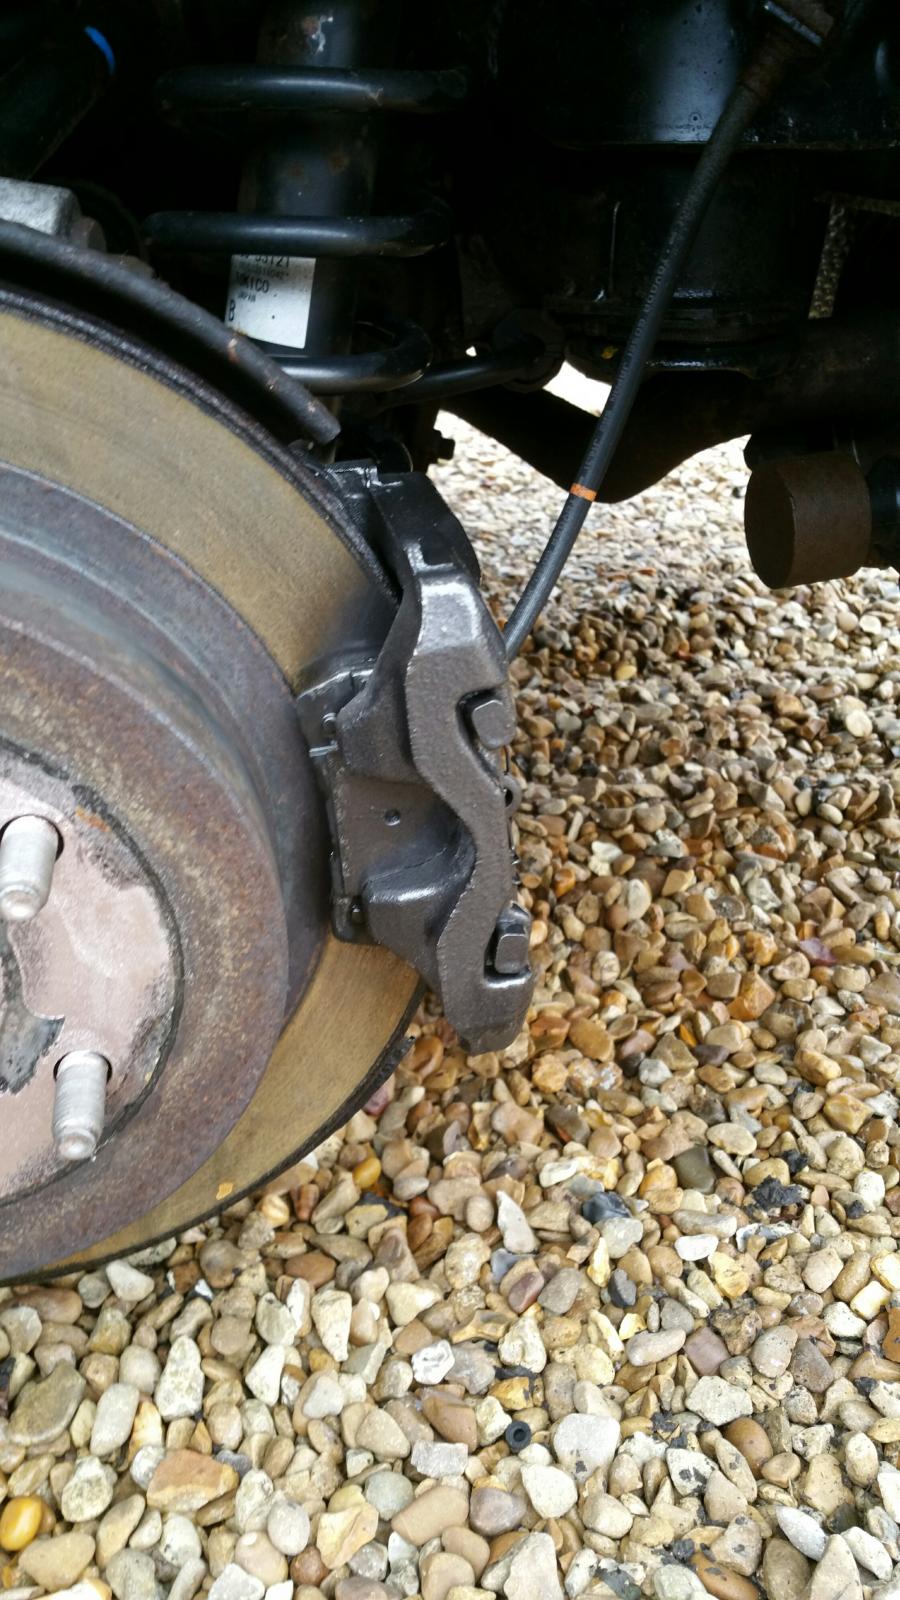
Subtle improvement for under £10 - Brake Calipers I've just sent off my Alloys to be refurbished and left my IS250 on axle stands on my driveway looking rather sad. With the wheels off I noticed how shabby my brake calipers were looking and I thought I could make some cheap improvements while the wheels were off. I started with a good scrub with a stiff brush and some lightly soaped hot water, I then allowed everything to dry off before wiping everything with a cloth to remove any final debris. Here is what I was left with. I think decided to pickup some gun metal grey spray paint from my local auto shop, after some quick masking and a light dusting the calipers looked like this. I then thought It would be nice to have the Lexus branding on the Calipers, so I printed the logo onto some card and cut it out carefully with a craft knife to make a stencil. I then used the stencil to dust some sliver spray paint I had going spare over the calipers to get the finished product like so. Thanks for reading, I hope you found this useful. Let me know what you think. I'm also going to make some cheap improvements in the engine bay and I will be sure to post on here when I have done them. Thanks George I regularly post updates on what i'm doing with my cars on Instagram @Gtownsman
-
Agent That really was a steal! I paid £65 for Mine delivered. They are hard to find in the UK, Although you can still buy them brand new in the US (They don't deliver to the UK, I already asked. ) If you are forced to go down the Ebay route and getting used ones, a bit of cutting compound on the brushed aluminium and some boot polish on the plastics make the world of difference.
-
It does seem strange to have the plug there but stopping it from working on SE models only, I thought it might just be a fuse missing to start with but apparently the same fuse that does the courtesy lights also powers these. I hope the guide is helpful, it's a nice upgrade to have.
-
I've just swapped my 220D for a 250 and I would never go back, the 250 is 10 times the car. There is a reason Lexus only made 1 diesel and no longer do.
-
Thanks Normski I didn't realise there was a section for guides otherwise I would have posted there first!
-
It really is a shame they aren't standard, because it's such a simple thing and really stands out from the crowd, you wouldn't find these on a BMW or Audi without spending some ridiculous sum of money. Just another thing that Lexus can charge extra for I suppose. The real challenge is getting the actual parts, Apparently they are discontinued by Lexus in the UK. you can buy them in the US however they don't ship here. So I found someone on Ebay breaking the car and brought from them.
-
If your like me, the best part about owning a Lexus is the nice toys and technology that Lexus offer. I've recently swapped my IS220D SE-L for a IS250 SE, The SE-L was fitted with the illuminated door sills that light up "Lexus" when you open the doors, a really nice feature which should be standard in my opinion. Unfortunately my 250 SE only had the basic plastic sills that look a bit cheap on a Luxury car so i pulled off the plastic ones to find that the cars are fitted as standard with the plug for the illuminated sills, so I thought I could just buy the illuminated sills and plug them in. Unfortunately it turned out that this is not the case, all the cars do indeed have the plug however the plug is only wired in on the Luxury and sports spec models, to get around this problem you need to do some basic home wiring which I will show you now. Please note: I take no responsibility for any damage done to your vehicle while following this guide. For this modification you will need the following: 1-2M of Auto Wire 4x Scotch Locks A Pair of Bull Nose Pliers A Pair of Snips Stanley Knife/Craft knife Step 1: Remove the existing door sills to reveal the wiring loom underneath ( A bit of brute force pulling straight up will remove the sills) Step 2: Using a Stanley Knife or Craft knife, carefully cut away the electrical tape that covers the wires that go into the door sill connector (Be particularly careful not to cut into any wires in the loom). Step 3: Take your Auto Wire and 1 scotch lock and Scotch lock your auto wire and the White wire going into the Door Sill Connector together (Leave the blue wire as it is). Step 4: Remove the interior trim that covers the seat belt tensioner system (to aid this process put the seat in the fully back position and the backrest all the way back, and open the rear door. Again some force will release the clips holding the panel on). Step 5: Locate the wire that connects to the Door switch, it sits on the inside of the pillar behind the switch. (A White Wire on the drivers side and Purple on the Passengers side, shown in the image above). Step 6: Trace your auto wire around the current loom to reach the Door Switch wire behind the seat belt panel. (when doing this ensure that your auto wire cannot rub on the seat belt as it moves back and forth during use). Step 7: Take a Scotch lock and scotch lock the Door Switch wire and auto wire together (Ensure you don't short out the wire on the vehicle's body work while using metal tools. I also wrapped some electrical tape around the scotch lock to ensure nothing metal would contact the bodywork in the future). Step 8: Plug in your illuminated door sills to ensure they are working correctly, when you push the Door switch the Sills should shut off and then light up when the switch is released. (If your Sills don't light up please check to see if you have your interior light switch set to come on when the doors open). Step 9: When you are happy that everything is working correctly, push the interior trim panels back into place. Some pressure on the areas should clip everything back in to place. Finished Product. I hope this guide was helpful, if i've missed anything or you have any questions please post here and I will endeavour to help the best I can.
-
I Would also be interested in people's opinions on the cheaper versions, I've seen them on Ebay for as little as £30. But life experience is telling me that you get what you pay for and if these cheap ones did an adequate job Garages wouldn't be speaking thousands on systems like they do so i'm not totally sold on these cheap fault finders. Saying that I would be happy to be proved wrong on this one! Thanks GT
-
Hi All I have recently purchased an IS220D and when I shut off the engine I get this awful buzzing noise from under the bonnet. I have narrowed it down to the vacuum control valve on the left hand side of the engine. I have tried changing the control valve with another of the same and it does exactly the same. this makes me think either the problem is coming from somewhere else, ever though the noise is coming from the valve. or this is normal for the car, which would be a shame if it is because it's a horrible sound when you switch the engine off in a car park and the attractive woman is just walking past, it certainly gets some attention but not the right kind! Ive done a video so you can hear the issue and where it's coming from: thanks in advance for any help GT
-
I would also be keen to hear if the turbo strip down was the cause of the lack of power below 2000RPM. I have exactly the same symptoms in mine I just thought it was a characteristic of the car having pretty bad turbo lag.
-
New Owner - Has Someone Removed My Dpf?
Gtownsman replied to Gtownsman's topic in Engine & Transmission
Apparently it has been removed, however I have yet to see any weld marks on the DPF itself. I need to get it on an ramp and take a look. I've got a while left on the MOT yet so I will worry about it when the time comes. -
New Owner - Has Someone Removed My Dpf?
Gtownsman replied to Gtownsman's topic in Engine & Transmission
I have spoken with a specialist since and they have confirmed that this is the DPF bypass. They were actually really helpful. Apparently on other diesels the DPF is hollowed out and the ECU reprogrammed to forget that is has a DPF. On a Lexus it isn't possible to reprogram the ECU to forget the DPF, therefore they generally hollow it out, unplug it and then put a bypass box in to trick the ECU into thinking everything is great and the DPF is working fine. Due to the cost of replacing a DPF the requests to have this Mod done on the 220d is increasing. -
I have recently brought a IS220D when pulling away in 1st gear and then dropping the clutch to change to 2nd the gear box makes a chattering sound. I have spoken with Lexus who say it could just be a characteristic of the gearbox but they want £160 for the privilege of taking a look! the car has done 88k so i'm not expecting miracles but it does sound nasty when pulling out of the car park at work, not the sort of noise you expect from a Lexus. I've also heard a banging coming from the back of the car if I engage the clutch a bit to heavily, I think this might be a prop shaft joint wearing and will probably get that replaced. I may do a video at the weekend and get it on youtube so others can hear the noise. Has anyone else had similar problems? Thanks in advanced for any advise. GT
-
New Owner - Has Someone Removed My Dpf?
Gtownsman replied to Gtownsman's topic in Engine & Transmission
Image of grey plugs
-
New Owner - Has Someone Removed My Dpf?
Gtownsman replied to Gtownsman's topic in Engine & Transmission
The after market looking box plugs into these 2 grey plug further down the engine bay. I can't see any cuts or welds on the DPF itself but there's a shield in the way of one side and I can see the other side. -
New Owner - Has Someone Removed My Dpf?
Gtownsman replied to Gtownsman's topic in Engine & Transmission
I haven't actually looked at the DPF itself, I am worried about the MOT part of it though. -
Think one of the previous owners might have removed my DPF, Please see picture. Thanks for any advice in advanced.