Jon Evans
-
Posts
123 -
Joined
-
Last visited
About Jon Evans
Recent Profile Visitors
4,250 profile views


.thumb.JPG.67166e824aaba2340443e9c5beac2b06.JPG)
Jon Evans's Achievements
")


-
If possible, remove them and see if they turn when you operate the switches.
-
Are you positive that both motors have seized? It could be the mechanism and the motors might be fine.
-
@Scribe maybe the problem lies somewhere else in the electrical system - one of the earth points, or corrosion in the fuse box(es)
-
Get yourself a cheap multimeter to definitively find out whether or not the battery is dead in the future. They are less than a tenner and will show you the actual voltage you're getting at the battery terminals. You could also look into getting a car battery tester, I bought a JDiag BT300 for about £35 from Amazon. This will give you an indication of battery capacity.
-
Feu Orange! That's a brand name I'd completely forgotten.
-
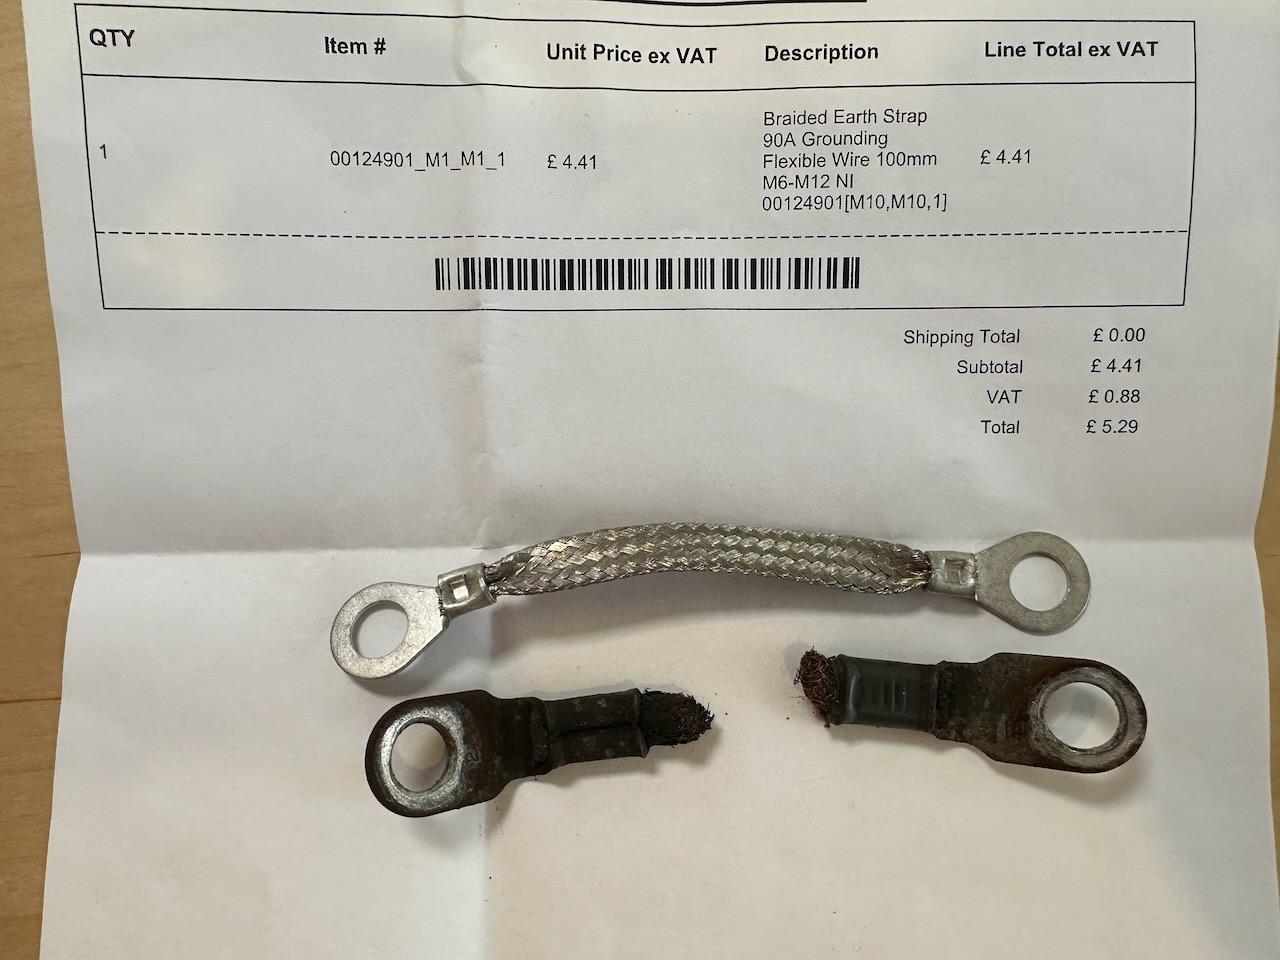
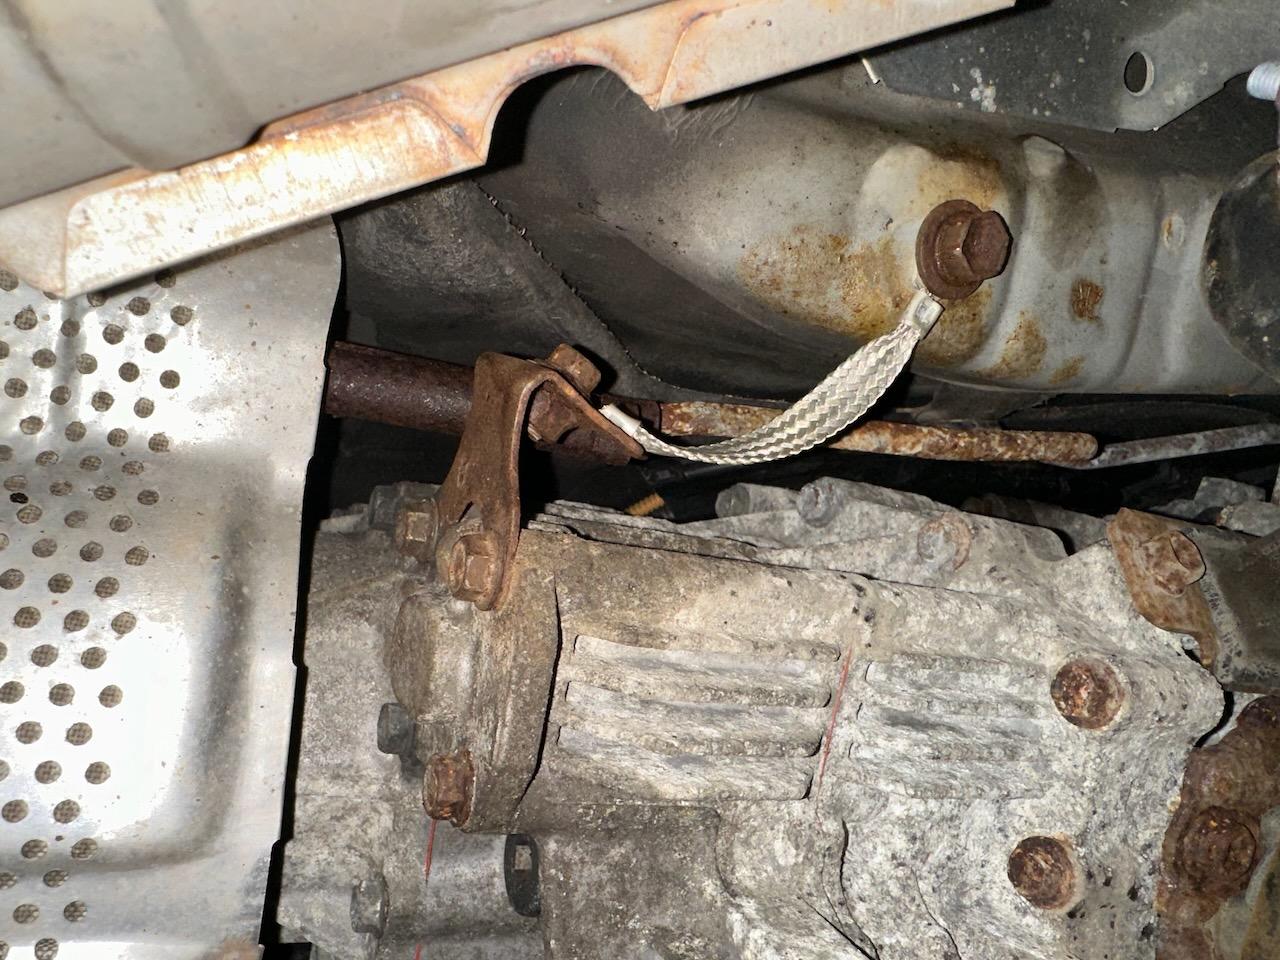
I fixed this yesterday and it only cost me £5.29 (but I also spent £53 on a pair of ramps and some wheel chocks).

-
I've just had the windscreen removed and refitted. It should hopefully fix a small water leak I had which was causing the A-pillar trim to get wet, and general dampness in the car. I asked the guys to let me know when the roof gutter rails were removed if there were any broken clips, and it turned out there were loads, and quite a few missing completely. When they finished they said they had spares so they replaced them all. Result! The windscreen adhesive primer had deteriorated and they could see loads of places where water was getting in - but also said it's not done too bad as they are currently refitting loads of screens on cars that are less than 3 years old. I had to agree to have the whole screen replaced if it got damaged during the work because they couldn't guarantee it (£624), however they managed to refit it without breaking it so it was only £216. So I still have a genuine Lexus screen. The only non-original part is the rubber seal at the top of the screen, but it looks like factory to me. I used Express Windscreens and I'm very happy with the service.
-
@chrali all of your images are broken for me. If I right-click and "open image in new tab" it takes me to a Google login, and if I log in I just get a grey no entry sign.
-
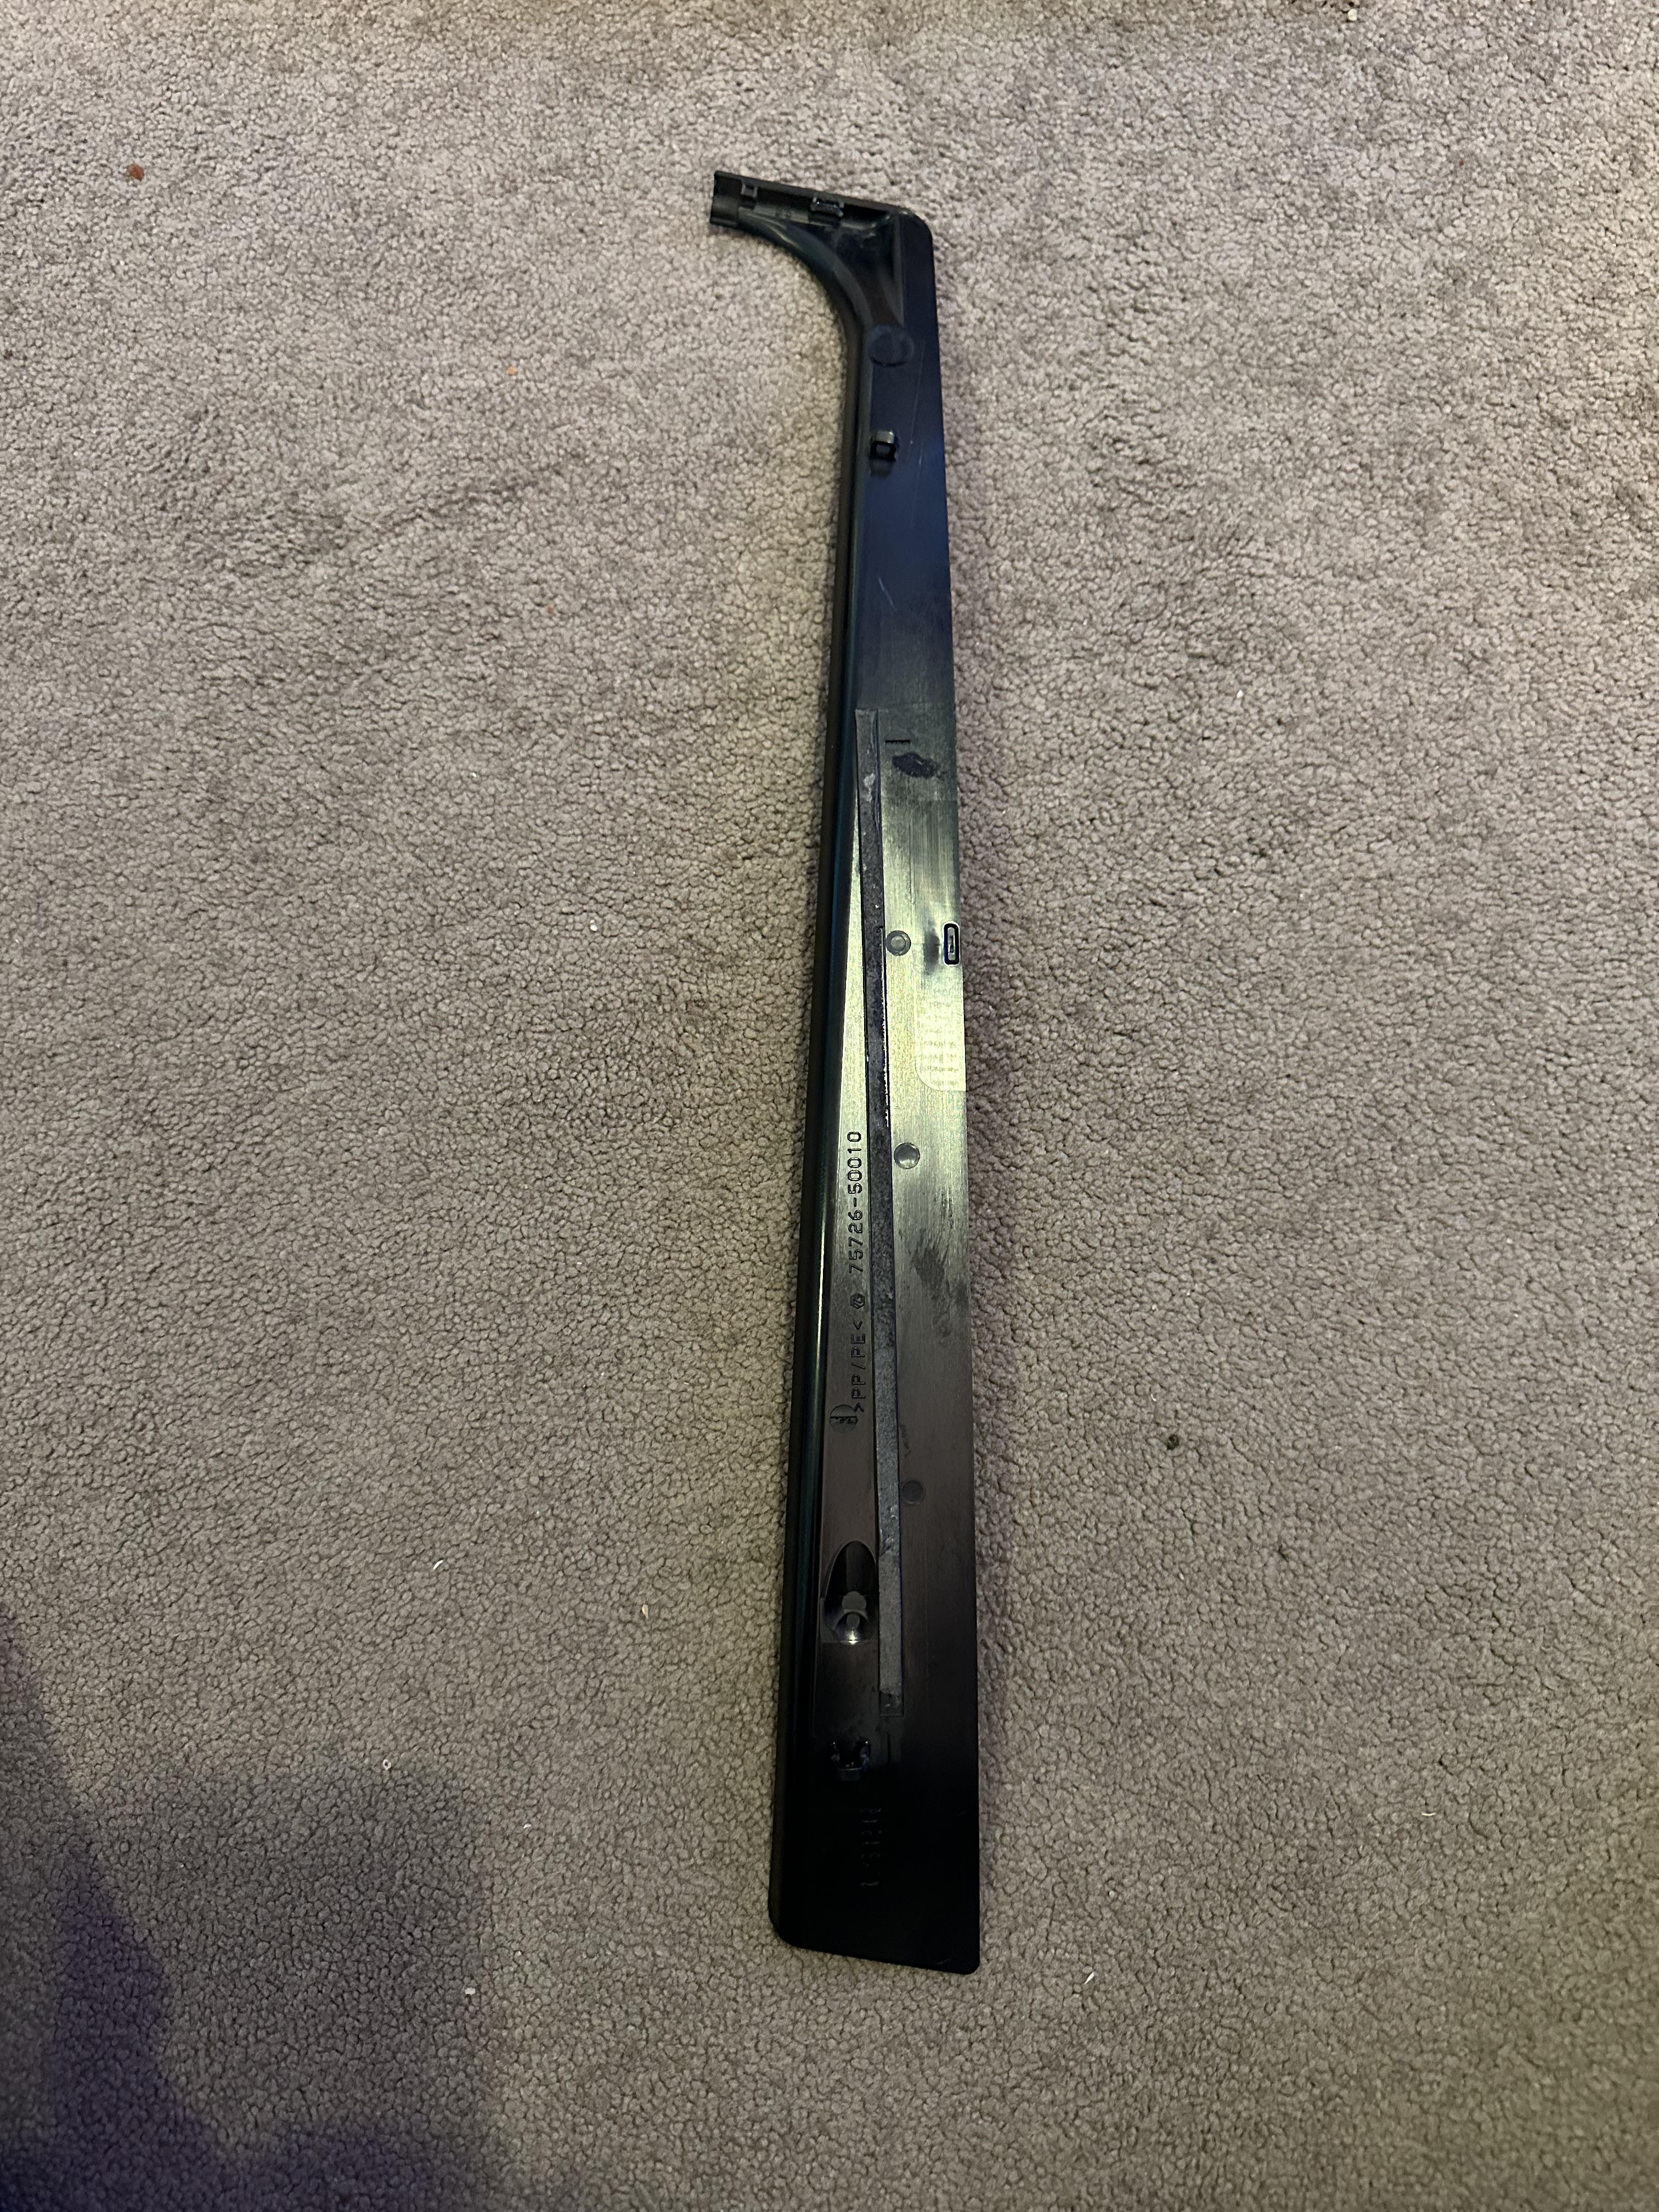
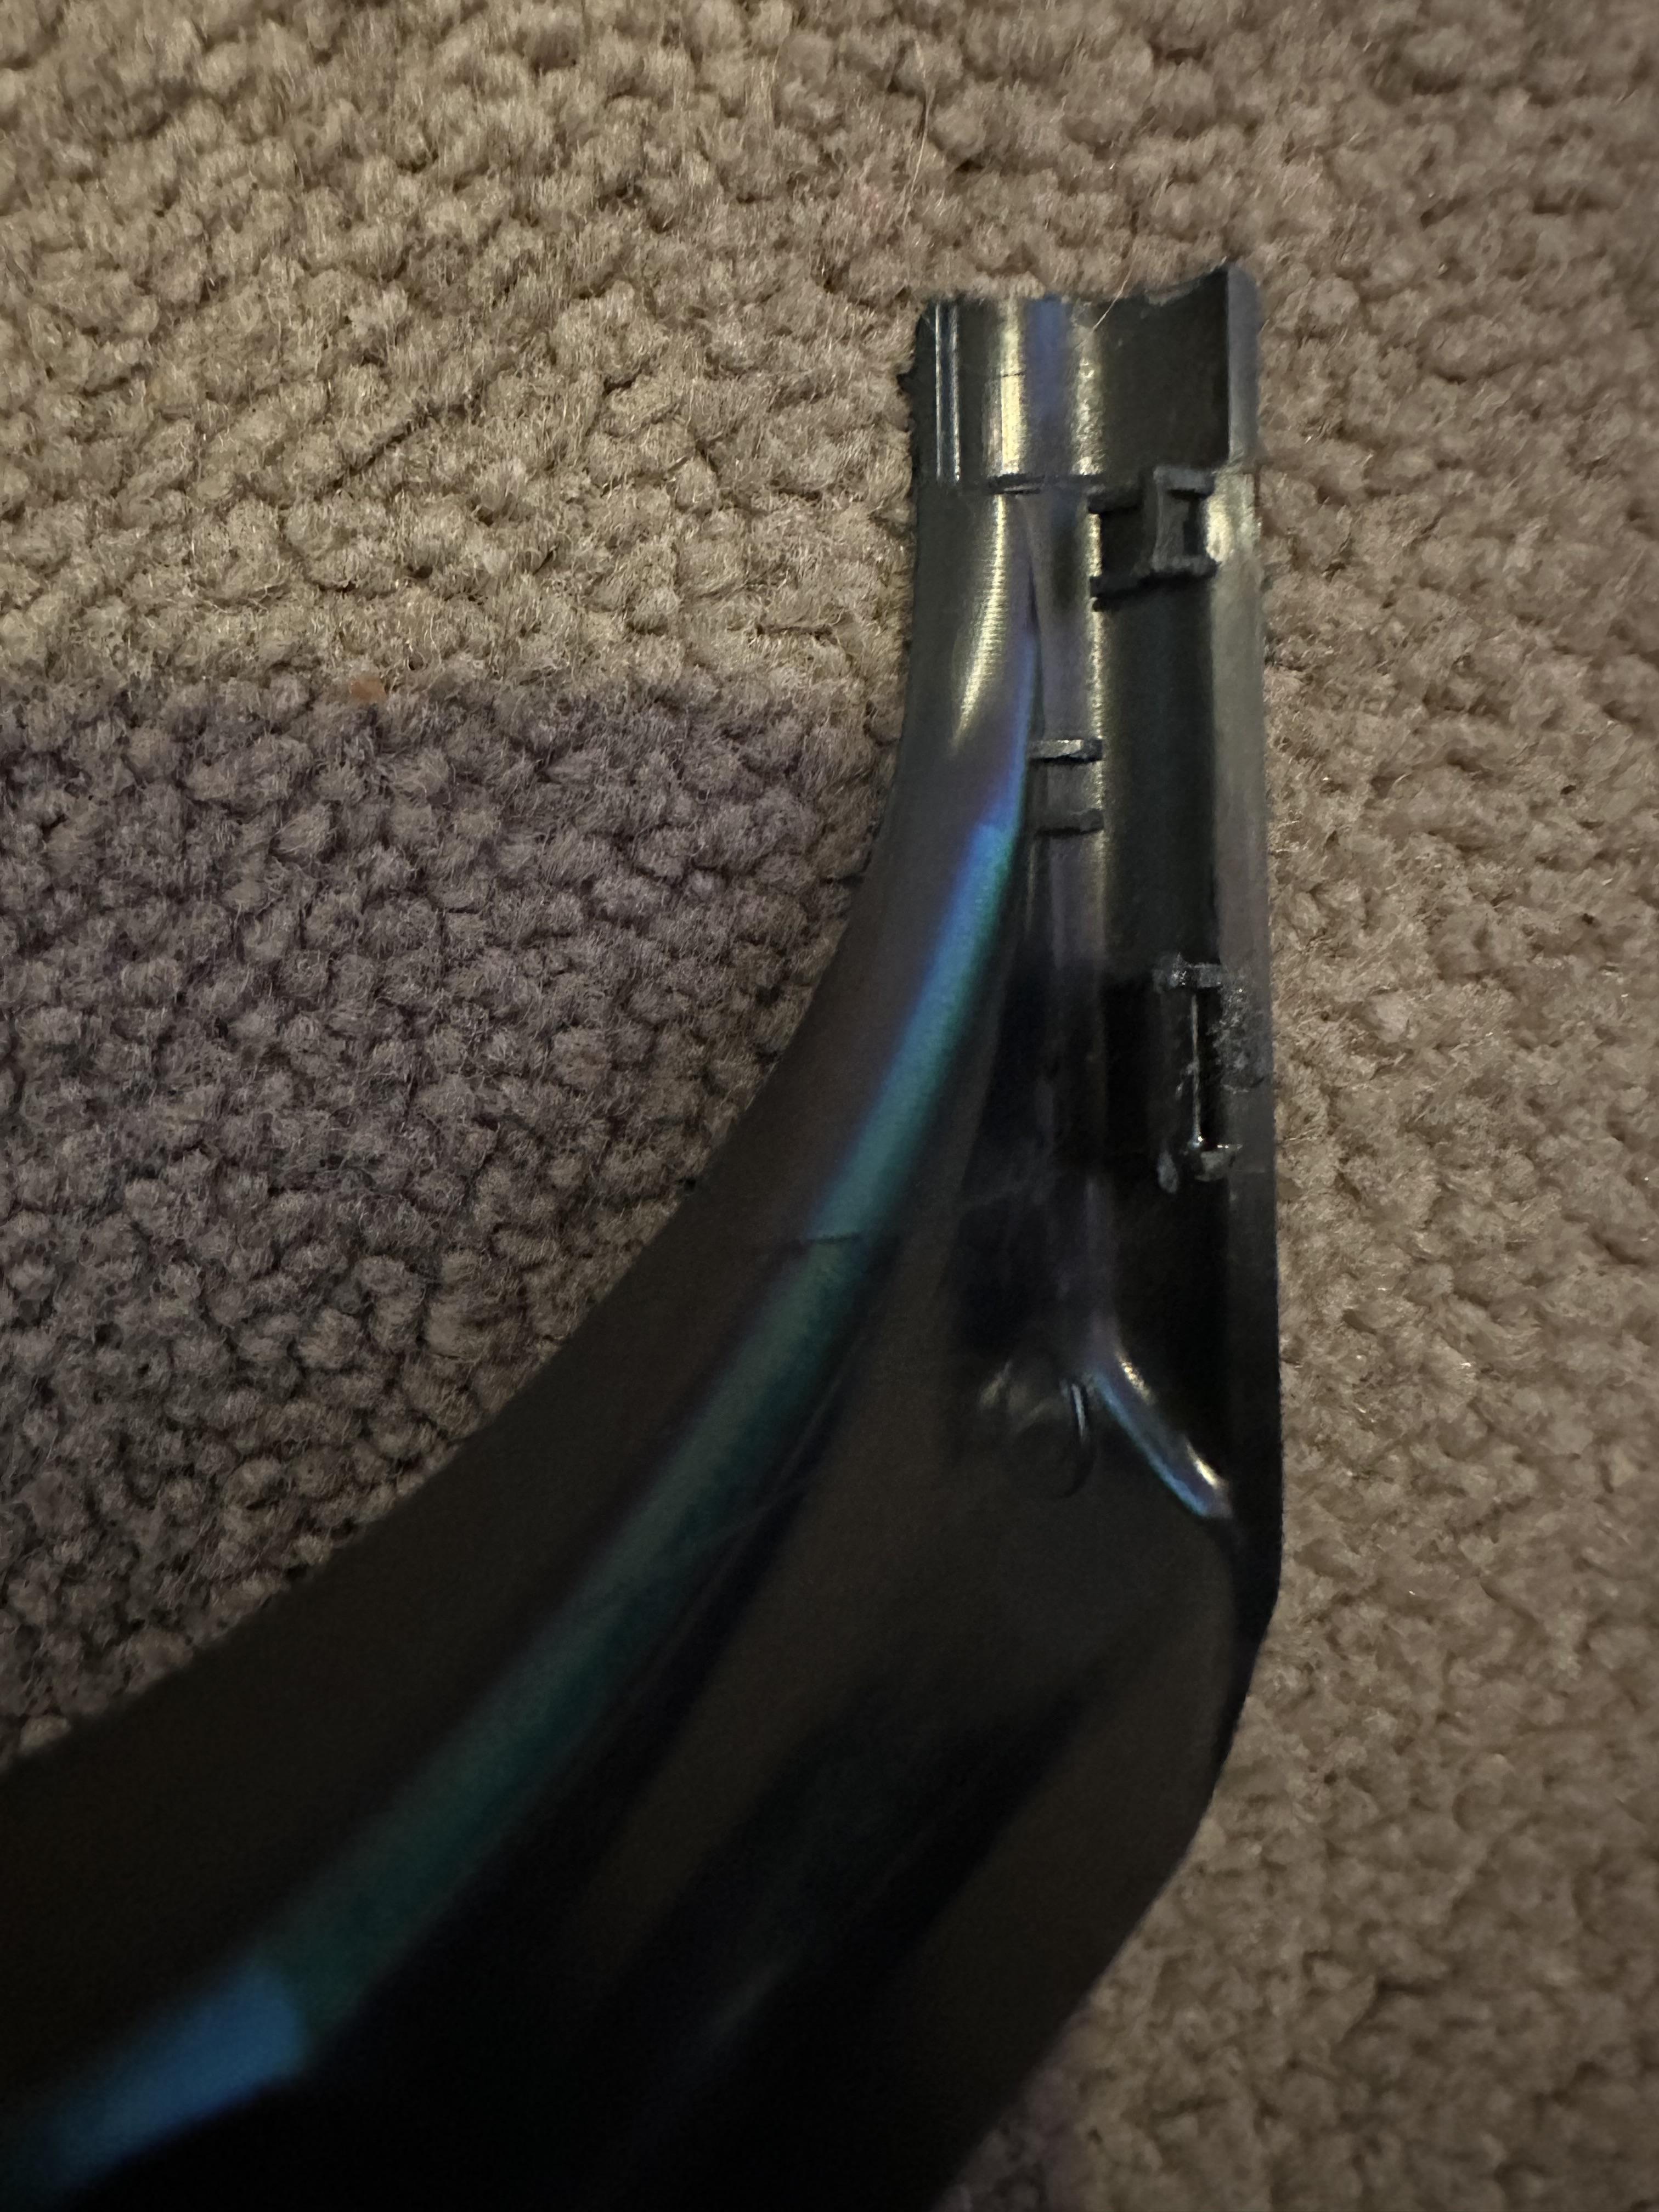
I fixed it this weekend. The top of that piece of plastic has two small clips which fit into a metal piece in the door. It looks like someone has been into the door before and they just pushed the trim piece in, which bent one of the clips. I was able to straighten it and it seems to work fine now. You do have to remove a lot of other door trim to get there though: Unclip the plastic behind the inside door release lever to reveal a screw prise out the window switch / ashtray to reveal another screw (unplug the switch) remove those two screws and one under the inside door handle pop out the door card - lots of plastic clips around the edge. Hope you have some spares! unscrew the screw in the round bumper on the plastic section on the side of the door and then remove that plastic (more clips) pop out two plastic clips and remove the plastic trim that goes all around the window frame Pull out the plastic piece near the b pillar - two clips into the door, double sided tape, and the two tiny clips on the top edge clean everything and remove the remains of the double sided tape from that part, and (for me) straighten the plastic clip on the top edge replace the double sided tape put the trim piece back, top edge first put everything else back in reverse order
-
Thanks @ambermarine - with the wind and drizzle I haven't had the opportunity to have a go yet, but I'm hopeful for the weekend.
-
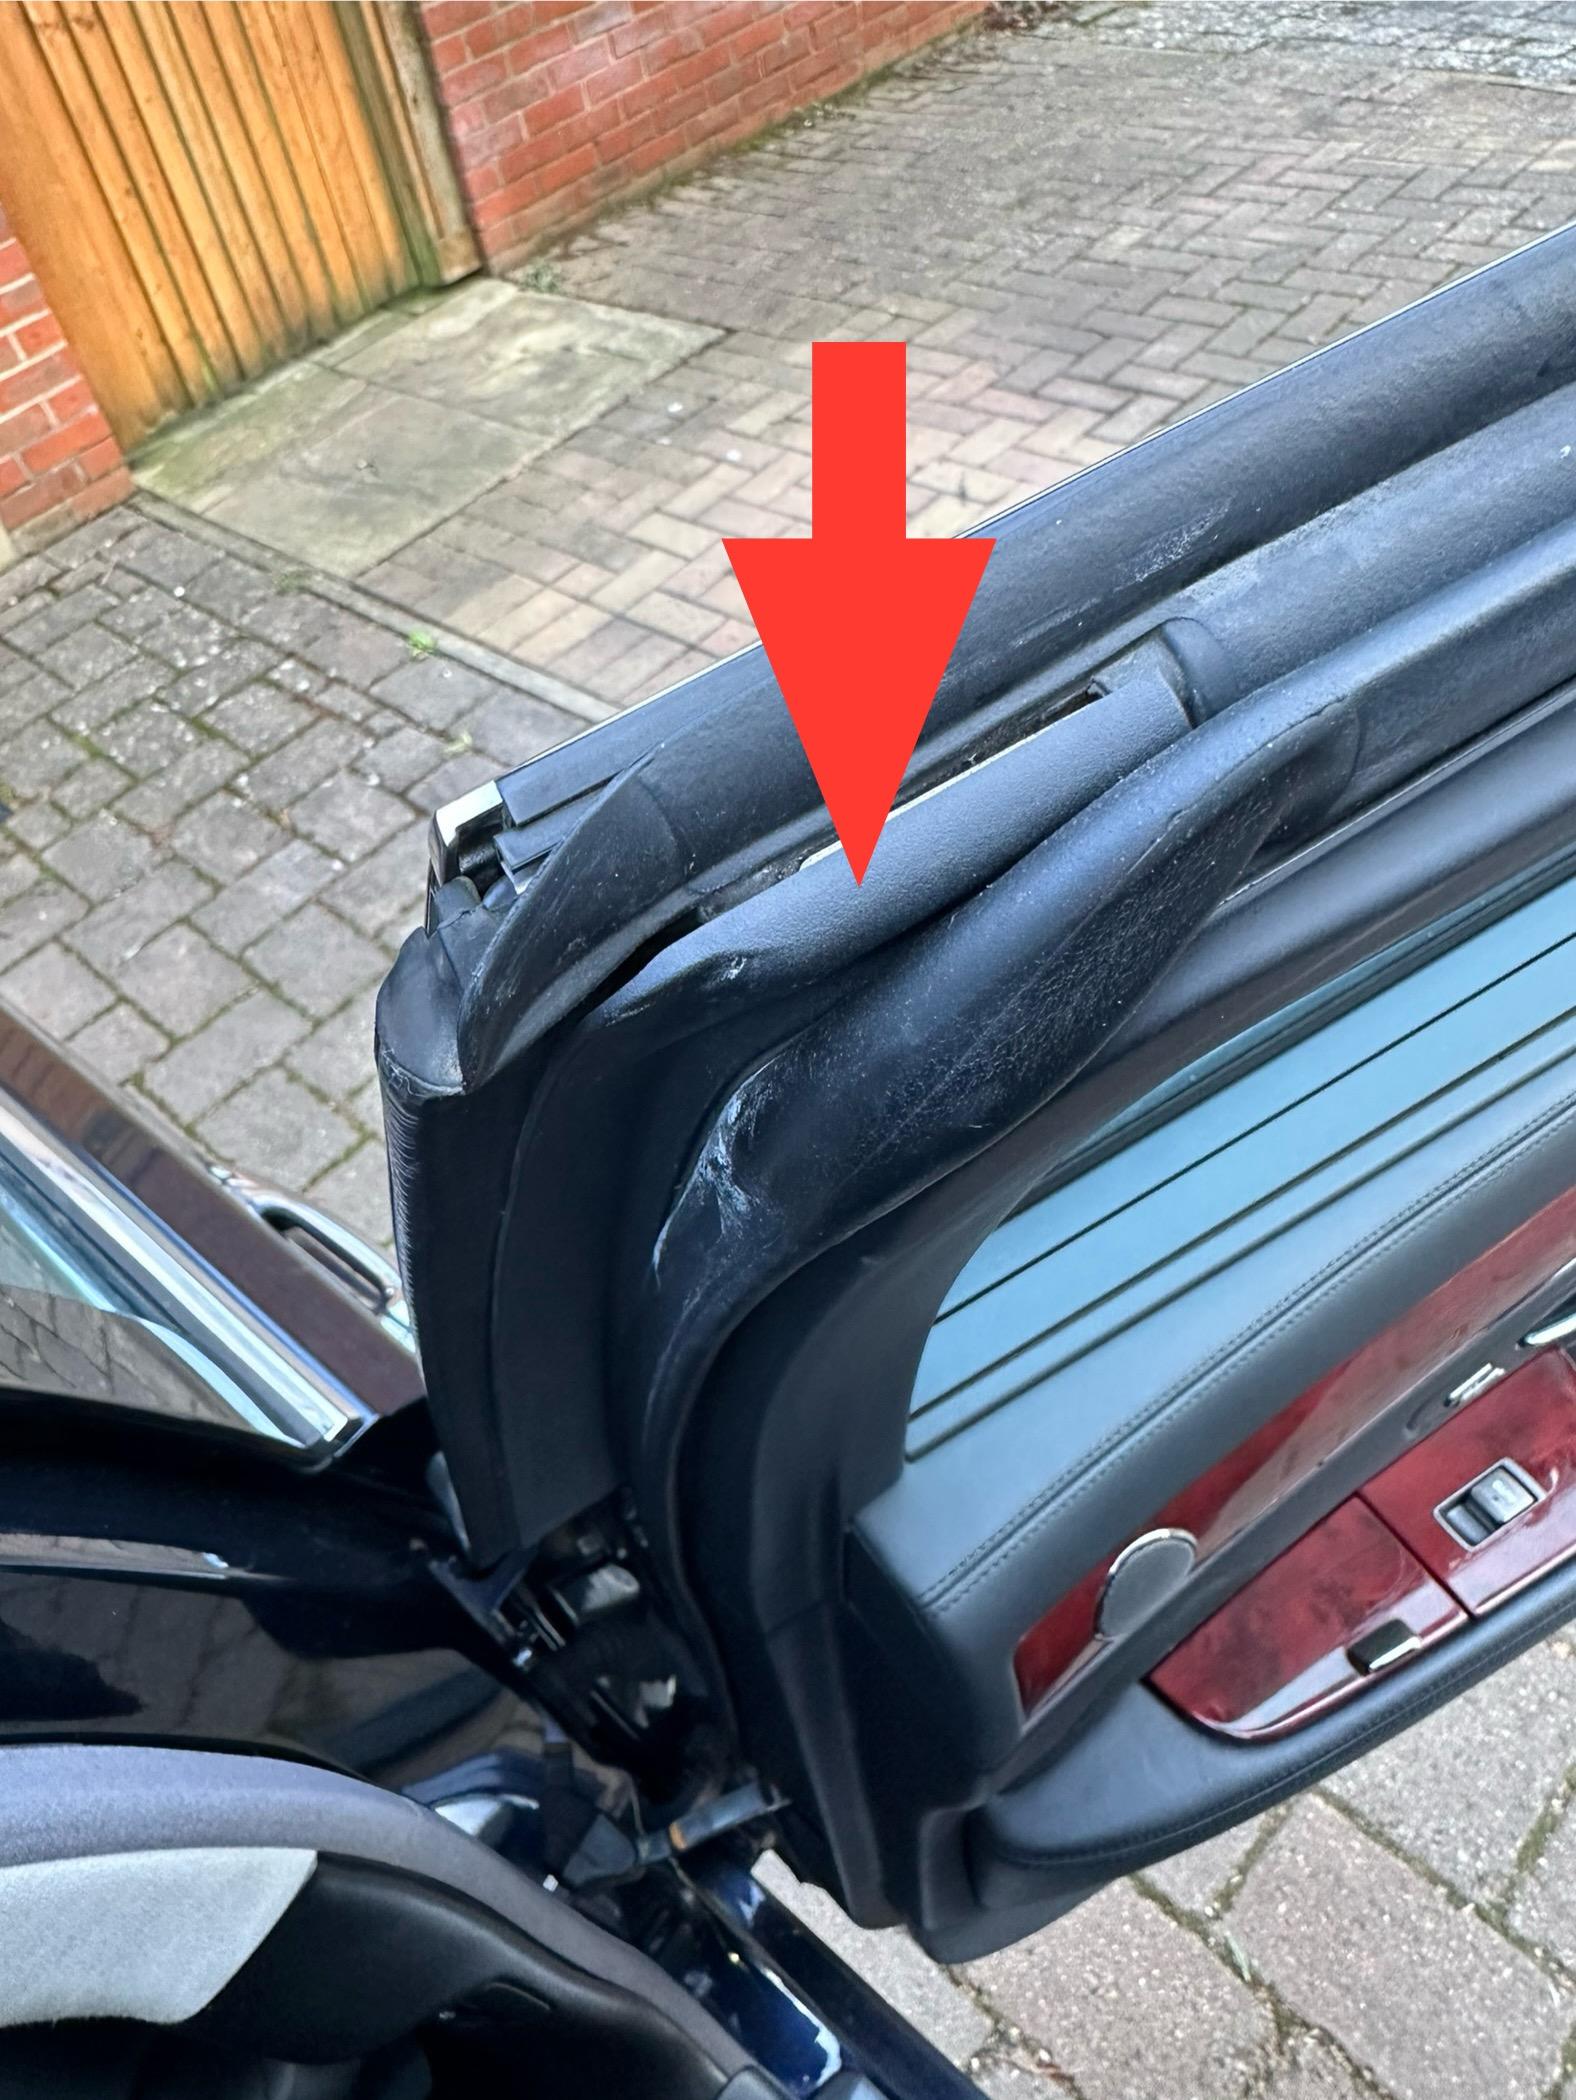
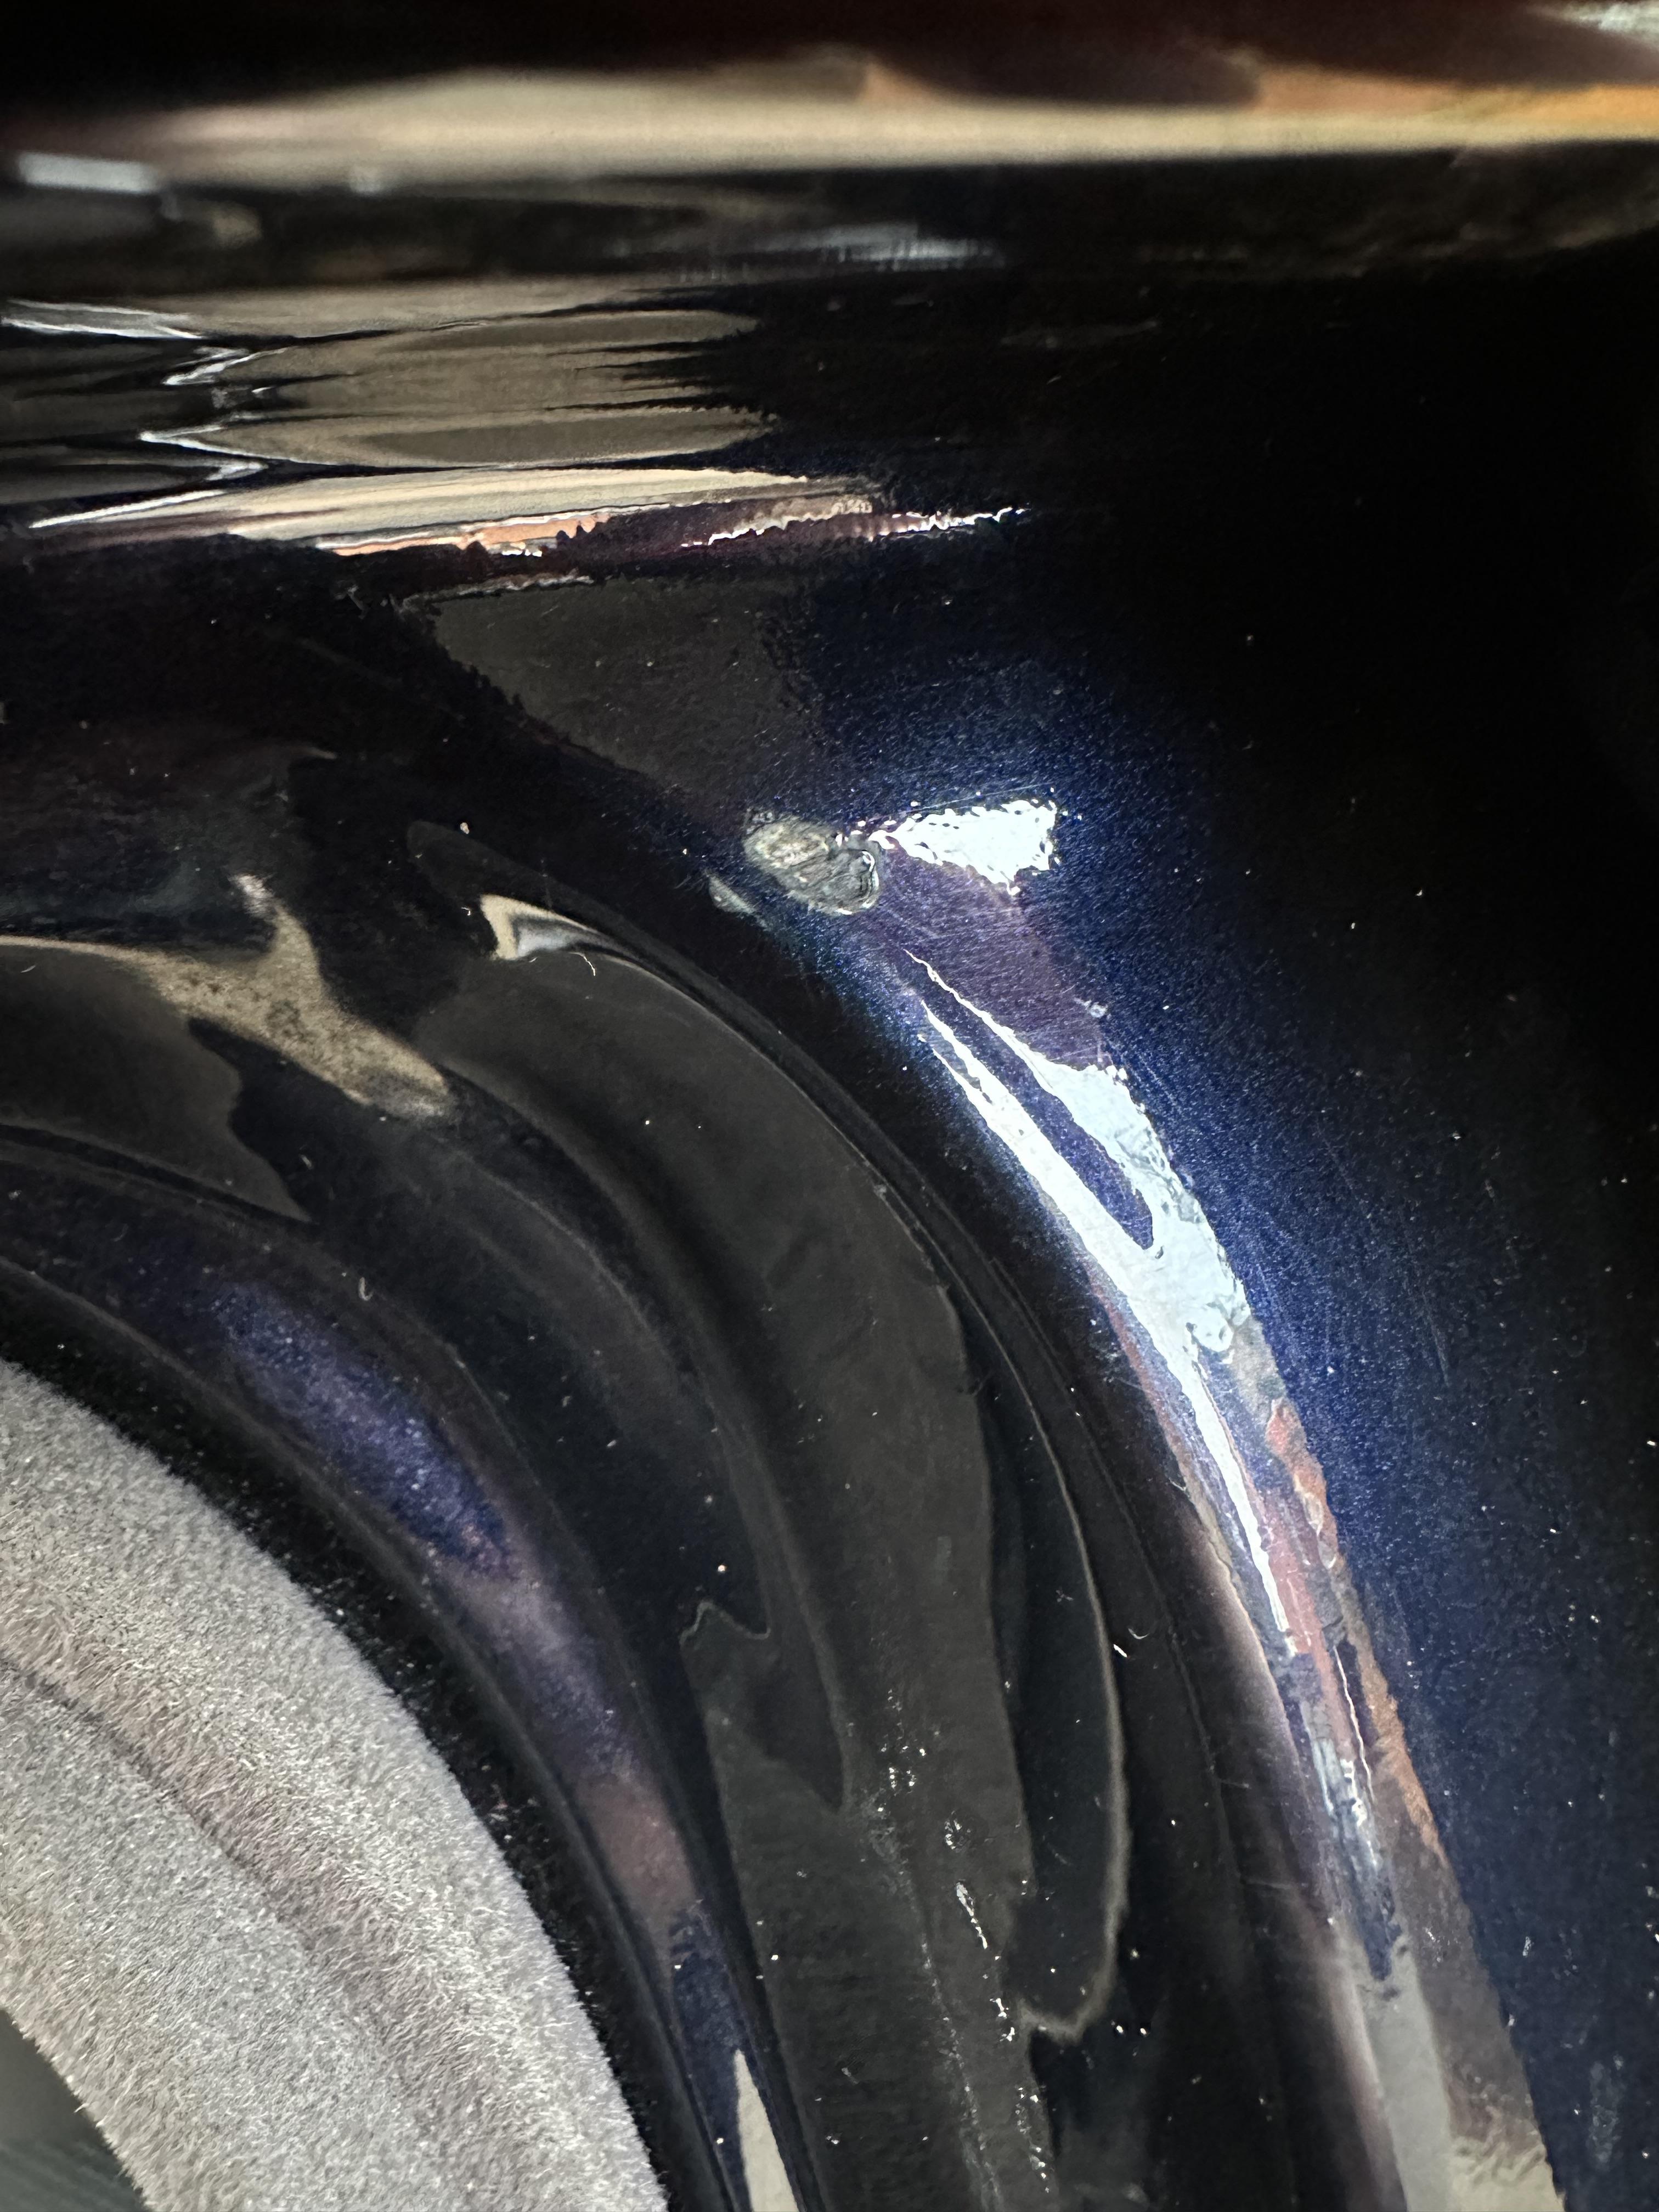
can anybody tell me how to remove and refit the plastic trim piece on the front edge of the rear door? The one on the right rear door on mine doesn’t seem to be clipped in properly, and consequently it’s started to wear through the paint on the car body.
-
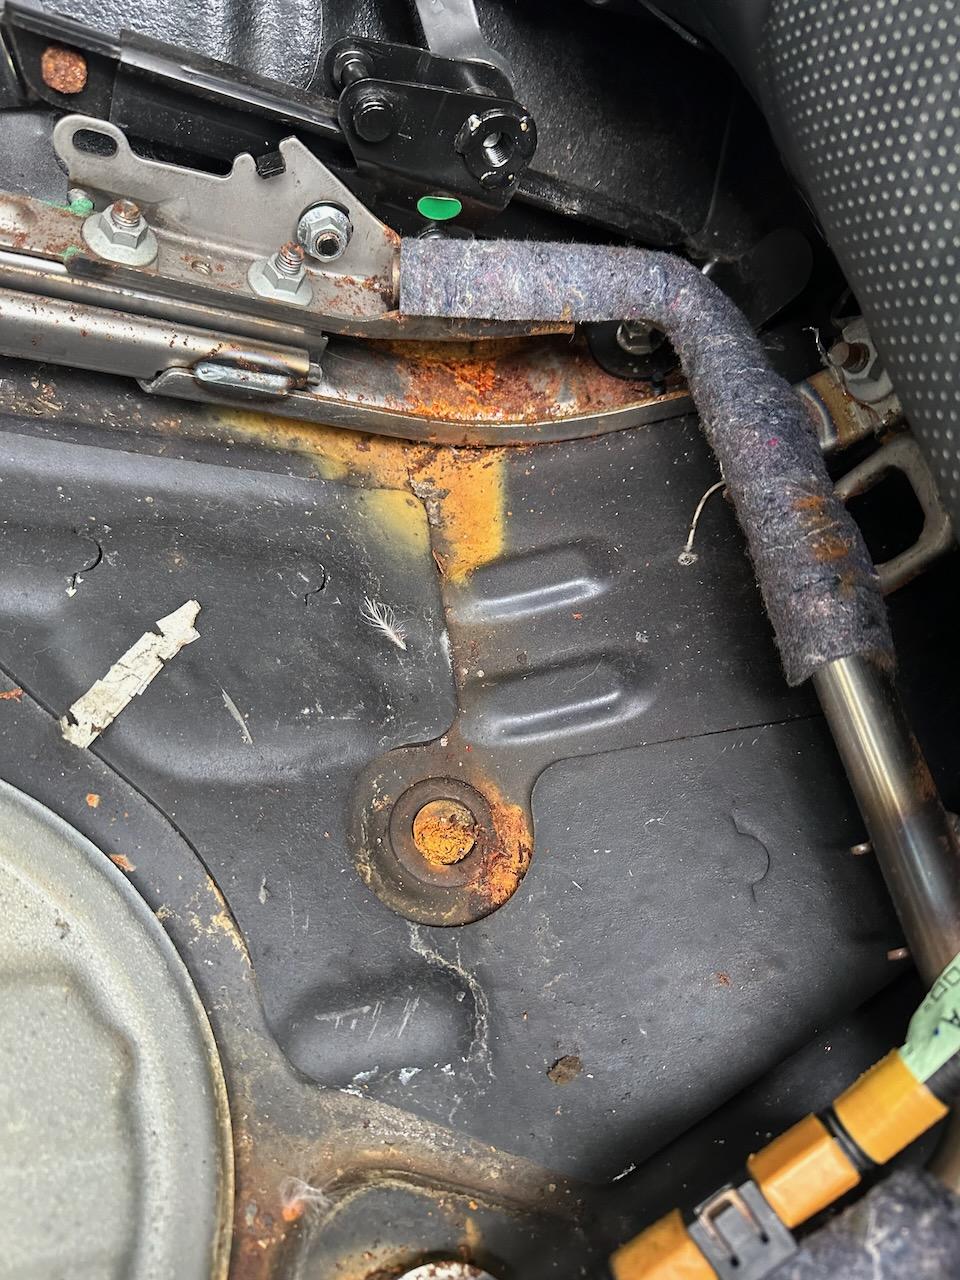
There doesn't seem to be any signs of it being caused by a leak, so either it's caused by condensation at some point over the last 15 years, or someone spilled something in that seat. In the photo one of the rubber drain plugs looks really rusty, it turned out to be an old 1p. The only other debris was a rusty paperclip.
-
This weekend I removed one of the rear seats so I could get the C pillar trim out to route the cable for my rear dashcam. I could do with suggestions on what to do with surface rust inside the car. Treat it with something, or just ignore it? I have some Dinitrol left so I might spray it with that before I put the seat base back again.
-
Thanks! I’ve been trying to crack the code for weeks. I’ve been seriously considering buying the set of workshop manuals from eBay, but they are ridiculously expensive ☹️
-
It seems to be a very well made unit. It's a "Tracker VLU6 Locate". It has a (very dead) lithium battery pack. When connected to my bench PSU it draws ~60mA when active and ~15-20mA in standby (when only the permanent supply cable is connected).