lam
-
Posts
54 -
Joined
-
Last visited
Content Type
Profiles
Forums
Events
Store
Gallery
Tutorials
Lexus Owners Club
Gold Membership Discounts
Lexus Owners Club Video
News & Articles
Posts posted by lam
-
-
Some completed shots of the interior....


-
I haven't had to chance to drive it at full low. I believe it will rub on the new arches on the rear and will certainly hit the arch if there is a bump. I could only drive it like that, at speed, if i dial in a bit more negative camber for the extra clearance and rebound direction. Also, at full low, you cant quite do full lock on the front, lol
Got some pics of the new interior, it should be ready for me very shortly for pickup...


and I have purchased the audio gear for the boot install. There will be a few special things going in there.... Once that is sorted i'll move onto working on the engine bay. It will be getting resprayed in metallic red with a gold pearl (including the underside of the bonnet) and depending on funds, a minor or major wire tuck to show off the engine.
-
Sneak peak at the new interior...

-
All done, the looks at the traffic lights when Nick slammed it then raised it up to go were priceless (apparently!) :D


Litte Vid (compressor not running so the front is a little slow.
-
Well, it's all in.
Just uploading a couple of short vids to youtube (damn I miss my 50MB connection :( )
Some pics in the meantime.


-
Good stuff B)
What are you doing with your old coilovers?
They are/will be for sale! Once they're off and have been checked, they'll be posted up for £400 ono.
-
Yesterday has been spent routing the power cable and front air hoses.
Some random pics (Lam, your boot has never been so clean :P )


The kit isn't as complete as it really should be for a complete install kit, as Nick needs to order some air line fittings (for a quality install) and some wire joiners.
We've been asked by the UK distributor to give a full write up and opinions on the kit as it's the first one in the UK to be fitted.
Think Nick will end up re-writing the instructions as for the UK market, I can see people complaining about the Engrish instructions :D
-
Some mockups of the air set up.


Apologies for the mess...the boot is usually the dumping ground for all my stuff :smash:
-
Yes it is indeed. It is currently at Garage 2 You getting fitted at the moment. It is going to be like Christmas when I get the car back!
-
Just a small update...


Now i can get the stance sorted :)
-
did you brace the manifold?
Yep all done!
-
Brief update as follows:
some shots of when it was going back together.
Compressor housing off as being polished

Going back together

Compressor housing back on


Full finished pics to follow this week, the replacement wastgate landed Thursday night and was hoping it was going to arrive Friday/This morning, but customs got hold of it and had to pay custom fees, so it's due to arrive with me Monday now, so I'll put everything back together for the 4th time, and it better be the last!
-
Manifold removed, T3/T4 adaptor bolted on, and the wastegate bolted on.


Keen eyes might see the wastegate is facing the wrong way, this is because the outlet would otherwise be pointing right at the steering column with only about an inch clearance, and no room for a screamer exit. This way there's room with some clever plumbing, although I've just had an idea that might be easier for me :D
Oil feed adaptor in place on the block, the other at the rear of the block gets blocked off

Exhaust side engine mount done (ooppps nearly forgot)
Picture of old mount

Not in bad condition as it goes, but the new one improved the engine wobble, I imagine the other side is worse, but it's not on the priority list at the moment.
Top of the 3" down pipe done, and fitting nicely with a V-Band


-
What was up with the manifold ? You say it wasnt straight ????
Basically, the flanges on the manifold needed a bit of machining flat so that everything would mate together smoothly. Also, the holes for the manifold studs needed a tiny bit of machining to line up straight with the block.
-
So the T3/T4 adaptors have finally arrived, phew!


Now the proper build starts.


Tomorrow and Friday should see the back broken of the custom work such as downpipe, oil drain, screamer pipe, coolant line for the heater matrix feed. Then it can all go back to together. The compressor housing is being polished also, but can only be done last, due to the amount of handling the turbo will be having.
-
Toyota delivery. £370 worth of bits right there!!

Bag of Haribo to anyone that can spot which one is the non-Toyota item.

Close up of the Heath Robinson special

New drop links in


Adjusting the lopsided suspension, you can see how much it was altered to compensate for the non connected and quite frankly ******* drop links. (I'm hoping that's the fault, as can see no other issues with the suspension)

Ride height adjusted, both sides measured for suspension height differences and floor to arch differences.


New Toyota exhaust manifold gaskets

But why? I hear you say.
Because the manifold is now straight and fits

Quick pic to show the hole, that'll be filled with a 3" down pipe, plenty of room down there for the screamer pipe, unlike on the MK1s. Why? front sub frames are completely different.

That's about it, apart from another, oohhh shiny!


Should have some serious progress by the weekend, as bits are arriving thick and fast.
-
So as we're now waiting on parts to come from places far and wide, I got it off the jacks and carried on with the rest of the service.
Think Nick from www.garage2you.co.uk has found the reason for my bad handling

Bolt missing from the drop link, then upon further inspection and reference to the EPC, home made drop links!!
So more parts ordered!
While he was in a playful mood, he had a quick mock up.


So, he will be finishing the polishing while we wait for the parts to arrive and also working on the manifold, so we can get the damn thing to fit!
-
Couple of "minor" upgrades taking place over the next few days...unfortunately, it means I won't be at Japshow Finale :(


 [/
[/ -
Took a few pictures of it her up in town last night...They are just the raw shots, they will be put into photoshop in the week. A selection for your viewing pleasure is below!


And the last one of all...in the Tesco's carpark today lol

-
Right i'm back from holiday and there are numerous complete pictures floating around in my absence but i'll post a couple of shots now and the rest tomorrow!!


-
This car looks awesome cant wait to see it finished!
Will defo be lookin for this at JAE B)
The only thing is its giving me bad ideas about mega dishy big wheels now!lol
If you dont mind me askin how much were the custom arches?
The cost of the custom arches will vary depending on what you get done. What you will need to budget for is a respray of the doors and rear quarter panel as well. I would say budget about 100 - 150 hours of bodyshop work to get it done, but of course, what you can benefit from is you can get a mould made of the new arches and you can make money off that.
-


Flush boot with lights installed. Check the out the red pearl!
I will now be premiering the car at Ultimate Street Car (yes, chavfest, but a busy show) on Saturday 1st August and at the Dorset Japanese Car Club show on Sunday 2nd August. Unfortunately, I won't actually be there, but Will will be showing the car for me, and I'm sure he will do a good job of it!
-
Right, finally got some more pictures from Will.


Flatted doors

Flatted boot...looking good right?

Check out the reflective finish!

Sideskirt in low-ish sunlight

Sideskirt in bright sunlight

Wing in bright sunlight

Rear bumper in bright sunlight

Rear bumper in low sunlight

Repaired and repolished wheel (check the first wheel pics at the beginning of the thread to see what they looked like previously) Thanks to Steve at Renowheel for that!

Rear window sections

Tinted.

Sunroof

Sunroof tinted

Tinted sunroof on car. Looks much better now, before it was more of a green tint.

The picture you've all been waiting for...rear wheels on, bodykit back on and painted!


Puddle lights installed and being tested. The wiring will be as such that the 5 below the drivers side door will turn on when the drivers side door is opened, and the rear 5 puddle lights will only turn on when the passenger doors open. As you can see, there are no concerns about the lights merging into one beam of light and losing the spot light effect. I will also have an override switch to keep them all on as well
-
Am i the only one who things the wheels look stuipid, simply because half of the wheel is inside the arch?
Nice looking car, but in my mind, the wheels just ruin it!!
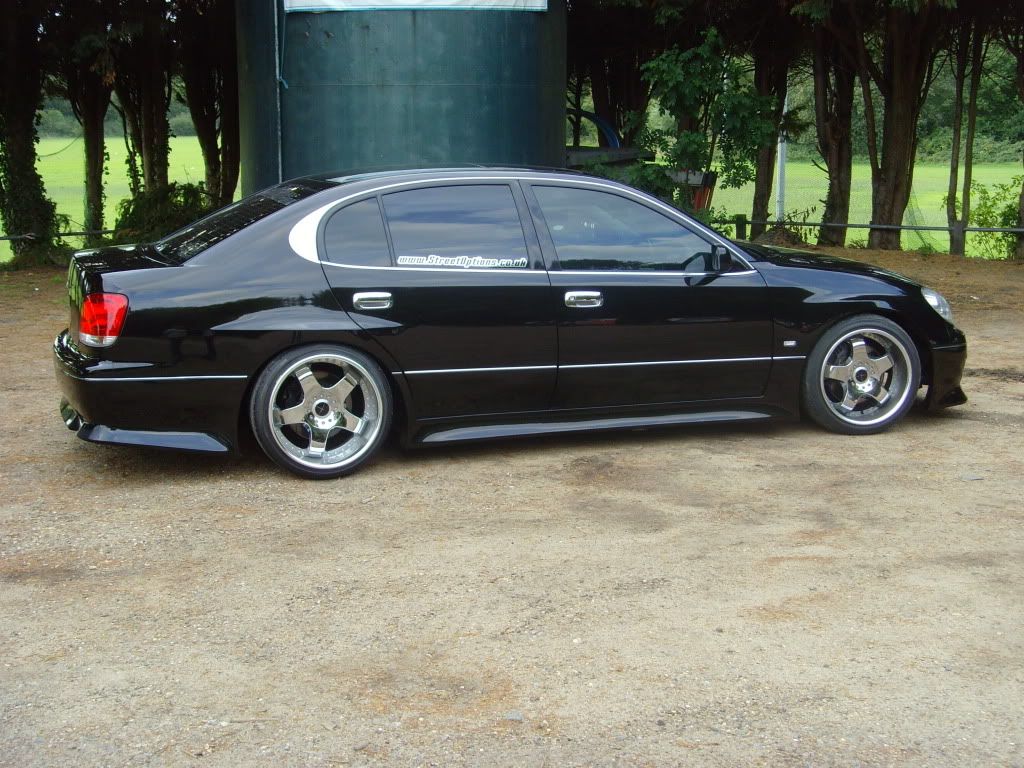
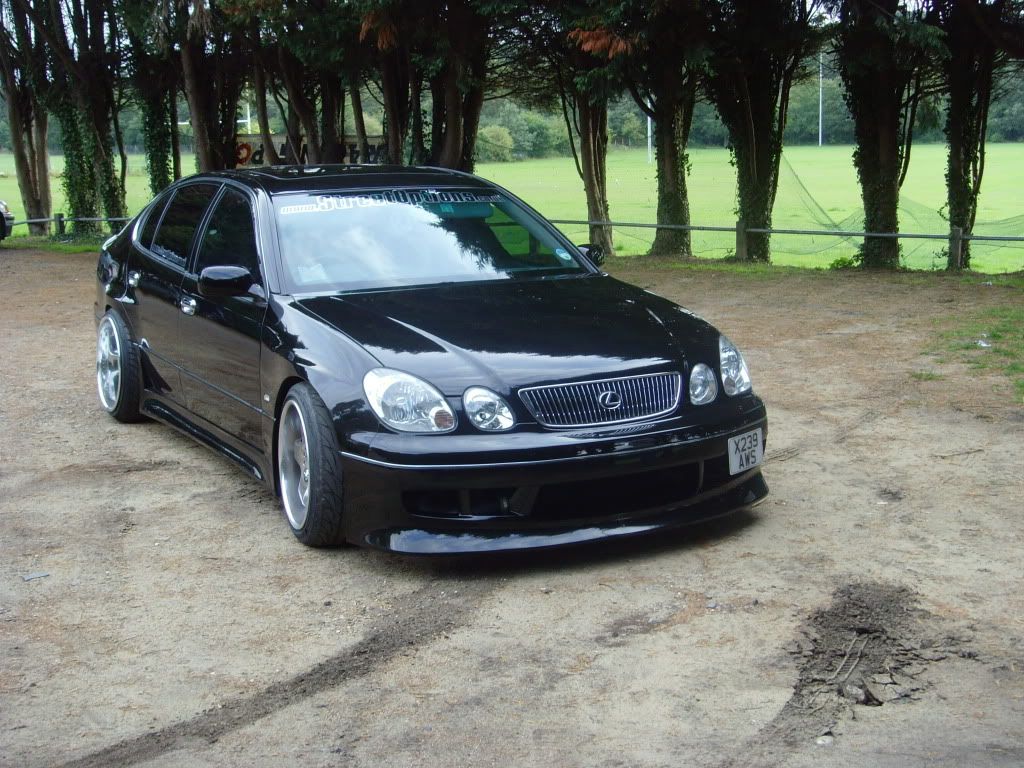
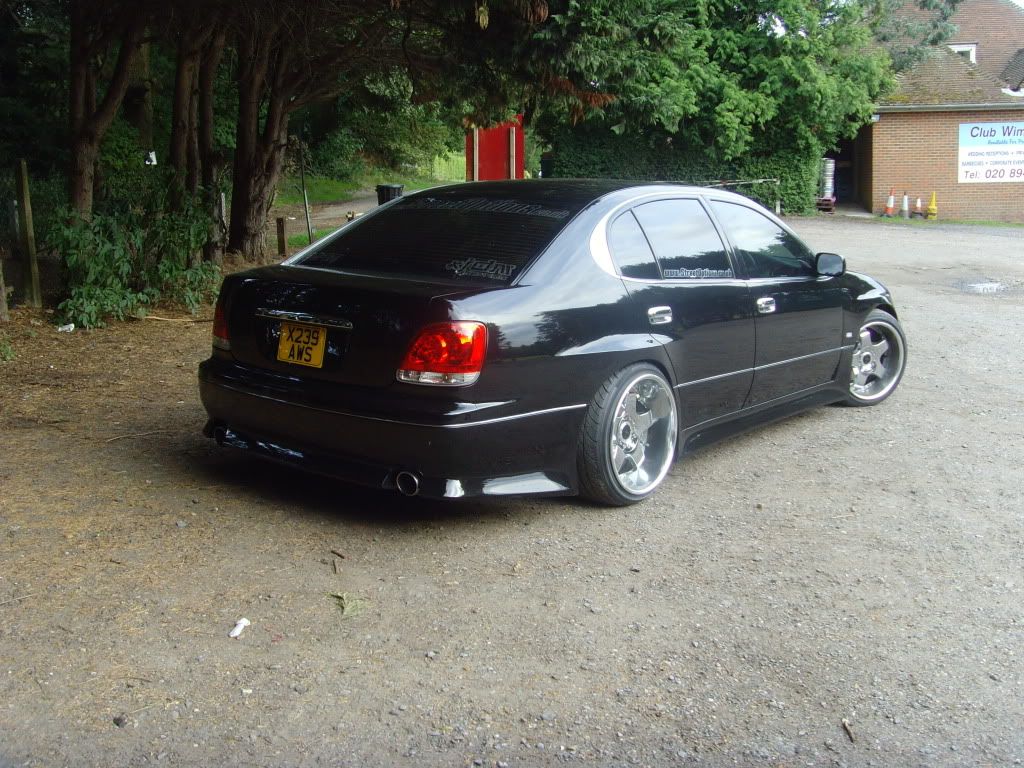
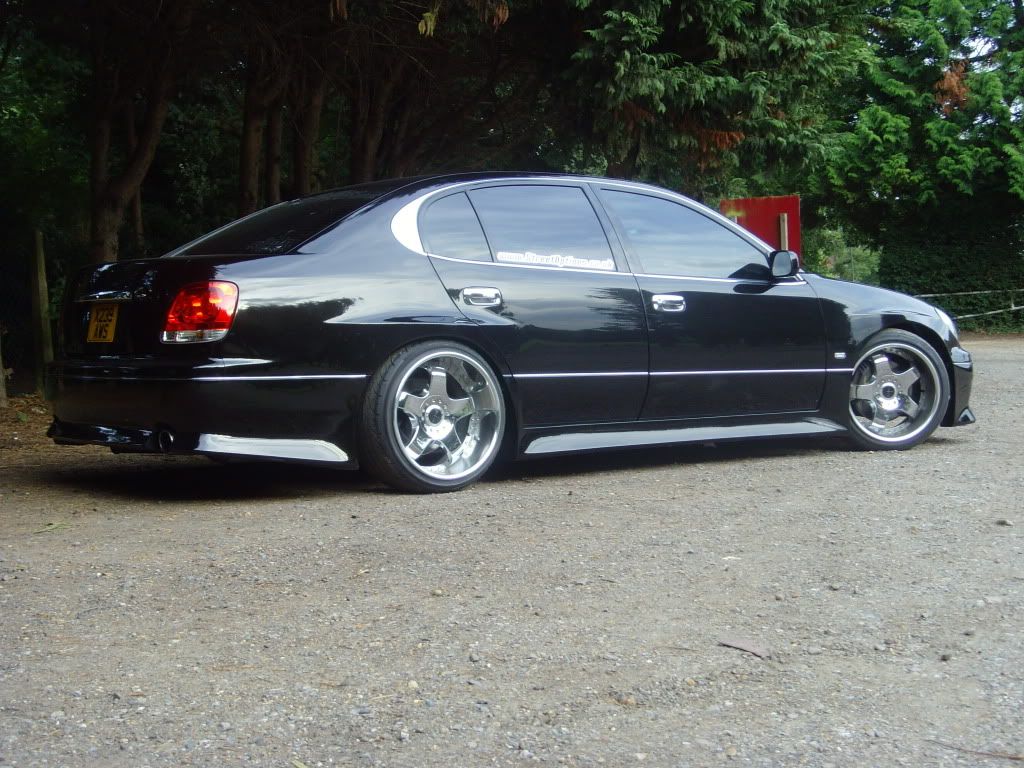
The car's stance is because it is on airbags which have been dumped on to its lowest setting. The driver will inflate the airbags to a more sensible ride height when he drives ;)
And it is my VIP Aristo that hasn't been finished yet as well...


My Vip Style Aristo Project
in Lexus General Discussions
Posted
Next up is the boot install. I have the airtank, compressor and control unit in there, but its all a but untidy at the moment. I will be getting an audio install built up around these, with the addition of a powerful 10" sub and I already have a decent amp to power it already. Ideally, I want to put in a 32" LED TV on the back of the bootlid connected up to a PS3, which I know the boot can swallow up, but will have to wait until the finances build up again.
Next up after that is to tart up the engine bay a bit. I am looking at a bit of a wire tuck to take place and to get the bay sprayed in a nice metallic red with a gold pearl, to continue with the black/red/chrome theme.