

Description
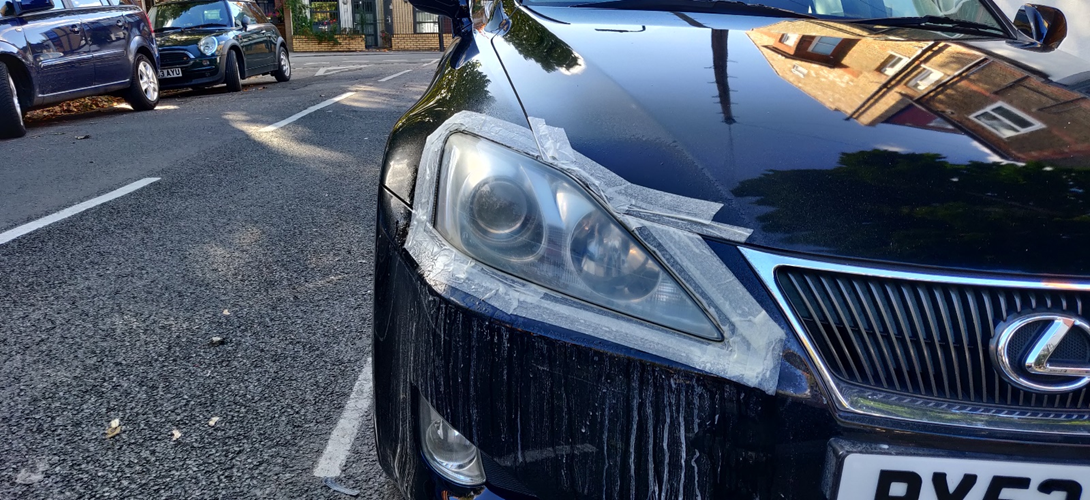
One of the issues with my recently-purchased IS250 was that both headlights were oxidised / looking hazy, and as I’ve not seen a guide to restoring them on here, I thought I’d write up the steps I took; considering I was quoted approximately double the amount I spent on the materials for a professional restoration, I’m pretty pleased with the results and hope you will be also.
Note: I am by no means a professional, and of course, your results may vary based on the condition of your headlights and/or the time spent restoring them. Some of the steps aren't strictly essential, so I've done my best to highlight them below.
Items Required
- Wet & Dry Sandpaper (Various Grades)
- UV-Resistant Gloss Clear Coat
- Isopropyl Alcohol
- Plastic Cleaner & Polish
- Carnauba Wax
- Spray Bottle
- Automotive Masking Tape
Restoration Method
Restoring the headlights will involve five different stages of wet sanding, with approximately 10-15 minutes spent on each stage per headlight (depending on the condition of your headlights or the result you wish to achieve). The stages are as follows:
- 400 Grit - Removes the top layer of heavy oxidation (can be skipped if your headlights are not severely oxidised)
- 600 Grit - Removes the majority of oxidation / yellow haze
- 1,000 Grit - Removes any remaining discolouration
- 1,500 Grit - Removes any scratches from sanding at previous grades and restores optical clarity
- 2,000 Grit - Removes any imperfections from sanding at previous grades, in preparation for Clear Coat
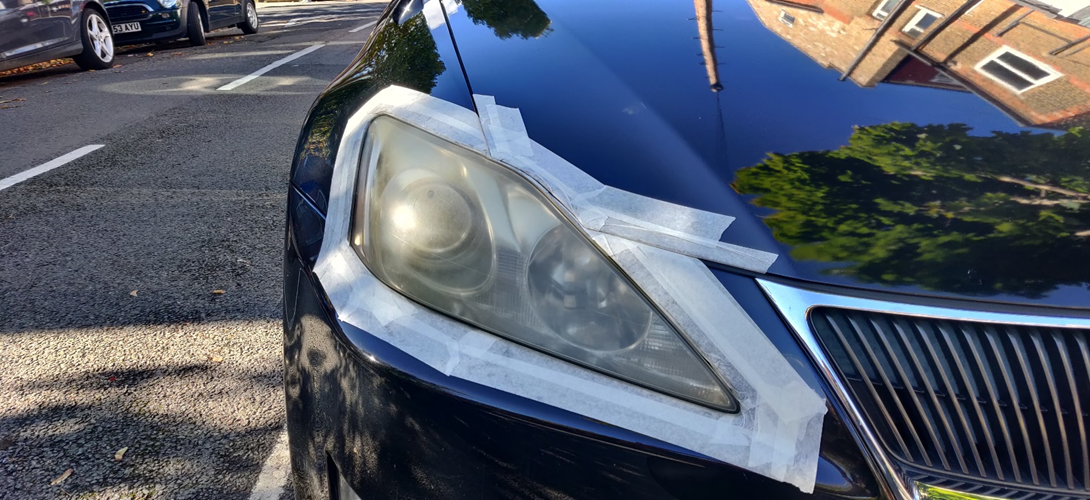
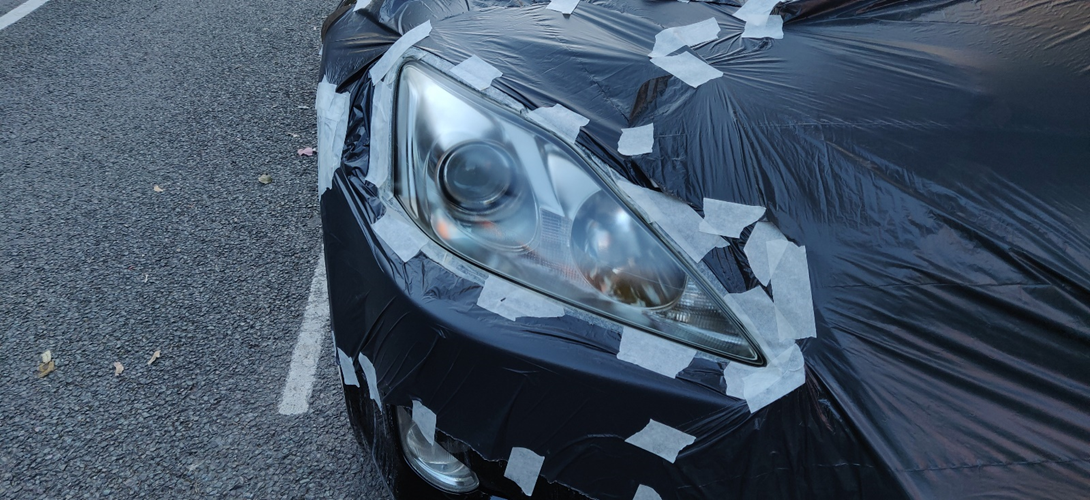
Once each headlight is masked off with tape, thoroughly spray both the headlight and sandpaper with water and begin sanding using a circular motion, taking care to use light pressure and continuing to spray down the headlight and sandpaper throughout. Switch to a horizontal sanding motion towards the end of each stage, and if done correctly there should be a noticeable improvement in the headlight once each stage is completed (see images below). Move on to the next stage and repeat until the final stage is completed.
Thoroughly clean the headlights with Isopropyl alcohol, to remove any particles left over from the wet sanding stages, prior to applying the Clear Coat. In preparation for this, cover the surrounding areas with bin bags or similar to protect against any overspray. Three coats should be applied per headlight, with approximately 5 minutes left between each coat (check the instructions on your Clear Coat if in doubt). The headlights should be left to cure for approximately 24-72 hours, to ensure they are protected against any oxidation in the future.
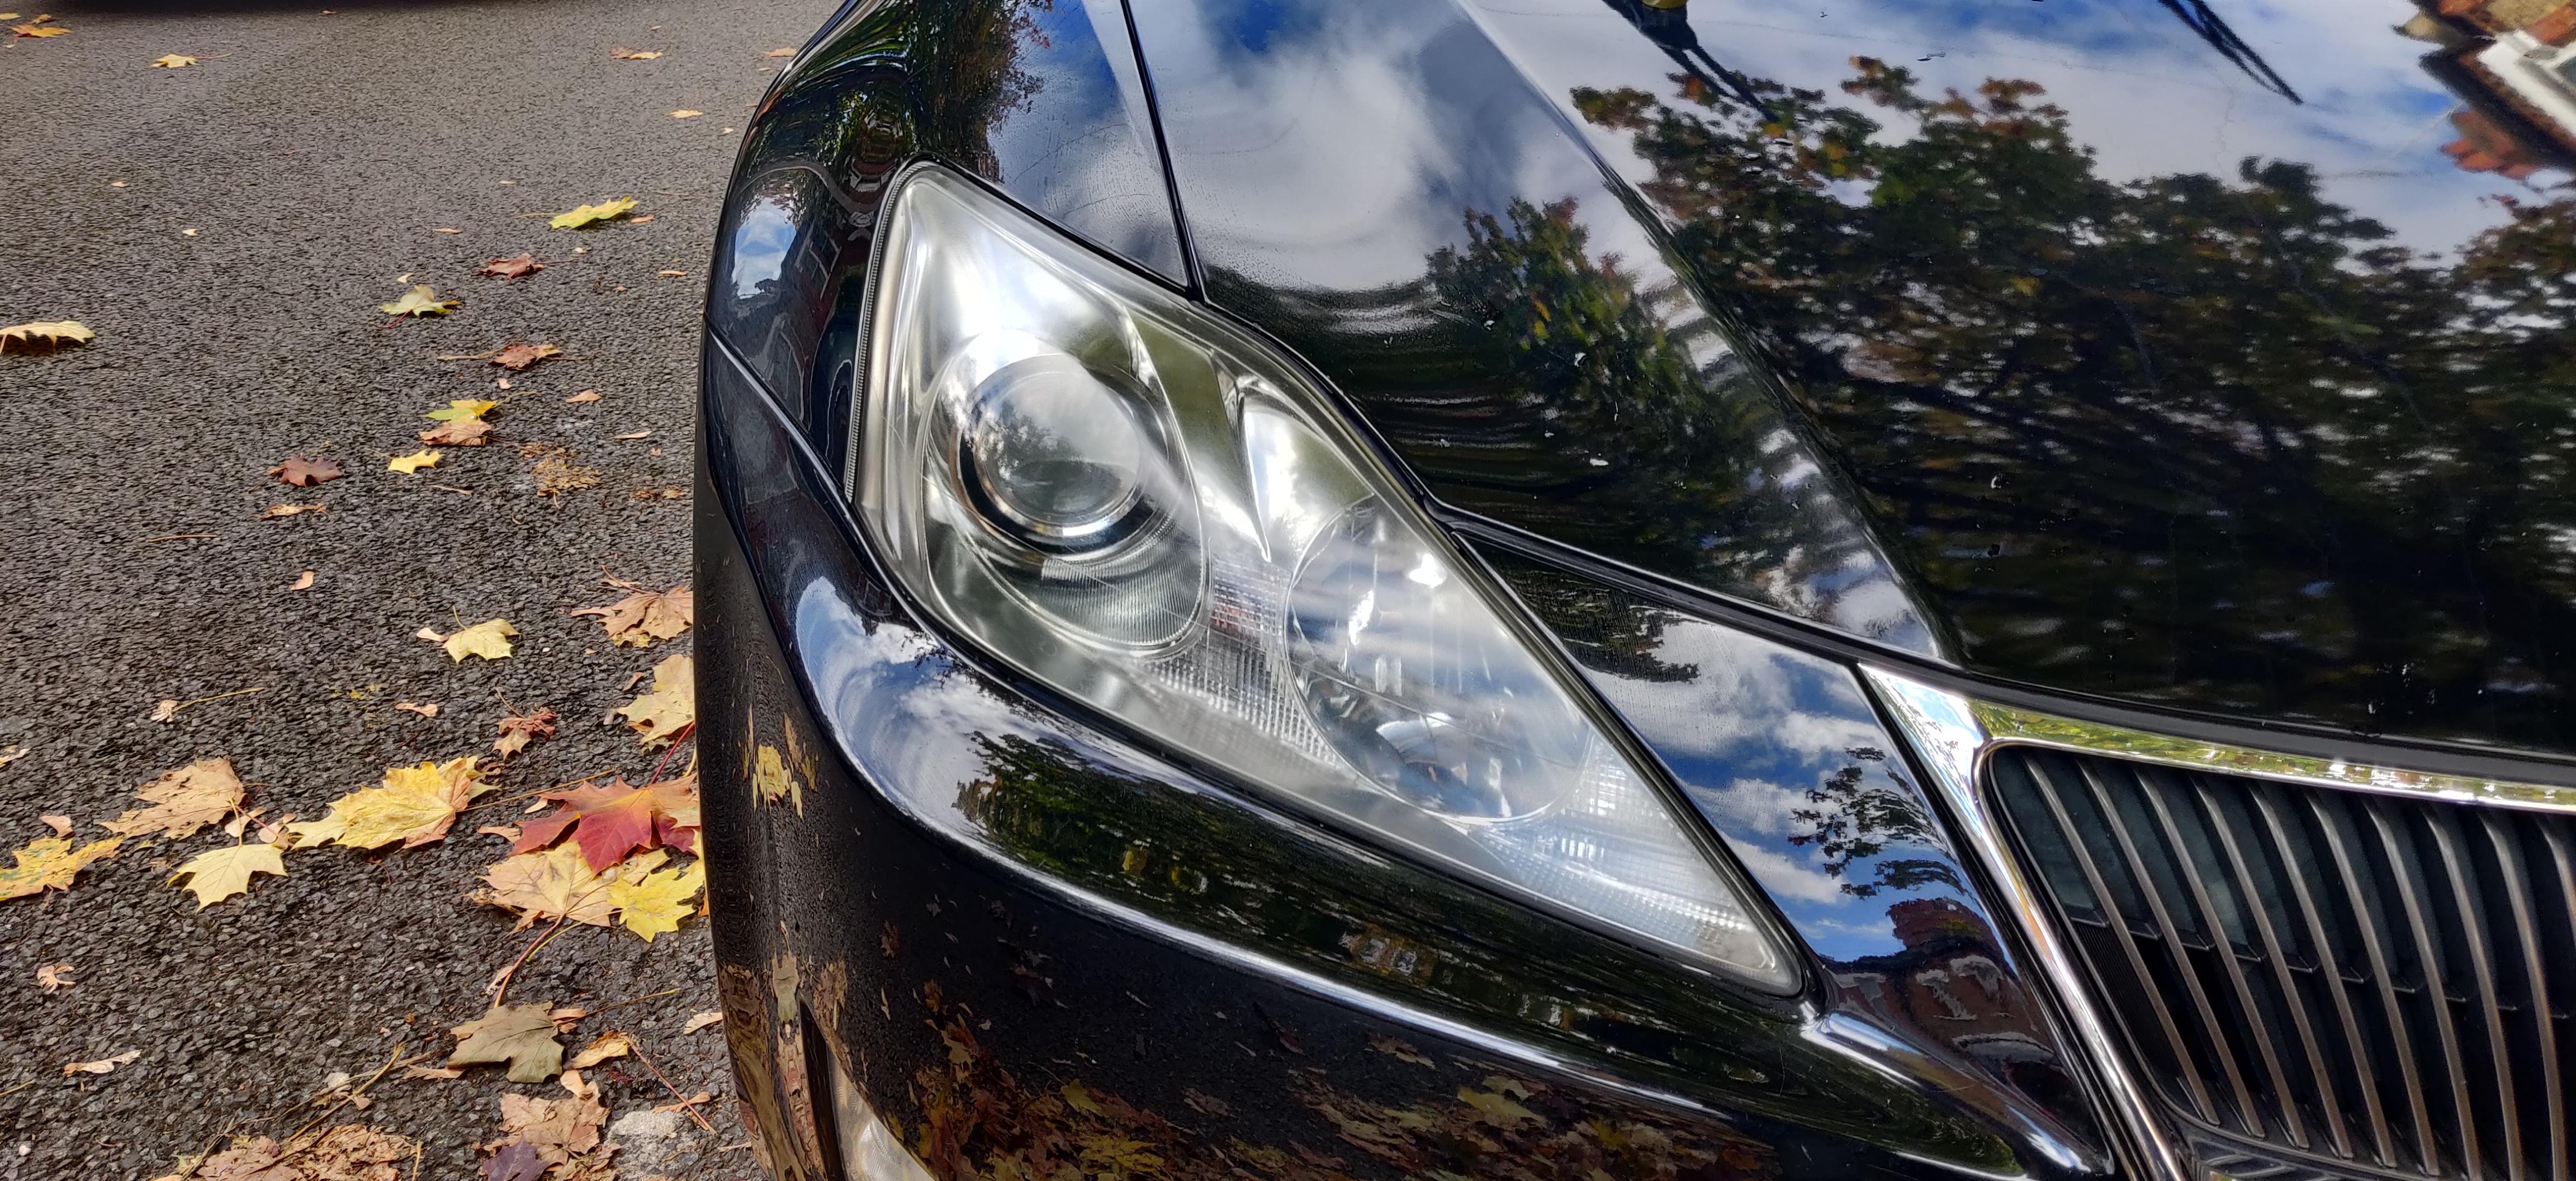
An 'orange peel' effect may be left by the Clear Coat, although this can be removed by wet sanding at 3,000 grit or higher using the same method as above; I chose to wet sand at four further stages (3,000, 5,000, 7,000, and 10,000 grit), although this can be considered optional. Following this, thoroughly polish the headlight using Plastic Cleaner & Polish until you've reached your desired end result, and finish with a coating of Carnauba Wax to protect the Clear Coat; this should leave you with a result similar to mine (image below).
Preparation
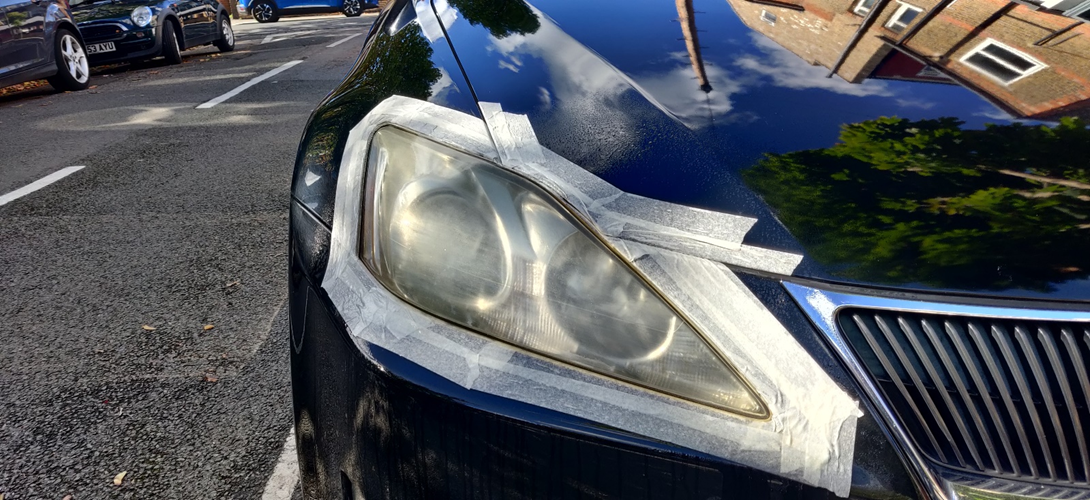
Stage One - 400 Grit Wet Sanding
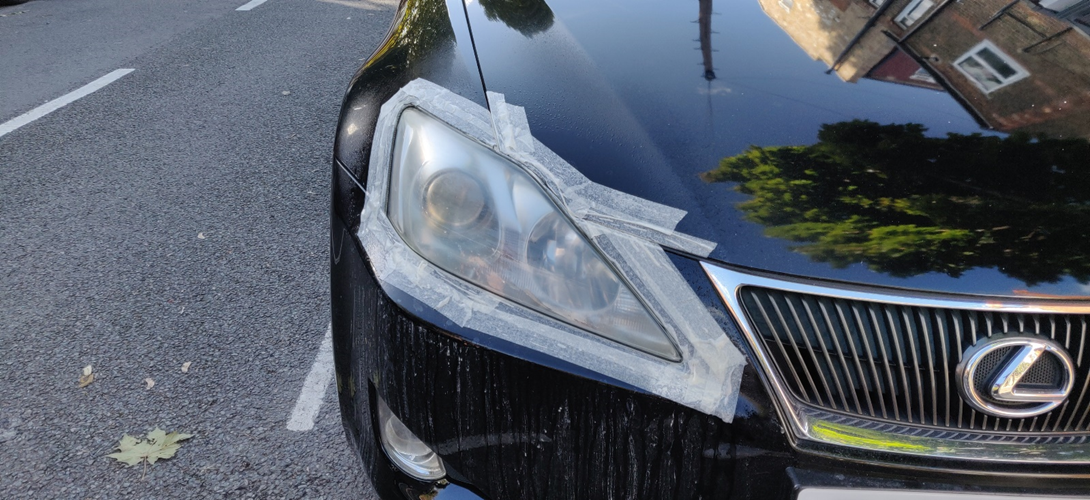
Stage Two - 600 Grit Wet Sanding

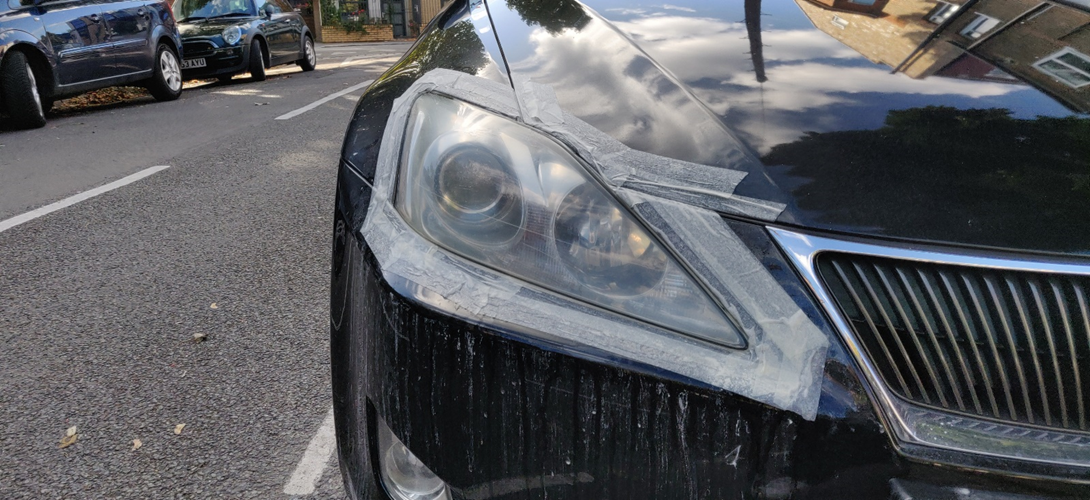
Stage Three - 1,000 Grit Wet Sanding
Stage Four - 1,500 Grit Wet Sanding
Stage Five - 2,000 Grit Wet Sanding
Clear Coat
Final Result


Recommended Comments
There are no comments to display.
Join the conversation
You can post now and register later. If you have an account, sign in now to post with your account.