

Redsteve
-
Posts
316 -
Joined
-
Last visited
-
Days Won
3
Content Type
Profiles
Forums
Events
Store
Gallery
Tutorials
Lexus Owners Club
Gold Membership Discounts
Lexus Owners Club Video
News & Articles
Posts posted by Redsteve
-
-
Hello Gunnar.
I can't give you the information that you are looking for, however, if you contact a company called Bigg Red they will be able to help you.
They supply parts for rebuilding callipers and they know everything there is to know.
I hope this helps.
Steve
-
The quick and easy way to check if the ABS and Traction Control (both work from the same sensors) is functioning is to drive onto a piece of grass and give the throttle a quick stab with the VSC function switched on. If you are getting substantial wheel spin then the sensors are not working.
Only one of the four sensors has to fail to shut down the whole system.
Steve.
-
15 minutes ago, harrylime said:
ECP list d2r and h4 bulbs for my car. Am I right in thinking that h4 are halogen and D2r are xenon? If xenon bulbs were originally fitted, wouldn't H4 bulbs be a retrogade step? The D2r bulbs are very pricey. my lights are not bad, I just feel they could be better. Bold claims are made for some of the H4 bulbs and there seem to be many variations of the Osram Nightbreakers
Hello Hugh.
I think the dip beam lights are Xenon but the high beams are Halogen.
I thought that was because the Xenon lights take a couple of seconds to reach full brightness whereas the Halogen bulb is instant. (I might be completely wrong about this)
Steve.
-
Hello Anthony.
I am not sure whether it is the same on a 430 but on my 400 when one of the ABS sensors failed the VSC light was on all the time. As soon as I replaced the sensor and drove the car over about 20MPH the VSC light went off.
It might be worth a look.
A word of warning though, new sensors are not cheap.
Hope this helps.
Steve.
-
236,000.
99,000 have been done since I bought the car about 10 years ago.
-
 1
1
-
 1
1
-
-
OK, maybe you need to take the glass out of the mirror housing and check the moving parts.
It might just need a good clean, I know my mirror housings seem to be home to all sorts of creepy crawlies.
-
The little left/right switch on the mirror adjusting pad needs to set to left if you want the left mirror to dip, set it to right if you want the right mirror to dip.
If the switch is in the middle position neither mirror will dip.
Maybe your switch has been moved to the centre position.
Steve.
-
Hello guys.
I went to use my headlight washers a few days ago and realised they are not working. The car went through it's MOT a few weeks ago and they worked then as I was present when they were tested and saw them working.
I can hear the pump working when I press the wash button but no water is coming out of the jets, I know the headlights have to be switched on for the washers to work.
The windscreen washers work fine but I think they run off a different pump.
I assume the headlight washer pump works off the same reservoir as the windscreen washer pump, there is plenty of water in the tank.
When I try the headlight washers there is no puddle or leaks under the car (I thought it might be a split or detached pipe).
Do you have any ideas as to what to check next?
Thanks.
Steve.
-
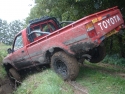
Hello Norman.
I had the same thing happen to me a few years ago with an American pickup truck I had. It was not convenient to buy any replacement parts so I just "fixed" it by using a few blobs of No More Nails.
It was as good as new and was firmly attached for the rest of the time I owned the truck.
I hope this helps.
Steve.
-
14 hours ago, cornershop said:
Wondering if @Redsteve is still on here?
After my suspension change, i think the front end is riding higher than before and have have mis-aligned the headlights as i was getting several flashes from oncoming cars a few nights ago.
Section 2 in the link below for HID lights, references a cog wheel A that needs to be released, prior to adjust the the Bolt A (and then replicating the adjustments using Bolt B)
Did you have to do this, as you've not mentioned this above?
The release for Cog Wheel A is a bit stiff on mine, so wanted to check before potentially breaking something.
http://lexus-doc(blocked word)/ileaf/lex98rm/98rmsour/1998/98ls400r/be/hatsy/adju.pdf
Also - based on Steve's details above, i made the adjustments to Bolt A before releasing the lock on Cog wheel A - so unclear now if this means i didn't actually achieve anything!
I didn't touch any cogs at all.
All I did was bring my wheelie bin round to the front of the car, mark where the brightest part of the beam was positioned and then adjusted the bolt to raise the beam about an inch higher than my mark.
Steve.
-
1
-
-
Hello Guys.
This is just a quick update to let you know how I got on.
The adjusting screw is mounted towards the bottom of the light units between the two lenses.
You have to turn it anti-clockwise to raise the headlight beam and it works in tiny increments so be prepared for your arms to ache when you have finished.
It is a bit awkward to get to the screws as on one side the Battery is in the way (there is just enough room to work) and on the other side the air filter housing is in the way (I removed this to make life easier).
The end result is that now my headlights are back to where they should be.
I went out for a drive in the dark and no one flashed me so they don't seem to be dazzling oncoming traffic and I can see where I am going.
Thanks to Steve for the picture.
Steve.
-
Thanks Steve.
After looking at the picture in your link I think I have located the adjusting screw.
In your picture it is shown at the top of the headlight but as mine are HIDs it seems to be at the bottom of the unit.
I will give it a go at the weekend when I have a bit more time and I can trial what I am doing in the dark.
I will keep you posted as to how I get on.
Once again, thanks for your help.
Steve.
-
Thanks Pete, hopefully someone will be able to help us out.
-
Hello guys.
I recently had to have the automatic headlight levelling sensor bracket thingy welded up as it had broken. Since it was done I am pretty sure my headlight beams are now pointing down more than they used to.
Is there any manual adjustment on the headlights to raise the light beam or do I have to get the bracket thingy re-welded in a different position?
Thanks.
Steve.
-
Hello Norman.
I assume your air filter is positioned just behind the headlight.
If so, you are probably not doing anything wrong, it can just be a real pain to get the big round clip located properly.
I can remember I changed my filter once and I took me almost half an hour to get the clip seated right. Thankfully it is not like that every time, sometimes I get lucky and it seats properly first time.
Just have another go, if you start getting frustrated walk away and go back in 10 minutes, you will succeed in the end.
Steve
-
1
-
-
6 hours ago, NemesisUK said:
How's about this?
"You guys aren't like the Zodiac killers or anything, right?"
Two Lane Blacktop.
-
1
-
-
"Only to be getting the benefit of it honey, you REALLY need to be sitting in my seat."
-
Vanilla Sky
-
Hi Simon.
Nice idea to give us the WTF fixes, they never seem to be in any of the How To Guides that I find.
As far as your seized calliper bolt goes this is what I did.
I put the socket on the bolt and chose the longest ratchet I had that would fit in the space that I had. I then put a jack under the ratchet and VERY SLOWLY and in tiny increments wound the jack up to provide the leverage.
I had struggled for a few days to get the bolt undone but with this trick I had it done in about two minutes.
I hope this helps.
Happy New Year.
Steve.

-
Hello Guys.
I have the DHP package on my 2000 LS and found the 245 tyres ridiculously expensive so I went down to 235/50/17. I have had about 4 sets of Falken tyres on the car since I have owned it and I can't really fault them. The Pirelli tyres that were on the car when I bought it were only half worn but they were causing the car to tramline all over the place. Since I have changed to the Falkens I can run the tyres right down to the limit and still feel confident that the car will go where I want it to.
One thing to consider about the profile of the tyres with the DHP package is that if the front springs are starting to get a bit tired then there isn't much clearance between the tyres and the inner wheel arch on full lock so you might want to reduce the profile to give yourself a bit of wiggle room.
I didn't notice any difference in ride comfort by reducing the width of the tyres and no noticeable reduction in grip either.
I hope this helps.
Steve.
-
A switchable valve in the exhaust would be nice.
It is nowhere near as loud in the car, the microphone was mounted just above the rear number plate.
Apart from the lack of silencers the car is standard with 230,000 miles on the clock.
-
Hello Guys.
I know this isn't to everyone's taste but it makes me smile.
-
2
-
-
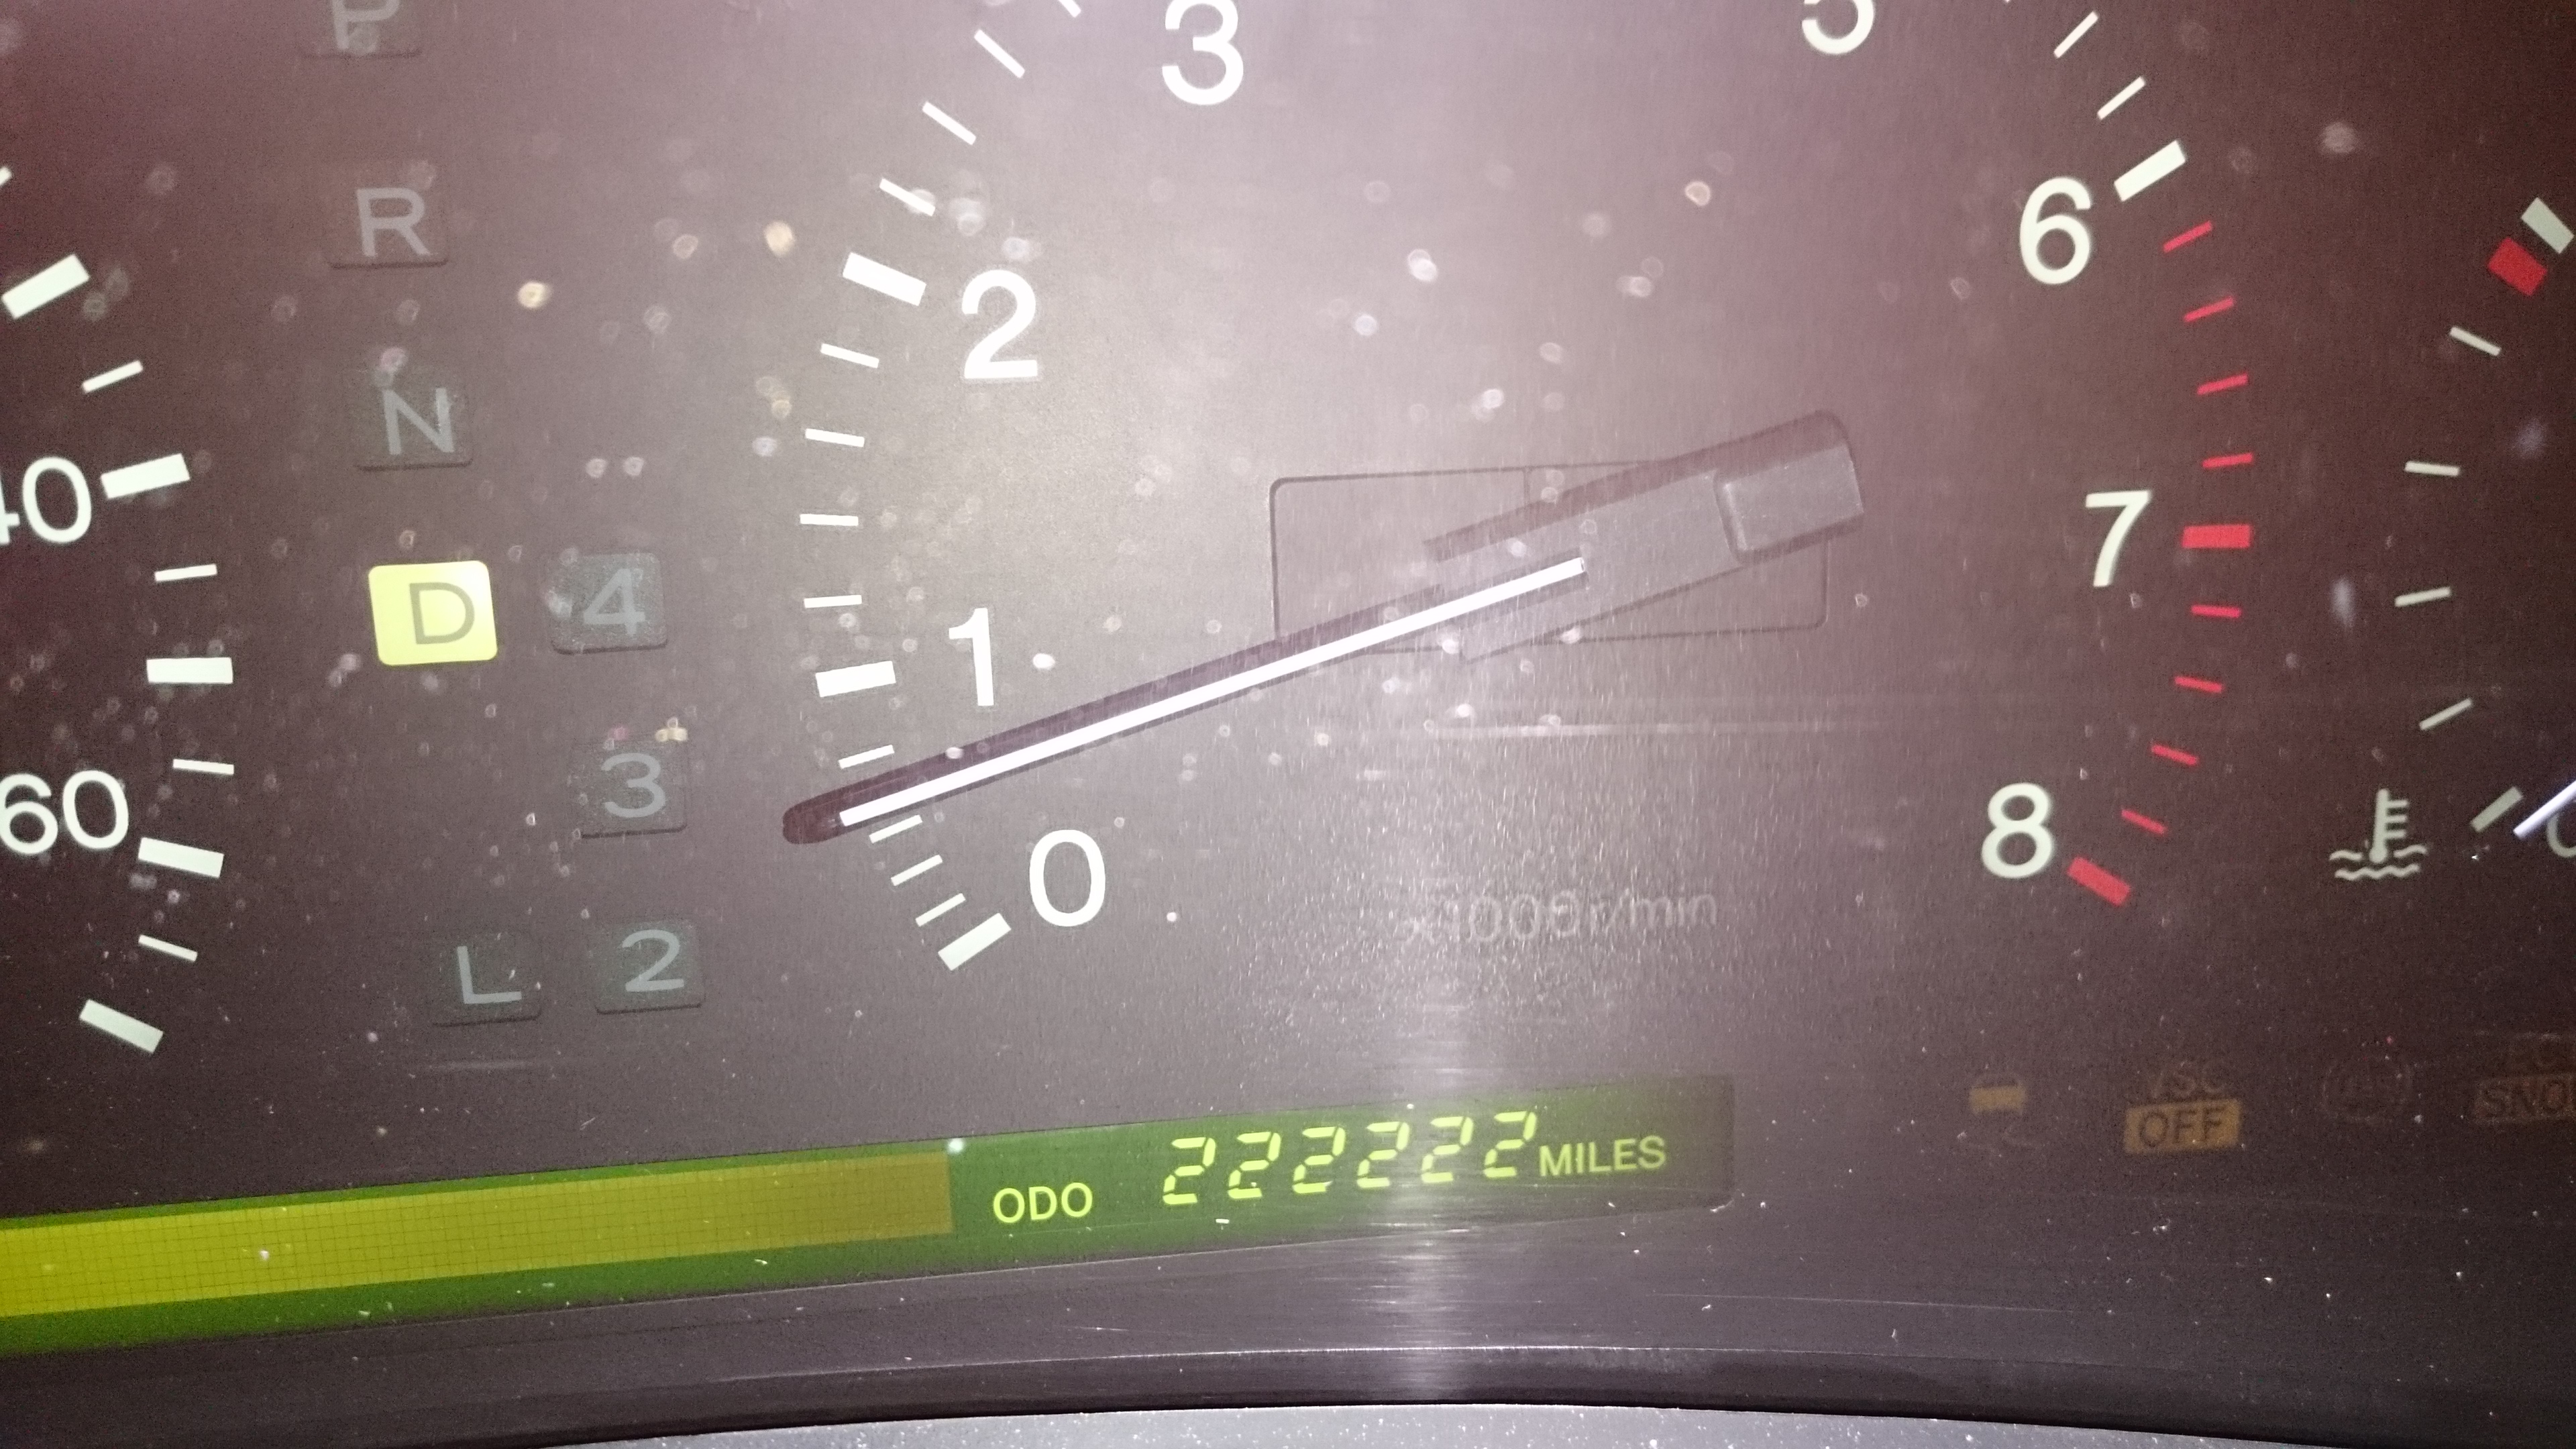
I made it to 222222 last October on my way to work.
I thought I would take a picture of all my ducks in a row.
-
1
-
-
Aquatic skeletal manipulation technician.


Engine change ,from diesel to Petrol
in Lexus General Discussions
Posted
Good afternoon Terence.
I hope you had a good Christmas
Have you tried posting on Hi-Lux forums or 4X4 forums?
I know the LS engine is a fairly popular swap so you will probably have more luck on their forums than this one.
Take care.
Steve.