SH20
-
Posts
728 -
Joined
-
Last visited
-
Days Won
9
Content Type
Profiles
Forums
Events
Store
Gallery
Tutorials
Lexus Owners Club
Gold Membership Discounts
Lexus Owners Club Video
News & Articles
Everything posted by SH20
-
 I'm sure most owners know the common issue of the dropped gearbox lid on the 460. I found out it was a common fault after test driving five 460's prior to buying mine 5 weeks ago, my first Lexus. Each time I asked the Lexus salesman why doesn't the glove box line up with the rest of the dash they all said " Oh common problem that, very time consuming to fix, not a warranty item". Went onto You Tube and came across one guy who had the entire glove box in bits, you know the detailed step by step fix and from memory he achieved the fix he was after but looked very involved to me. Saw another chap in the US who took a 21" cable tie and slid it down the inside of the glove box's black interior liner and the main centre facia panel and low and behold the glove box lid stayed up each time he opened and closed it. I thought, " could it be that simple"?. My glove box lid of course has dropped about an eighth of an inch and looks awful as the swage line on the light coloured trim makes the fault stand out. So I bought the longest and biggest cable tie I could find, 21" long and with a 9 mm strap width and decided to try this fix. I reduced the cable tie length from 21" to just one inch and slid it into position where the You Tube guy said and was shocked to discover it works. See photos, 1st picture shows glove box lid aligned, 2nd picture shows where I placed the cable tie, the 3rd picture shows the dropped position and the 4th the size of the cable tie in relation to my worktop. The You Tube clip is easy to find, just type in LS460 glove box fix and you will see it listed, tried to copy the link but couldn't manage it, RESULT !!!! Steve
-
Too Much?
SH20 replied to SH20's topic in LS 400 / Lexus LS 430 / Lexus LS 460 / Lexus 600h / Lexus 500h Club
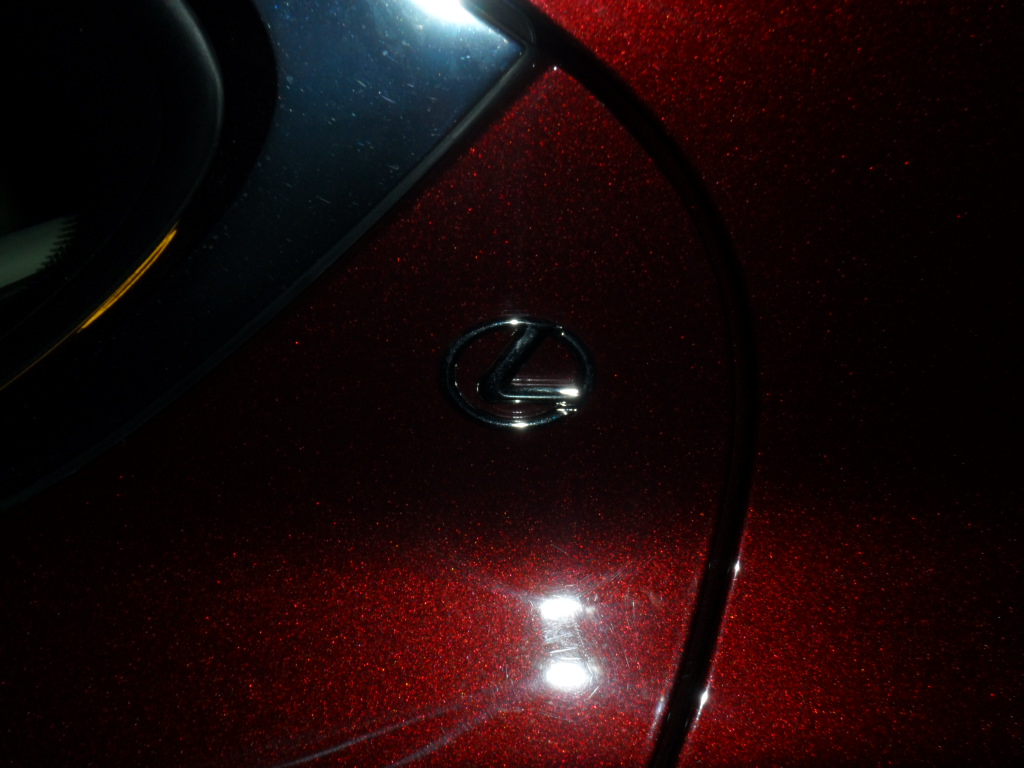
Like that badge a lot Shelldrake, where on earth did you find them, assume you have one either side. Steve -
The £1K spent so far Colin wasn't having it detailed but was for a host of stuff that so far has included removing both sill panels for repaint, rear bumper removal for repaint, new exhaust trim finishers, front and rear mud flaps, alloy wheel refurbishment, fitting special jacking plates to the sill flanges. The Upper Inner B post upper trims were replaced, I've recovered the lower B post inner trims in soft leather rather than buying new ones (£600) which only have a vinyl covering then colour matching them, the previous owner destroyed all 4 B post trims either side believe it or not entering and exiting the car. You just wouldn't believe the state they were in and was an area Lexus Carlisle couldn't include as the parts alone were £850 retail and to them would have been at least £600. I accepted this because I wanted the car and just simply added this issue to my to do list. I have a large double garage so dismantling the car isn't a problem. I really do like a challenge and turning something good into something great. I have about 5 things left to sort out including removing the front bumper for repaint, having a friend of mine who details cars for a living detail the remaining paintwork. The last car he detailed for me took 3 full days but the paintwork was like glass when he finished. I'm not wealthy but I know how to transform a car and it costs what it costs, a bit like that Wheeler Dealer program where there are no labour charges just the parts and specialists costs. I just wish I had bought a 460 2 or 3 years back.
-
Too Much?
SH20 posted a topic in LS 400 / Lexus LS 430 / Lexus LS 460 / Lexus 600h / Lexus 500h Club
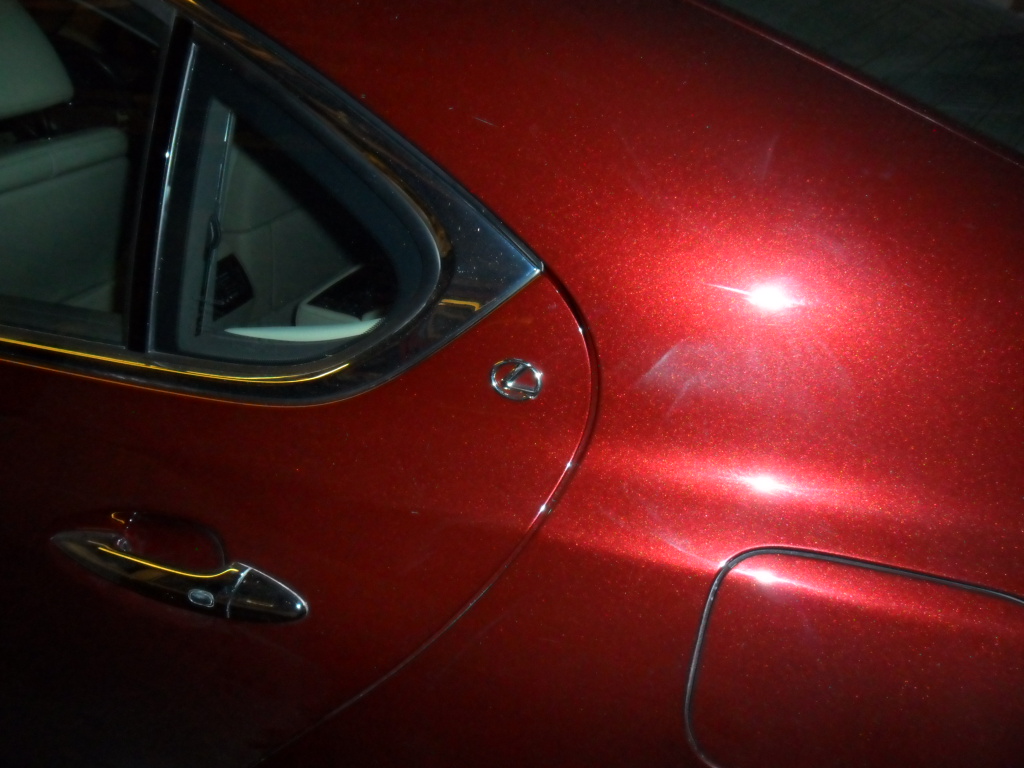
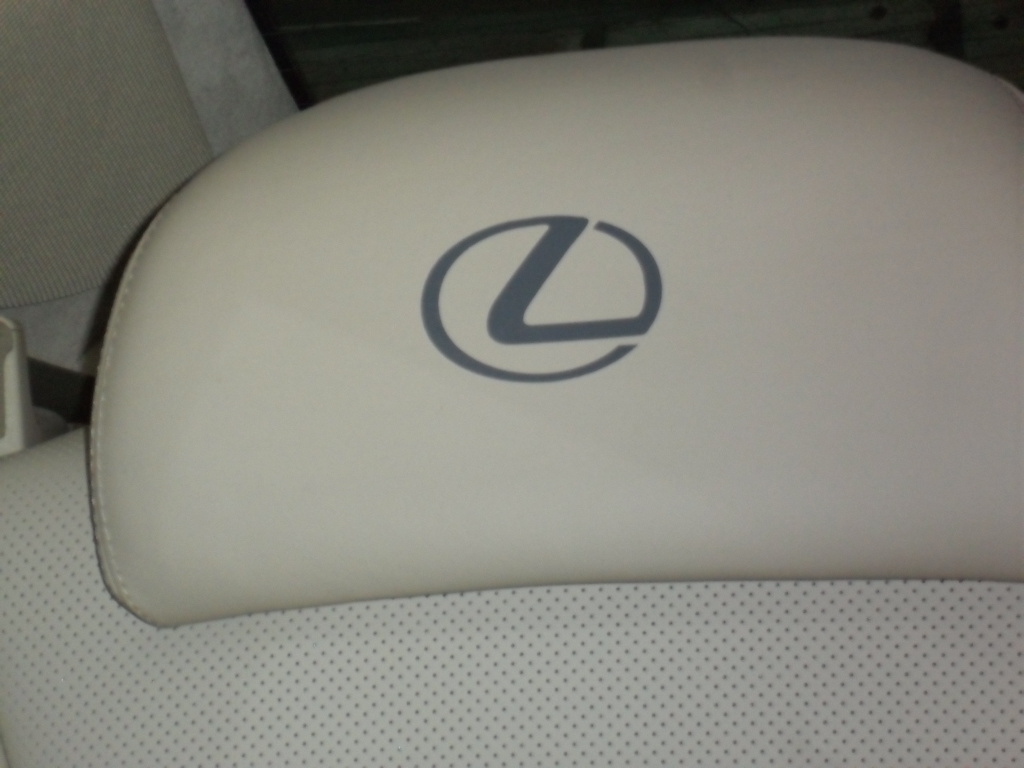
I concede to another member who once wrote about blinging up a car unnecessarily after I had placed Lexus graphics on my head rests. However I couldn't help myself this time and decided I would make this the last one, honest. At £8 for two decent key rings I adapted them and did this. See photos. Steve
-
I agree about the retailing comment because the 430 looked every bit a retail car. My 2007 460 had £1700 spent on it by the service department of Lexus Carlisle at the expense of the sales department before I bought it at £14,000. The salesman said they had to stop at £1700 because the profit was drying up quickly but always knew it was to be retailed. I spent all my working life in the motor trade and believe me there is no love lost between departments as they all have to meet their own targets in service, sales and parts departments. My car had it's 60K service incl plugs, 3 new tyres and front and rear discs incl pads as part of the preparation to meet the Lexus used car criteria. I've spent about £1000 in 4 weeks so far to get this car to my definition of a retail car but am doing so gladly because at £14000 it was a great find. There are only 15 LS460's currently on the Lexus website nationally. Type in Lexus LS460 on Autotrader and there are around 20 including some of the cars on Lexus's website. I've learnt very quickly you have to grab these cars because they don't hang around when priced below £15K.
-
Colin, The car in question was sold by Lexus Carlisle to Phil Walker. I bought my LS460 4 weeks ago from Lexus Carlisle and was speaking in general terms about LS models with the salesman and I mentioned that I had seen a 22,000 mile 430 on a website called Phil Walker of Sheffield but it had already been sold. As soon as I mentioned the car the salesman said he sold the car to Phil Walker. Whilst I was not after a 430 in particular, I did say I probably would have gone to see it as I live in Leeds more out of a sense of curiosity to see what an older 430 with 22K on the clock looked like as the photos were quite impressive. The salesman at Carlisle said that while it was a good example they could not retail it as in order to fulfil Lexus's criteria of a retail car it would have taken a little too much money for them so they sold it on as a trade sale into the motor trade. Any car that never used the spare wheel or tools in the boot and with such low mileage was bound to sell quickly. Good luck to whoever ended up with it. Steve
-
Ls460 Rear Bumper Removal
SH20 replied to SH20's topic in LS 400 / Lexus LS 430 / Lexus LS 460 / Lexus 600h / Lexus 500h Club
Hi Cruisermark, Managed to get the old exhaust trims off but had to cut through the metal work in order to get the trim out of the way before I then tackled the actual bolt heads left behind. It was a real struggle but after about 2 hours got the remains of the bolt heads removed, some minor damage to the plastic bumper around some of the holes the bolts originally passed through when assembled in 2007. Bumper off to paint shop tomorrow. The muppet who painted it on the car was an expert in creating classic orange peel effect similar to how cellulose was applied 35 years ago. He painted over the rubbers of the 4 parking sensors because of course they couldn't be masked even if he wanted to. I'm hoping the front bumper will be a lot easier and much quicker to deal with. Sorry to hear about the vandalism to your car. This is the country we live isn't it?, so much jealousy and hate towards others. -
Removed my rear bumper today, another example of very accurate build quality by those Lexus men. A total of 14 fixings easily removed and some very clever long side clip devices made it an easy job. I'm having it repainted but what a nightmare trying to get the exhaust finishers un bolted. Each one is held in place by four 10mm bolts but after eight and a half years they are not only seized solid but so badly corroded the bolt heads have been eaten away by rust and will no longer take a spanner or socket. I have new exhaust finishers at only £72 plus vat but until I can get the old ones out I can't even get the bumper off to the paint shop. The exhaust trims are not connected to the exhaust tail pipes and the trims merely bolt to the bumper cover, the bolts pass through holes in the bumper and screw into the exhaust trim. Heat is out of the question of course so its over to the Dremel to see if I can cut through the bolt heads without causing too much heat. I've had some challenges during my career in the motor trade but I've never seen such heavy corrosion to 10 mm bolt heads. If only they had used stainless steel It would have been a doddle. The amount of dirt and grit that had to be removed in addition to what fell out from behind the bumper cover was greater than what was hiding behind the plastic sills when I took them off a couple of weeks back and this despite all the attention given to wheel arch liners which are supposed to keep the dirt out of unseen cavities. Anyway crack on tomorrow.
-
Hi Skyfall, you're absolutely right, the lower B Post trims are in fact covered in vinyl made to look like "Bond Leather" a heavy imprinted effect. I now know because I have started to deal with the ruined lower trims on my car and have removed the vinyl trim on the driver's side first. The plastic B post moulded trim had the vinyl covering simply glued to it albeit the vinyl was padded slightly with a thin layer of foam. Took about 30 mins to remove the vinyl cover and then all the foam that was left stuck to the trim with a sharp scraper. I'm now ready to re cover the trim with proper super smooth soft leather only a few shades off the original coloured vinyl but I will have the leather colour matched once I have covered the piece. The photos show the distressed state the drivers B post trim was in, with the vinyl rubbed completely smooth in a couple of places (hard to see in photos) and you can also see the holes the previous owner caused getting in and out of the car.
-
Allen, Although the upper B post trims were in dire need of replacing as per my photos the previous owner, who owned the car from new before I bought it from Lexus Carlisle also wrecked the lower B Post trims especially the driver's side. I would love to have seen how this bloke entered and left the car as I've never seen such damage resulting from getting in and out of a car. You can see minor deformation on the passenger side lower b post trim but the driver's side was 100 times worse. The problem is that the lower B post trims are covered in leather (not the softer semi analine leather like on the seats but a more heavy grained finish like on the dash board top) and are £250 each side plus vat !!!!, £600 in all. I paid £252 incl vat after a 10% discount for the upper b post trims as they are smaller and covered in the suede effect or alcantara material. I intend to remove the lower B post trims and remove the leather covering before re covering with a soft feel leather I have spare from my previous Jaguar. I bought a full skin in Jaguar's Champagne colour for a project, not dissimilar to the colour in my Lexus. However I will have the re trimmed B post covers colour matched by a Company I have used before for colour matching leather. This has to be cheaper than the £600 for new trims. As most 460 owners know there are just no 460's being broken by salvage yards as there are so few 460's being written off and subsequently dismantled for used parts, I know as I've looked.
-
The lower inner B post trim is a pull out, push in piece of trim. You need to partially lift the kick trims either side of the B Post, no need to remove them. This allows enough room to grab hold of the B Post trim at it's base. No need to remove the door aperture seals as the trim just sits inside the rubber seals around the door apertures. Give it a pull and the trim clips will come out of the B post. Work your up pulling every six inches or so. Once all the clips have released the trim can then be pulled off and away. The small air vent in the trim stays in the trim, just lift the trim up and it will leave the flat air con tube. It takes about 3 mins to remove these trims or in my case get them out of the way enough so I could remove the upper trim. Steve
-
Head Rest Graphic
SH20 replied to SH20's topic in LS 400 / Lexus LS 430 / Lexus LS 460 / Lexus 600h / Lexus 500h Club
I Like your graphics Shelldrake. Nice contrast, I would not have thought about white on a pale leather colour but it looks great. -
I've owned a number of large cars all of which were supplied with some form of scissor jack for road side wheel changes. I've never been happy using a scissor jack due to the weight it has to deal with. Once more I have adapted my bespoke jacking plates which I made 4 cars ago. These are bolted directly to the car's sill flanges where a technician would swing the arms under of a two poster lift. Every large car I have owned has had sill flanges which were buckled and bent over due to the weight concentrated over such a small surface area. Most sill flanges are approx. 4mm thick and yet all the weight of the car is suspended across a surface area of 4mm X 100mm - 150mm of the lifts lifting pads. Even slightly misaligned can cause the distortion I am talking about. Hence the use of this guaranteed method of zero damage to sill flanges. I have just bought this car and spent a few hours repairing my own buckled sill flanges, de rusting, treating with rust inhibitor and then a top coat of Hammerite. The round jacking plates now sit 15mm lower than the plastic sill covers in all 4 corners. Going forward when I have to have the car serviced etc the dealer will be told to jack my car up only using these high strength steel fittings. Having just removed the plastic sill covers and had them re painted there will be absolutely no excuse for any Technician to damage my car's bodywork or sill flanges. I use a standard trolley jack at home for wheel removal etc but carry a mini trolley jack in it's own carry case in the boot for any road side wheel swops. Obviously where a garage use a drive on drive off lift then there is no need to use the jacking plates. Pics attached. Steve
-
Head Rest Graphic
SH20 replied to SH20's topic in LS 400 / Lexus LS 430 / Lexus LS 460 / Lexus 600h / Lexus 500h Club
Top Tip, if you ask cc decals to supply matt finish they won't reflect the light as the gloss ones do. Ties in with the matt finish of the leather. Steve -
Head Rest Graphic
SH20 replied to SH20's topic in LS 400 / Lexus LS 430 / Lexus LS 460 / Lexus 600h / Lexus 500h Club
I agree with not wanting to over do the emphasis of the brand by sticking badges all over the car but these are quite subtle. They are vinyl and you need to warm the leather up first to get them to adhere. As the leather is smooth unlike some very course leathers in some cars they will stick but you have to be patient when applying them. I've done this on a number of previous cars I've owned. I would have preferred a matt finish so I have asked the company if they do matt vinyl, not heard back Bought them on e bay but try www.ccdecals.com for more info. They can supply the name LEXUS for headrests too in the type set we all know. Steve -
While I don't need reminding that I drive a superb car I thought for £4.49 a set of head rest graphics in dark grey were a little homage to a great brand. I've owned this 460 for less than 2 weeks and should have bought one years ago. The car never ceases to amaze me apart from the fact I can't seem to master the transfer of my mobile phone contact list via the car's Bluetooth connection. The phone is paired and connects automatically when I get in but can't get my contacts to transfer despite following the on screen instructions. Anyone know what I'm not doing right? Steve
-
Progress made today having removed one of the sill covers for repainting. Not so difficult after accessing the on line tech support of Lexus by subscription. Shocked to discover at least 2 lbs of grit. dirt, general muck lodging inside the sills but I doubt if they have ever been off before in this 8 year old 460. Very well designed in the way they hang/fit into the steel inner sill, very accurate but simply use of push fit plastic fasteners made it easy to remove the large sill cover. I'll take the other one off tomorrow and then pass them to my favourite paint shop in Leeds. Much better to have them painted off the car than on the car. Photos attached
-
Great to hear your 460 is as reliable as your 400 Brian. I've not heard of the red carpet treatment but I'm new to Lexus ownership but it sounds a "nice to have" facility. I'm losing pressure in my near side rear tyre (brand new) at the minute despite the Lexus dealer I bought it from fitting 3 new tyres as part of their pre sale work along with the 60K service and new front discs and pads. It's a little annoying that it is a new tyre and the loss of pressure is only 2psi over any two days. I'll sort it out and hope it's not the TPMS part that's casing the loss. I doubt it's corrosion on the inner rim as the wheel is fine. Re Sill covers or rocker panels as Lexus call them. I sent an e mail to Lexus UK asking about technical info that is available for other manufacturers either as cd rom discs or through technical help lines direct with the manufacturer. They replied and said the detailed info is available but by subscription and sent me the link www.lexus-tech.eu. I registered and paid £3 for one hour's access. Didn't want to pay £2400 for a year's subscription !! As long as you type in your chassis number it brings the LS460 icon to click on. This then opens the entire repair/service menu for the 460 and I found the rocker (sill) procedure and the front and rear bumpers which I also want to remove for repainting. Great detail and was worth the £3 because the sill covers are complicated. Front bumper looks straight forward due to fewer fixings but the rear bumper looks involved due to the number of hidden grip type fixings. At least I have some idea now and will start with the front bumper first. I'm sure this link is not new to experienced Lexus owners but it takes the guess work out of removing parts with hidden fixings. Perhaps Brian you could still come back to me after you speak with your dealer when you have your service. He might take a sharp intake of breath and say your don't want to go there !! ha ha.
-
Hi Brian that would be really useful as the sill cover removal is on a long list and I've plenty to get on with. I've just been sent a service plan quote from the Lexus dealer I bought it from. A three year plan (3 annual services) can be had for £1286 after a 7.5% discount or £37 per month for 3 years. The car had a big 60K service, spark plugs etc prior to picking up the car so this service plan offer will cover the next intermediate service, the one after that being a bigger service schedule and then finally another intermediate service to end the plan. Seems like a reasonable deal to me.
-
Hi Stuart, the picture of the jacking plate as I said shows the plate on my Jaguar XJ Sovereign. In this application it is the second version of the original which I had on a 4.2 Jaguar XK. On the XJ I made a L shaped bracket and bolted the bracket to the sill. The round plate spins on and off by a threaded stud with a large stainless steel spring washer so there was no chance of it backing off. The two small holes in the round plate allow a special spanner I modified with corresponding studs which fit into the two holes in order to tighten the assembly. I wanted a very quick way of jacking my cars up at home with my trolley jack instead of having to crawl about and locate the sill flange. Moreover the Jaguar garage I used always new they had to use the four round plates for their two poster lift. They were idiot proof really for the technician to use and it guaranteed there would be no more crushed sills or damage to my plastic sill covers. So I will use these on the front jacking position and if I can will do the same at the rear jacking position, however I have seen the large hard rubber egg sized cones at the rear and I am assuming garages use these to raise the car at the rear as they are bolted to the floor pan. Unless these rubber cones are something else !! Steve
-
Driver Monitor System
SH20 replied to SH20's topic in LS 400 / Lexus LS 430 / Lexus LS 460 / Lexus 600h / Lexus 500h Club
Lexus Technical came back to me on how you tell the driver monitor system was working. Apparently if it's not working a warning light pops up in the instrument cluster. Thanks to all who offered advises on this. Steve -
As you LS460 owners probably already know the body side sills are plastic and merely cosmetic with no integral strength. They are held in place by clips and the kick plate trims. However the procedure and sequence to remove them (for repainting) eludes me. YouTube and Google produced zero advise so have any forum members had the need to remove them I wonder. if so could you let me know how to tackle this job. I also want them off to rectify the metal sill flanges at the front jacking points where careless technicians have misplaced the swing arms of two poster lifts and buckled the sill seams. I intend to fit jacking plates which I made for my last car a Jaguar XJ Sovereign, (See pic). Anyway I hope someone out there might have removed the sill covers. Cheers, Steve
-
The upper b post inner suede trim took 10 mins a side. Pull up the two tread plate trims at the b post end . This allows the lower b post trim to pull away from the B post allowing you access to two Phillips head screws of the upper b post trim. The upper b post trim also pulls away after removing the 2 screws. Then dis connect the seat belt bolt in the seat base and feed the belt through the upper trim. Fitting the new trims is the reverse of removal.
-
Have any members had need to remove headlamps on their ls460?. If so could you outline for me what's involved please. Looks like the bumper may have to come off or am I talking rubbish. The bumper on my car on the nearside is slightly proud of the headlamp in one area by approx. 1/8th of an inch. I can push the bumper cover it in but it just springs back out. I took the front near side wheel arch liner out but where the bumper protrudes I just couldn't see anything due to other stuff obscuring my view. With the headlamp out I'm pretty much sure I would be able to see what's up but if the bumper cover has to come off it may prevent me working out why it sits proud. Photos may help. Cheers Steve
-
2nd Post Hi everyone, anybody know how to remove upper inner b post trims, the ones where the seat belt height slide function is. Mine are totally shot due to how the previous owner entered and exited the car. Photos attached. Cheers Steve