
iSalajee
-
Posts
32 -
Joined
-
Last visited
Content Type
Profiles
Forums
Events
Store
Gallery
Tutorials
Lexus Owners Club
Gold Membership Discounts
Lexus Owners Club Video
News & Articles
Posts posted by iSalajee
-
-
It's a shelf that sit inside the glove box. You should see "notches/holes/slots" whatever you want to call them, inside the glove box on the left side and on the glovebox floor close to the infotainment system. It just slots in and provides shelving. Hope this helps.
-
 1
1
-
-
-
 1
1
-
-
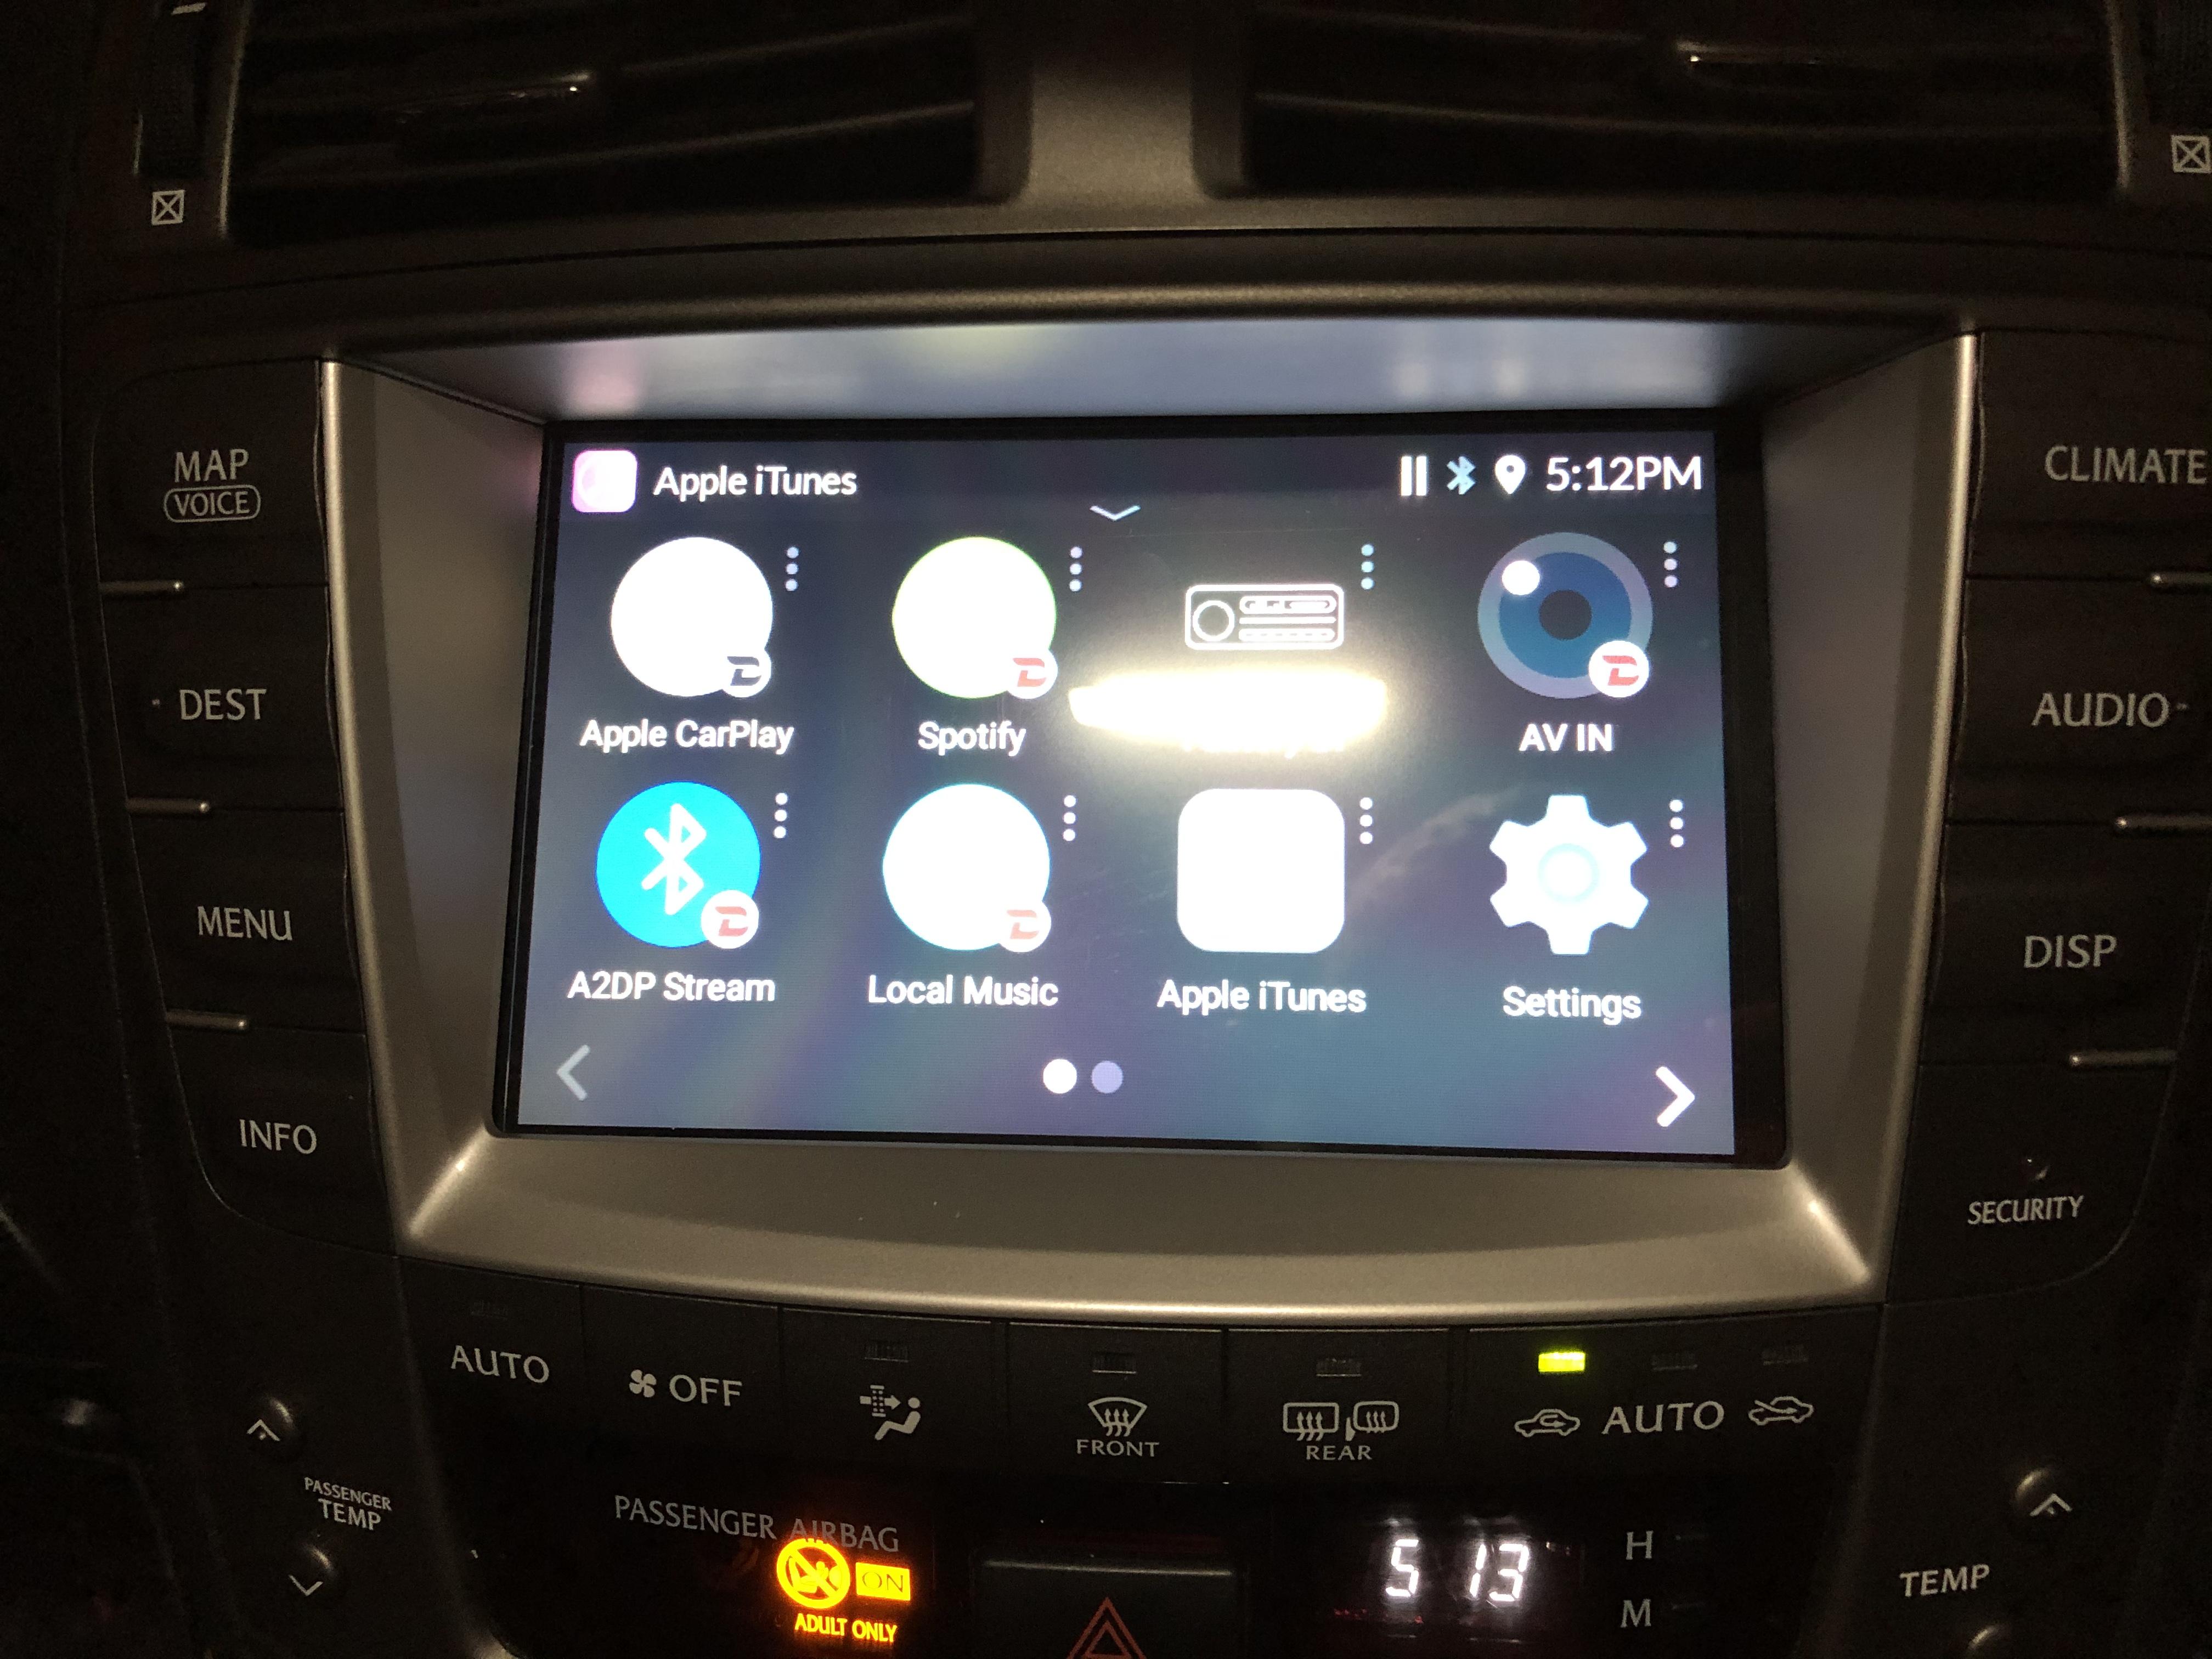
@baviaannl yes it’s very responsive. The picture was taken at night so it’s not as clear but the screen is really good for the price. Like I said the black bar on the right side doesn’t affect functionality of the screen. I’m guessing the screen auto adjusted itself to make everything fit.
To install the screen wasn’t that hard. There’s a video on YouTube of someone showing you how to repair the OEM screen. I followed the video up until he started soldering the wires on the screen and used a heat gun to soften the glue on the old screen and lift it off. The new screen had double sided tape already installed so it was a case of align and place down. Then re-assembly.
-
@baviaannl yeah you can see on the right side of the screen how it’s smaller than the OEM screen but all the on screen buttons still work and nothing is left ‘cut-out’ if that makes sense

-
1
-
-
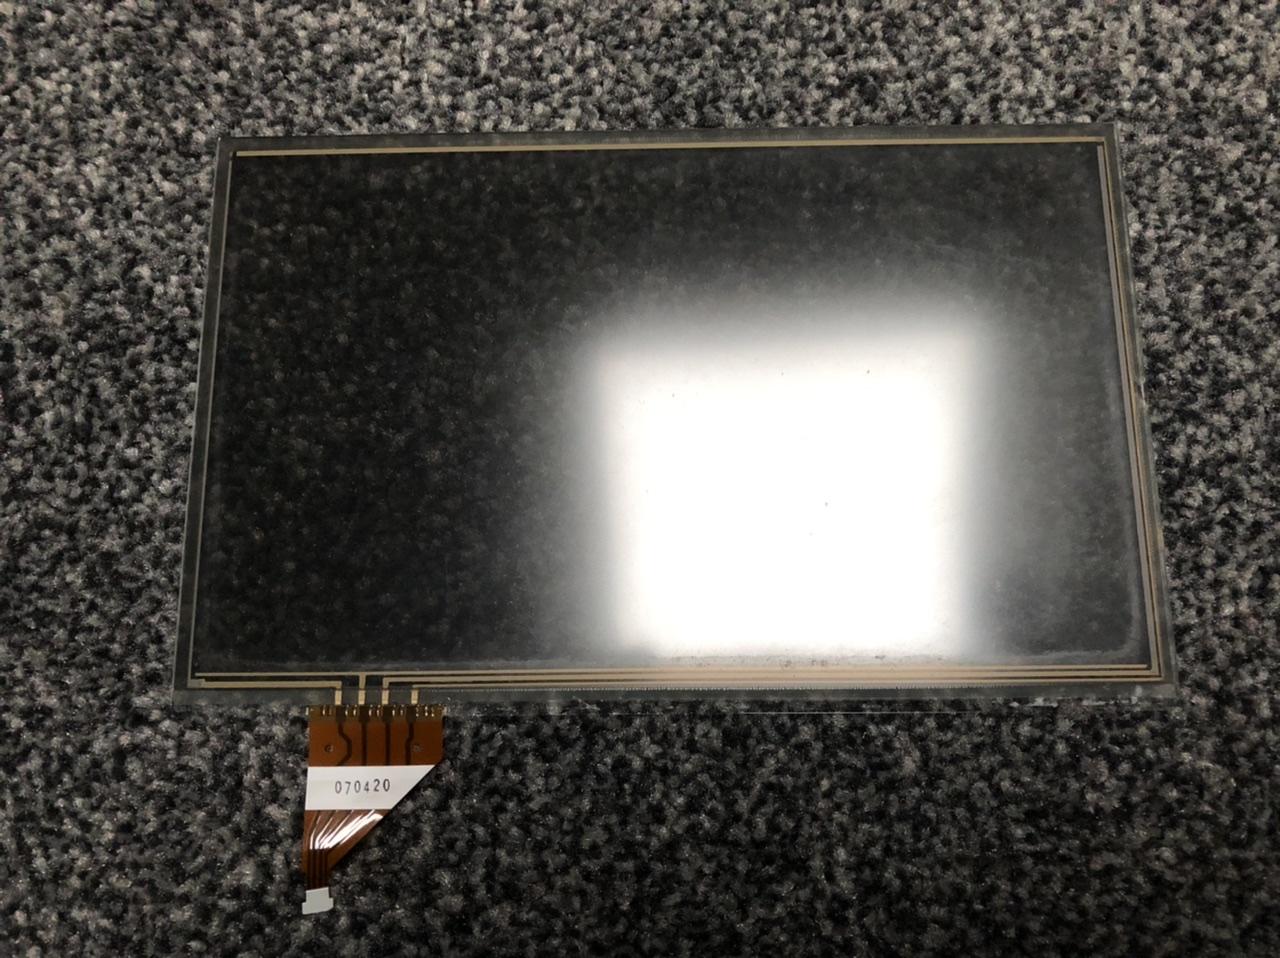
@baviaannl I got mine from aliexpress from this link:
https://s.click.aliexpress.com/e/lrjutYvyP
the quality isn’t as good as OEM and it’s slightly smaller in width by 1-2mm but doesn’t affect the functionality of the screen. The OEM was more matte and the aftermarket ones are slightly shiny.
You want to look for one that looks like this (which is the OEM one from my car):
-
Hi,
I bought this kit a few months ago and installed it on my 2is 2007 IS250. So far I haven't had any problems and I mostly use it for apple CarPlay. I tried it last night and it works with iOS13. I'll include the link to the article I posted on the forum regarding the installation on the 2nd gen IS but I'm yet to make a review on the unit.
Ismael
-
1
-
-
-
1
-
-
-
1
-
-
I just got the digitiser in the post today so will hopefully install it this week. I'm not sure which ones are affected but its mostly the 05-09 with the [re-facelift infotainment system. The ones without the Lexus Enform System.
-
2 hours ago, LEXUS-4-LIFE said:
@iSalajee How are you finding the Vlite, any issues or is it all good?
I'm still considering getting myself one as I had no luck with their BT3 and USB3 boxes.
@LEXUS-4-LIFE So far I haven't had any issues. I only use it for apple CarPlay and my friends use it to stream YouTube videos to the Chromecast I installed into the HDMI port.
The only problem I've had was that the heat last week caused the touch screen digitiser on the head unit to fail! A common problem in hot countries such as America and Australia.
I've had to order a replacement digitiser from china as there weren't any available here so once its arrived I'll be able to take the head unit apart and replace it.
Once I have the touchscreen up and running, I'll try to make a video on the unit if I can find a camera!
-
@LEXUS-4-LIFE you don’t need any specific one. I bought the £30 1080p one from Google last year and it works just fine. In terms of the DVD button, it may be best to contact Grom UK and ask them as they may have more information on the matter. Yes you can control the cars touchscreen just fine with this system
-
@Billnick I normally have my brightness set to the middle in which I can see apple & Google Maps but yes any brighter and it would be hard to see.
Also I noticed the mic has to be facing you as much as possible to pick up sound from your voice. If it’s facing another direction then it can be hard for the receiving person to hear you
-
@Billnick that’s a very good point! So far it’s not an issue but I just wish it was louder.
I read that mounting the mic there will cause problems. I’ve asked the people on the other end, and they said it’s fine. No one can hear any static or vibrations. Mind you, my car is on lowered springs so the ride is quite bumpy but even still, no problems at all 😄
-
3 hours ago, Billnick said:
Great write up, I installed my VLINE2 in exactly the same way.
If you are thinking of VLINE2 or VLITE, the install is the same as shown here.
Very easy, don't be afraid.
@iSalajee Out of interest, how are you finding the phone feature? I find the person on the end of the phone has echo using VLINE with Apple CarPlay so I opt for the Lexus bluetooth instead. Texting via Siri is very very useful indeed.
@Billnick I found it quite useful! The only issue I’m having is that it’s hard to hear people on the phone. I find myself turning the volume up to around 40 to hear people however they can hear me just fine. Apart from that there’s no issues 😄 I find myself using Siri often to send texts to my friends and wife and so far it hasn’t had any trouble understanding me which is great.
-
1
-
-
14 minutes ago, chr15gb said:
A couple of images work but most give me this, and wants me a pay 79p to download the right codec to see it.

I edited and re-uploaded the images so they should be visible!
-
1
-
-
Apologies if the images aren't loading; they were taken on my Iphone so they may need to download to be opened!
-
So I took the plunge and opted for the Grom VLine Lite system so I could take advantage of apple CarPlay. I saw that no one has really bought the unit before and done an install so I decided to take it upon myself to see how easy it would be to install.
Disclaimer* apple CarPlay needs to be 'activated' once installed! Fairly simple; press on it 11 times.
This is the box that arrives with the top lid opened.
Above shows the connectors on the rear of the unit. On the left is the DisplayPort connector that will run to the head unit behind the screen. the connector on the right is for the power cable that will run to the bottom of the head unit.
I haven't really seen a clear image of the front panel online so here we have HDMI IN, USB 1 (mainly for iPhones), USB 2 (mainly for Android and any other USB device), HDMI OUT, SD Card Port (below the HDMI OUT port), proprietary connector; used for connecting AUX, front facing camera, rear facing camera (not needed if you have the factory reversing camera as the car will still automatically default to the main reversing camera), GPS (again not needed if you're using apple Maps, Google Maps, Waze etc which will use your phone GPS), and an adapter for connecting a touch screen panel if your car wasn't fitted with a touch screen, then we have a Mic In port and the Wi-Fi/Bluetooth antenna.
The above image shows the power cable that will run to the OEM head unit and below that is the proprietary connector cable that connects to the various aux devices (it is not needed to run the Grom System and can be left out if not needed, such as in my case)
The cable on the left with the blue connectors is the display cable, the cable in the middle is the USB extension cable and the cable on the right is the Mic cable.
Above shows all the components of the kit laid out on the table awaiting installation.
Probably the hardest part was trying to get the air vent out. The 4 tabs (that have been circled in the picture and can be slightly seen) need to be pulled down and then the vent assembly can be taken out with the help of some trim removal tools. I found a video on YouTube showing me how to do this and it can be quite tricky! Beneath the vent is a cable with two connectors that needs to be disconnected and removed before you can set the air vent aside.
You then need to remove the 2 triangular plastic trim bits below which is super easy; just pull them towards you and they should pop out. Or use a pry tool!
Use a 10mm socket with an extension to take out the two upper bolts holding in the head unit.
Then move onto the two lower 10mm bolts holding in the head unit.
If you're worried about dropping the bolts then you can always use a set of extension magnets. These were bought on amazon and really came in handy.
Clearly they came in use when trying to take the bolts out and placing them back in as my Halfords toolkit wasn't magnetised 😞
You can unscrew the gear knob and press the 'shift lock' button to move the gear into DRIVE and leave it there. I felt this helped but it's totally up to you. Lay down a cloth and bring the headhunt out and lay it down on the cloth. This is needed as the bottom of the headunit is short and will definitely scratch your trim if not used.
The display cable is a Y shape cable, with one going into the Grom Unit and the other two behind the head unit. The cable has a male and female end. If there was something already inserted in your head unit(it's a blue connector so it can't be missed) then take it out and insert it into the female end of the Y cable, then insert the male end of the Y cable into the slot that's empty in the head unit. The picture should help clarify!
The power cable is essentially the same sort of Y cable. In my case there was nothing plugged in so I just had to find the slot and insert the connector.
Above shows the power cable connected to the head unit which was originally vacant.
Above shows where I ran both cables so they could route into the glovebox.
I decided to remove the passenger air vent so I could get access to the top of the glovebox. This is straightforward as it pulls straight out but be careful as there is a connector attached. For those of you who have changed your air filter, you know there is a panel at the rear of the glovebox that needs to be removed. On TOP of that cover is another cover that can be opened slightly to allow the cable to enter the glovebox. It's quite hard to see from the picture but the cables were routed into the glovebox and came in somewhere near the middle.
Above shows approximately where the cables entered the glovebox. I should mention that this is where I found it easiest to run the cables. You may have a different opinion!
Now would be a good time to run the microphone. I attached it to the ceiling, just behind the rear view mirror and ran the cable around the window. I opened the side air bag cover on the A pillar to run the cable down and tucked in in behind the rubber seals in the door and ran it through to the glovebox.
Above shows the rear of the unit in the glovebox. It should be mounted so the display and power cables are facing the passenger door,
and the USB cables should be facing the driver.
I placed the unit on the glovebox divider and secured it down with double sided tape. Trust me; it's not going anywhere!
Now would be a good time to do a test run. I turned on the car and pressed 'DVD' on the head unit and voila, it entered into the Grom system. I forgot to take a picture of the grom home screen, but apple CarPlay was activated and works a treat.
I shall hopefully do a review of the Grom system and apple CarPlay if I have time or will make a video if I can find another camera.
For £370 yes it is expensive even for such a basic system but or someone who uses apple CarPlay a lot, I guess I can justify the price!
-
5
-
-
Hi,
as I write this, I have just finished changing the alternator on my 07 IS250. I had the Battery light on as well for a week.
Listen for a whining sound by the alternator which would indicate the pulley bearing has gone
or connect a multi-meter to the Battery and turn on every electrical item that you can. IF the voltage drops significantly, then your alternator will need replacing.
I just changed the alternator and it was a very long process. Would defiantly recommend a garage as it’s quite tough to get to and remove.
-
I can’t remmeber if it’s to do with spec variants however, my SE-L has developed a problem in winter where the near side doesn’t tilt down but works fine in summer. I know there’s an issue where you just need to grease the worm rings inside the mirror. But if one side goes down, the other should too lol. Does the mirror tilt up and down manually?
-
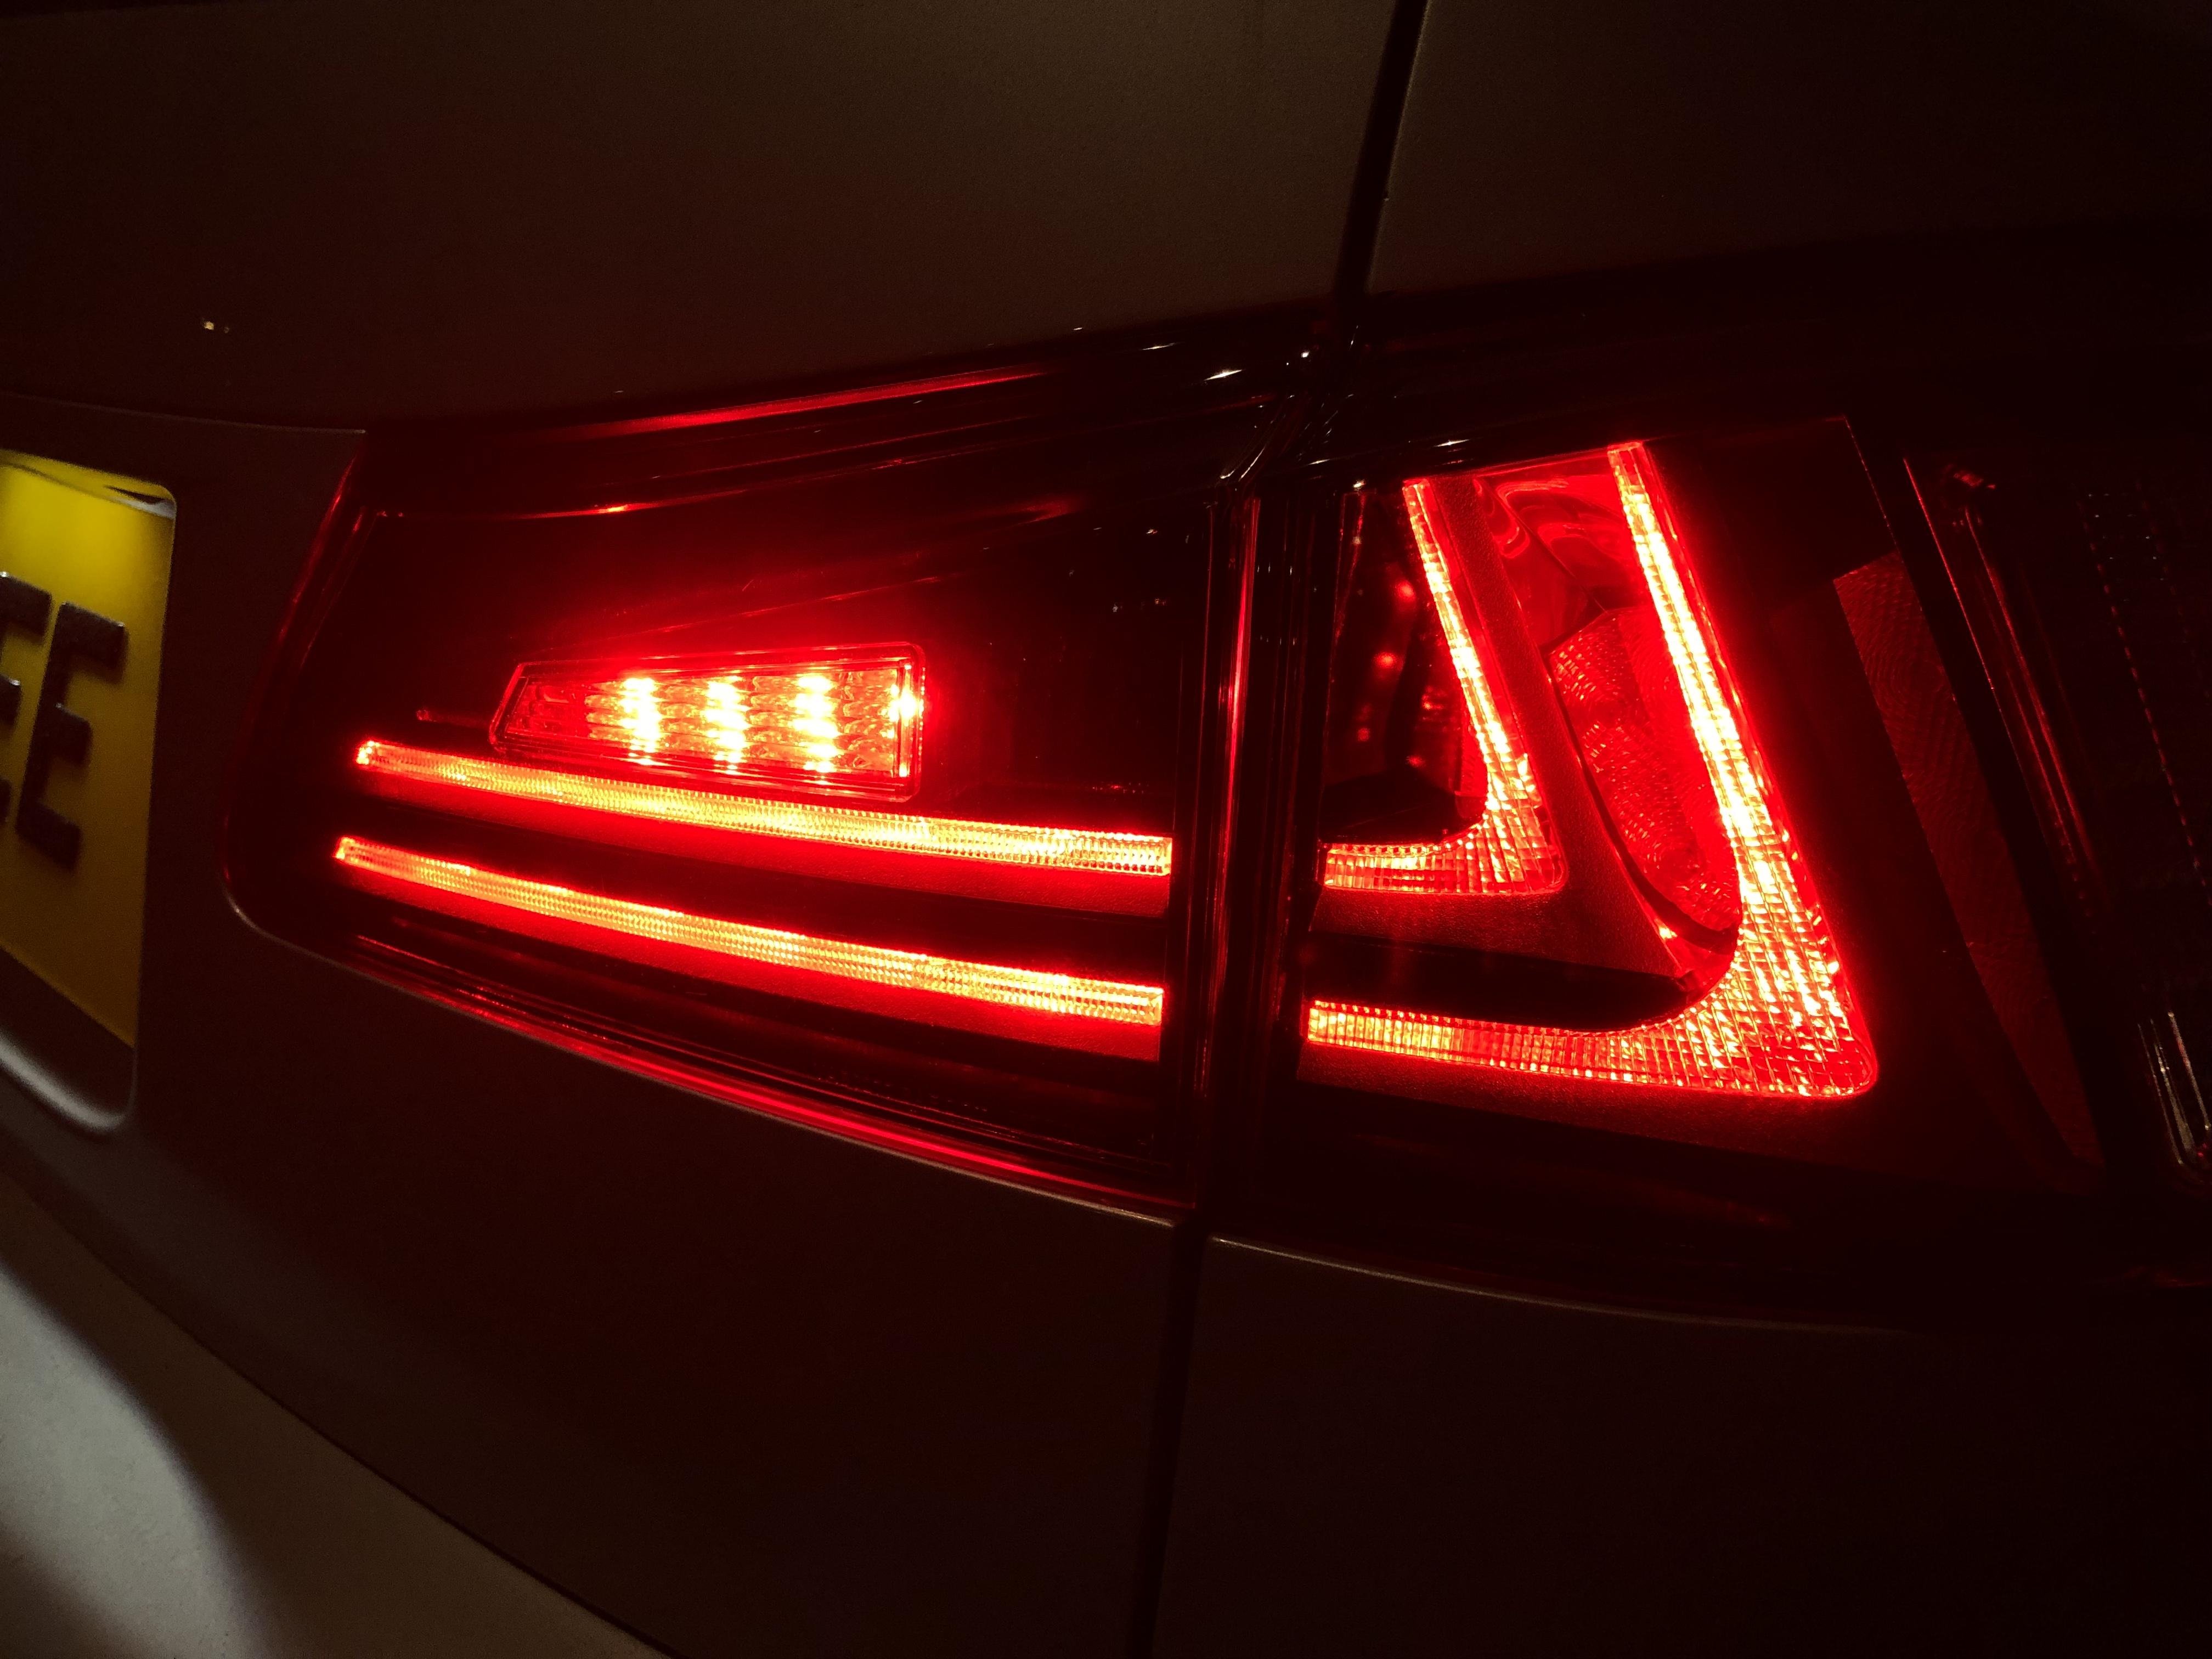
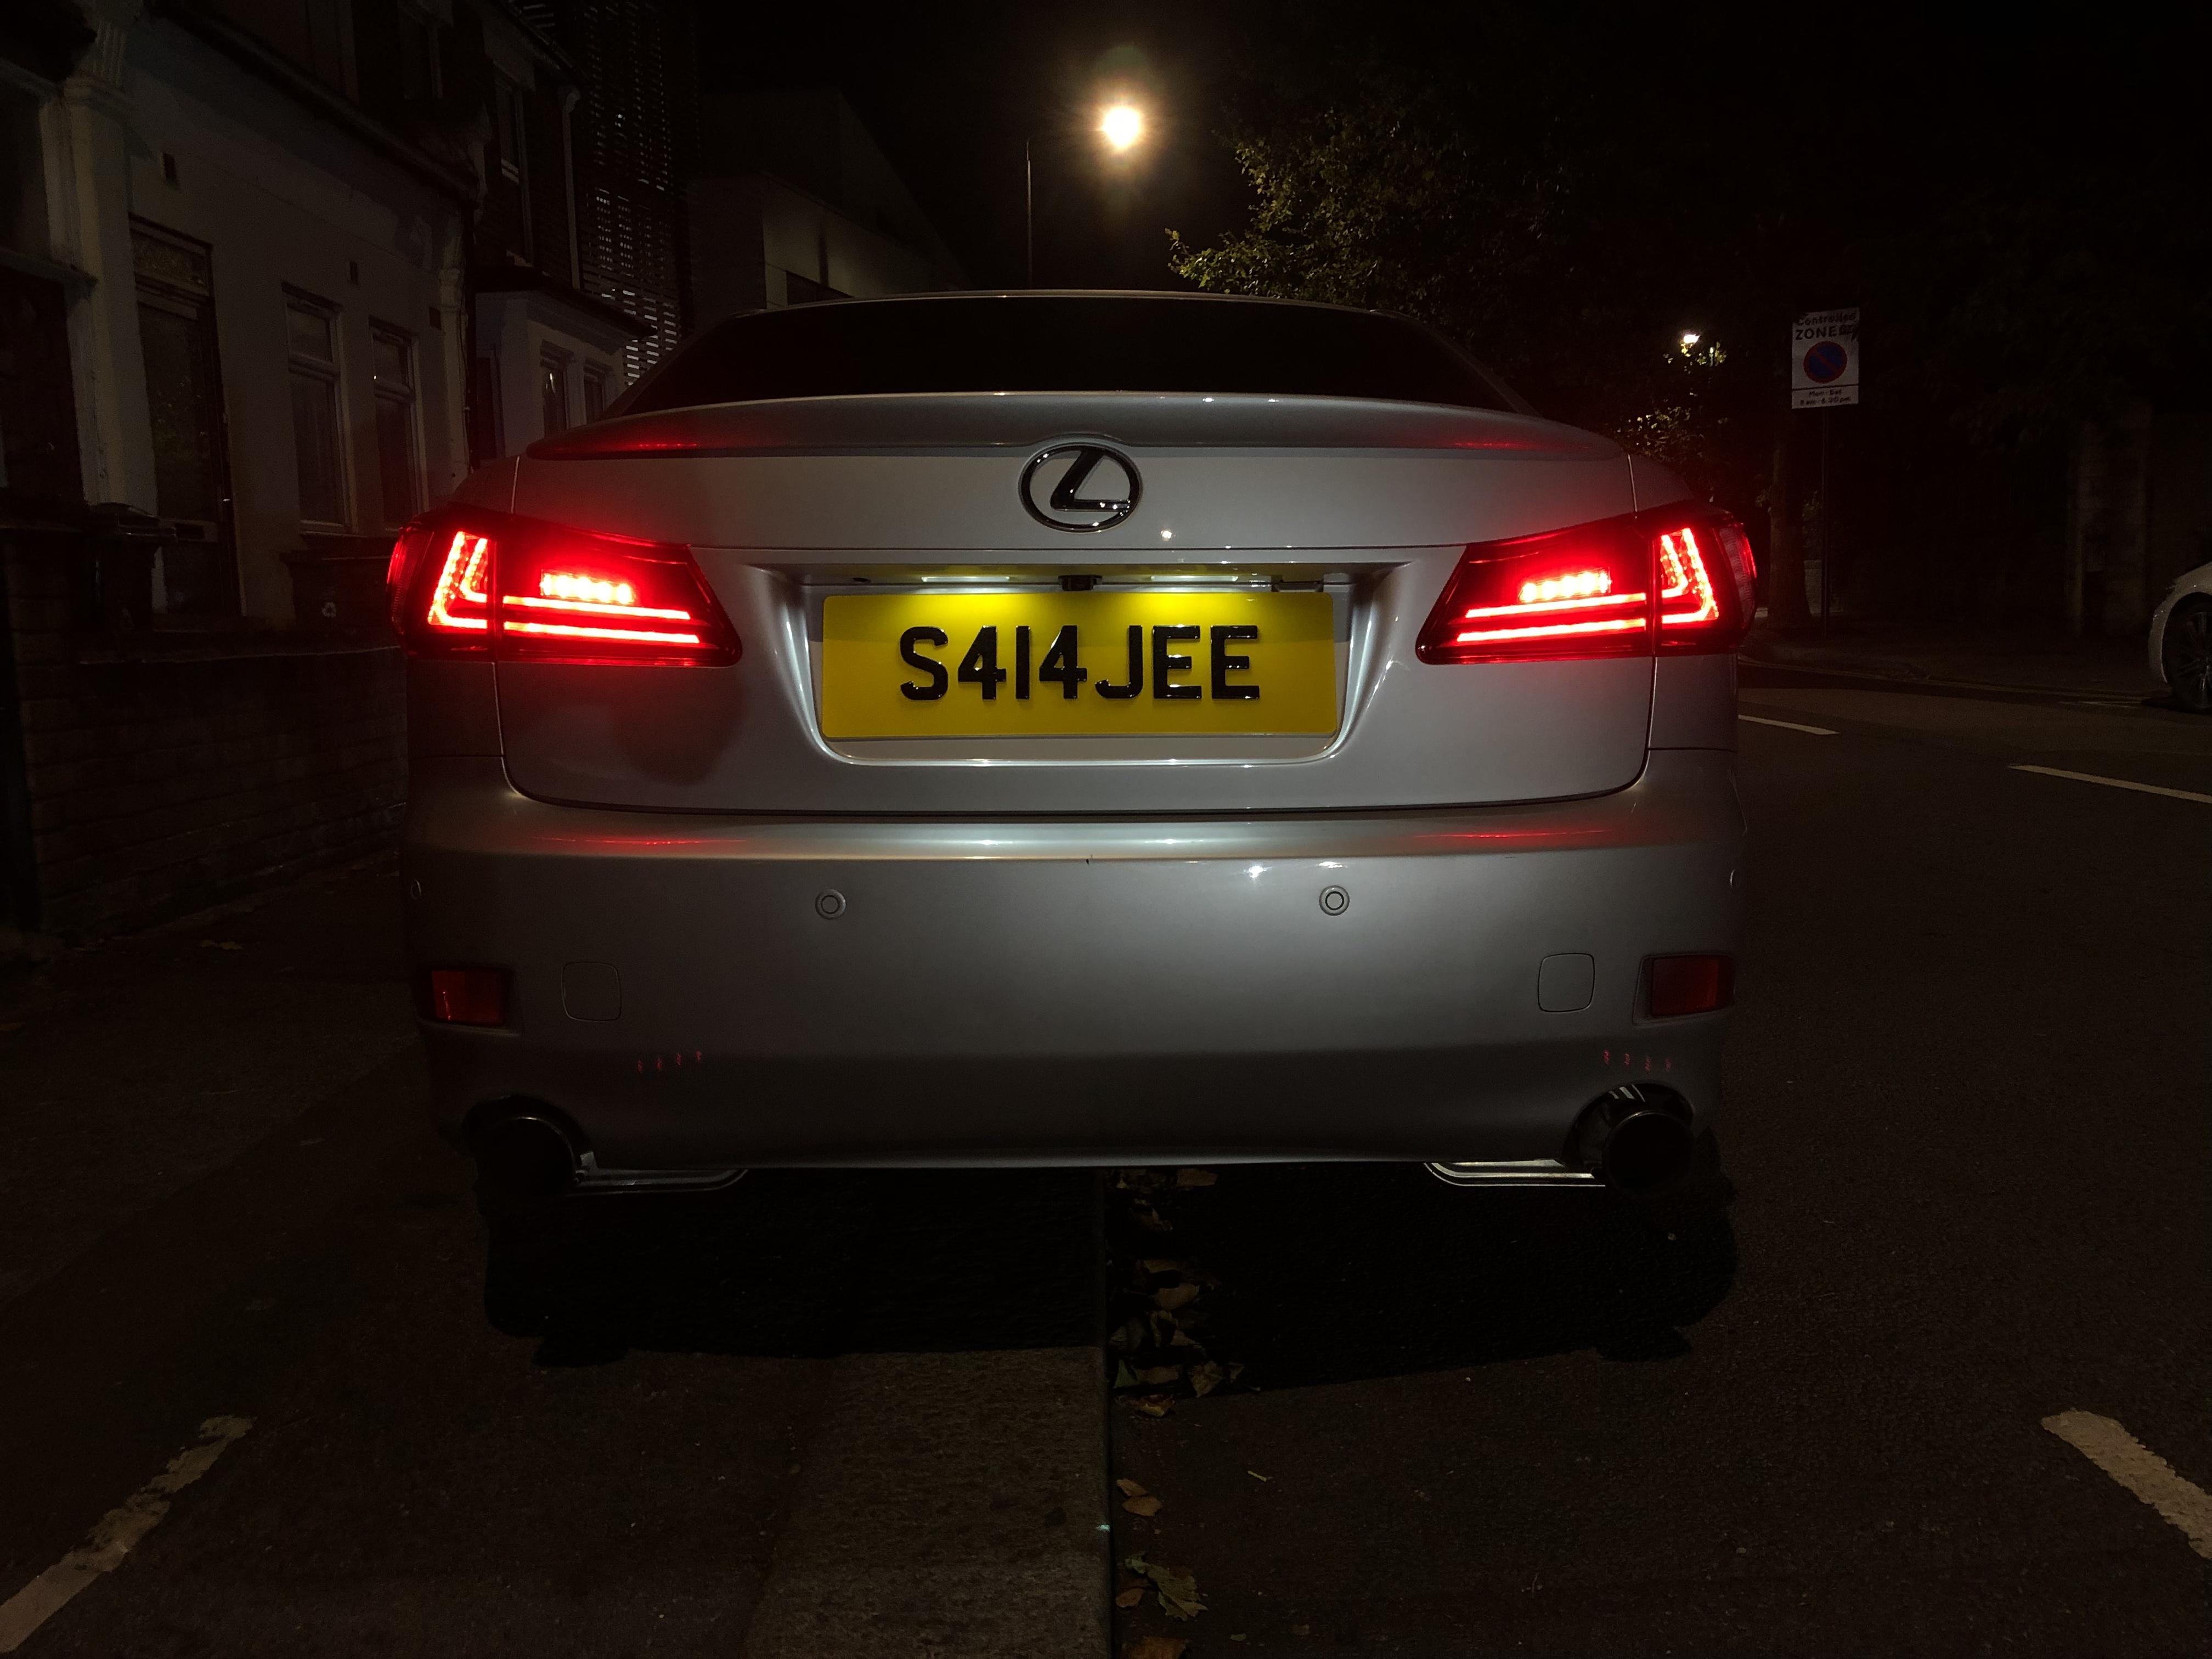
Well I've just seen these pop up online. I have emailed the company and they say they are direct bolt on replacements, with free shipping for a limited time however they do not have the AFS function so I'm not sure if they will trigger the AFS warning light on the dash.
They're made by V-land, the Chinese company who currently make the taillights that everyone (including myself) have!
-
I offered someone on eBay £200 and he accepted but there was also a £20 customs charge when it arrived 😞 needless to say, they do look good. I opted for the red colour and I’ve got my MOT this weekend but I shouldn’t worry too much as these lights also have a rear fog function. It uses the reversing light as the rear fog. My only downside was that the inner light clusters narrowly scrape the putter light clusters when opening/closing. Not sure if this is a common issue with anyone else but I see it happening on both sides so could just be a defect with mine.
-
5
-
-
I don’t know the spec by heart but I believe these are the product codes. I bought he nut and bolt a couple weeks ago from Lexus and this is what they gave me
-
I was surprised how easy it was to change one on the front. I suspect the rear might be slightly difficult. I can feel another stud starting to show signs of failure 😞
-
As far as I’m aware, every facelift model (from 2009 onwards) has the auto mirror fold feature when you lock/unlock with the key fob. 2005-2008 models have to be done manually


Fuse box location inside 2007 is250
in Lexus IS 250 / Lexus IS 250C Club / Lexus IS 220D & IS 200D Club
Posted
Under the steering wheel near the OBD connector, you’ll see a white/beige cover with blue writing on it. It’s not big, about the size of your palm. That’s the fuse box for the cars interior. It’ll be under the steering wheel, closer to the door trim, just above the pedals