hazelnut
-
Posts
97 -
Joined
-
Last visited
Content Type
Profiles
Forums
Events
Store
Gallery
Tutorials
Lexus Owners Club
Gold Membership Discounts
Lexus Owners Club Video
News & Articles
Everything posted by hazelnut
-
I decided to just get another ML multi display from eBay. However the newly acquired one seems much darker than the original. This solved the PCB confusion, as the PCB screws onto the switch carrier, and the screw posts were all missing on my original one. The spare bezel I previously got had an additional light box inside the front panel, I think later cars must come with some sort of ION filter, easy enough to remove. After some swapping of parts, I kept my display and tyre ECU used the good new bezel, the darker switch carriers and darker tape/cd. I quite like the contrasting darker multi display I now have, plus all the buttons work now. I now have to dispose of a spare Mark Levinson multi display with the light grey front with some dodgy internal plastic repairs...

-
I finally got to commission the recirc today - it works ! I've put the car back together and made a label.
-
I started digging to uncover the mystery. And found the actuator to the recirc diverter was missing its lever. However the lever is fine, it is the pin for the recirc diverter that broke. I managed to remove the fan motor section. Some a few hours of excavating and pulling, then I had to repair the bits I broke. and of course fix the bits the previous idiot broke... Some PP welding at 300c later... Test assembly, required quite a bit of fettling on the repaired diverter axle. Now the trick to reinstalling (without removing the dash and making this a three day ordeal) is to assemble the parts under the dash. then clip together and screw the diverter section on. Then of course install the diverter actuator and the arm, and all the many ECUs and other wiring. This was a very challenging repair, and I have yet to commission it.
-
I recently purchased a replacement screen bezel of eBay, and today I went to fit it. But I have discovered a very dodgy repair inside the my unit. The PCB with the hazard switch etc on it seems to be the incorrect one, and all the screw post are broken. I have transfered accross the two side PCBs to the good eBay bezel, but I do not know if the small PCB is correct for my 2009 GS450h. It is the Mark Levinson version as well.
-
I don't seem to be able to get this to work on my 2009 GS450h . There never is a portable player option. 😞
-
Yes, exactly. I wanted to have a working spare, so I bought one off ebay and cloned it. This will allow me to reverse engineer/test a good ECU with a view to engine deletion in the future. By deletion I mean the engine would be replaced by a modern Li-Ion battery pack. It looks like I will bin the Renesis CPU and use a STM32 instead, but I need a live ECU to capture messaging. The messages to the inverter have already been reverse engineered by others, so should be a simple project...
-
The answer is yes. I pulled the EEPROMs from my good ECU, read the data with my Dataman, soldered them back on. Then removed and programmed the EEPROMs on the spare ECU. Car starts and runs now with both ECUs, the original and the clone.
-
oo Nice shade of red. I note on eBay the GS450h MK4 inverters are selling for much less than the MK3 inverters. I interpret this as the MK4 inverter is much more reliable than the MK3.
-
I want to swap out my Hybrid ECU 89981-30081 for another used one. Do I need to reprogram both the EEPROM chips inside (I can do this) or is it possible to do this with Techstream? I can't see any options for this on the GUI, but the internet seems to think Tech-stream.V12 can do it. Anyone know for sure?
-
Its a small triumph, but I managed to plastic weld the two broken parts of my +ve terminal 12V battery cover together. No more sparks when removing the -ve terminal I hope. I used PP welding rods and a hot air gun.
-
That's a 3.5 hour drive for me...
-
I've got my centre exhaust on the garage floor. Its a 2009 GS450h. Can you tell me where i can get a £600 stainless exhaust from? I have a TiG welder but almost no skill, aside from an evening class I did in December.
-
Today, the mobile locksmith informed me that as well as the £35 for the key there would be a £60 call-out fee. Or I could go to his house on a Saturday. Looks like it's back the dealer.
-
Today I called my local Toyota dealer (I gave up on the Lexus dealer). I was quoted £60.23 to supply and cut key. I called a mobile locksmith and got a quote of £35. Guess which one I'm going to use?
-
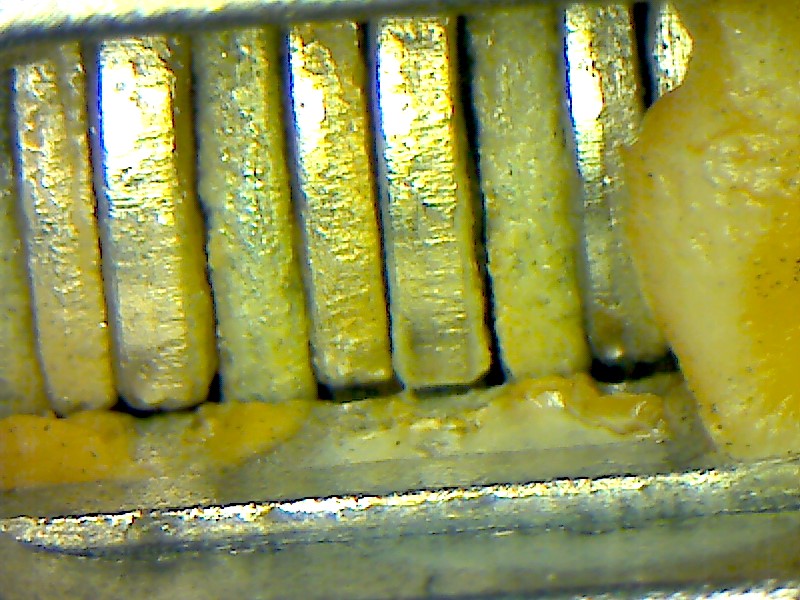
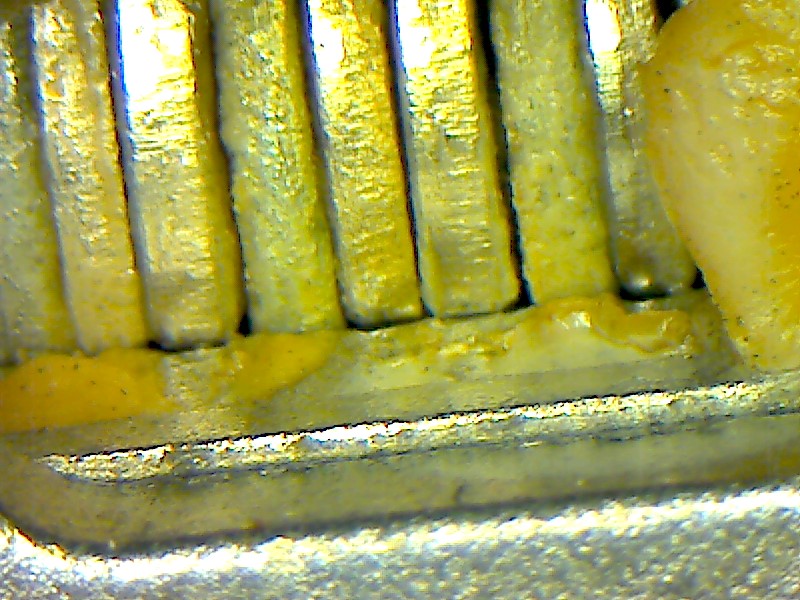
Found two more wafers hiding behind the grease blob. so 8 wafers in total.
-
For my 2009 GS450h I just got another remote fob that was 'reset' and I was able to add it using techstream. I then ordered a key cut to a photo, but it does not work. I removed the door cylinder lock, but there is no 6 digit code on it. Here are some pictures showing the 6 wafers in the good and bad keys, as I know everyone loves pictures. Is there a way to get the 6 digit code? and is there a way to get a key cut properly? or is this only a cut-by pantograph type deal?
-
So I have reverted to driving my 1998 Alfa Romeo (cost £350) which drives significantly better than the Lexus. I usually try to go for decent pattern parts such as Febi Bilstein, I have not yet discovered a source for Lexus parts. The local dealer doesn't seem to want to know, not that you can park there as they have evidently not been able to sell many cars for a while so they have so much stock you have to park on a few streets away.
-
I will check the alignment with my Dunlop optical gauges at the weekend, I assume it should be running 0.5 degree toe-in? The lower ball joints are available for around £30 each, if I get time I will take one off and check it for play.
-
Ahh, that makes more sense. My 2009 GS450h (86k miles) I just got it running, but it is a bit unpredictable in the steering department, dangerous even. I can't see how it passed its MOT last week like this. I guess it would be something they don't test at the MOT ?
-
I have attached a parts diagram of the front suspension on the GS450h. Do you mean the anti-roll bar link ? I would not think this does anything in a straight line, but I am not a suspension engineer. My 2009 is a bit wandery/tramliney in a straight line, but I assume that is due to having massive wide tyres?
-
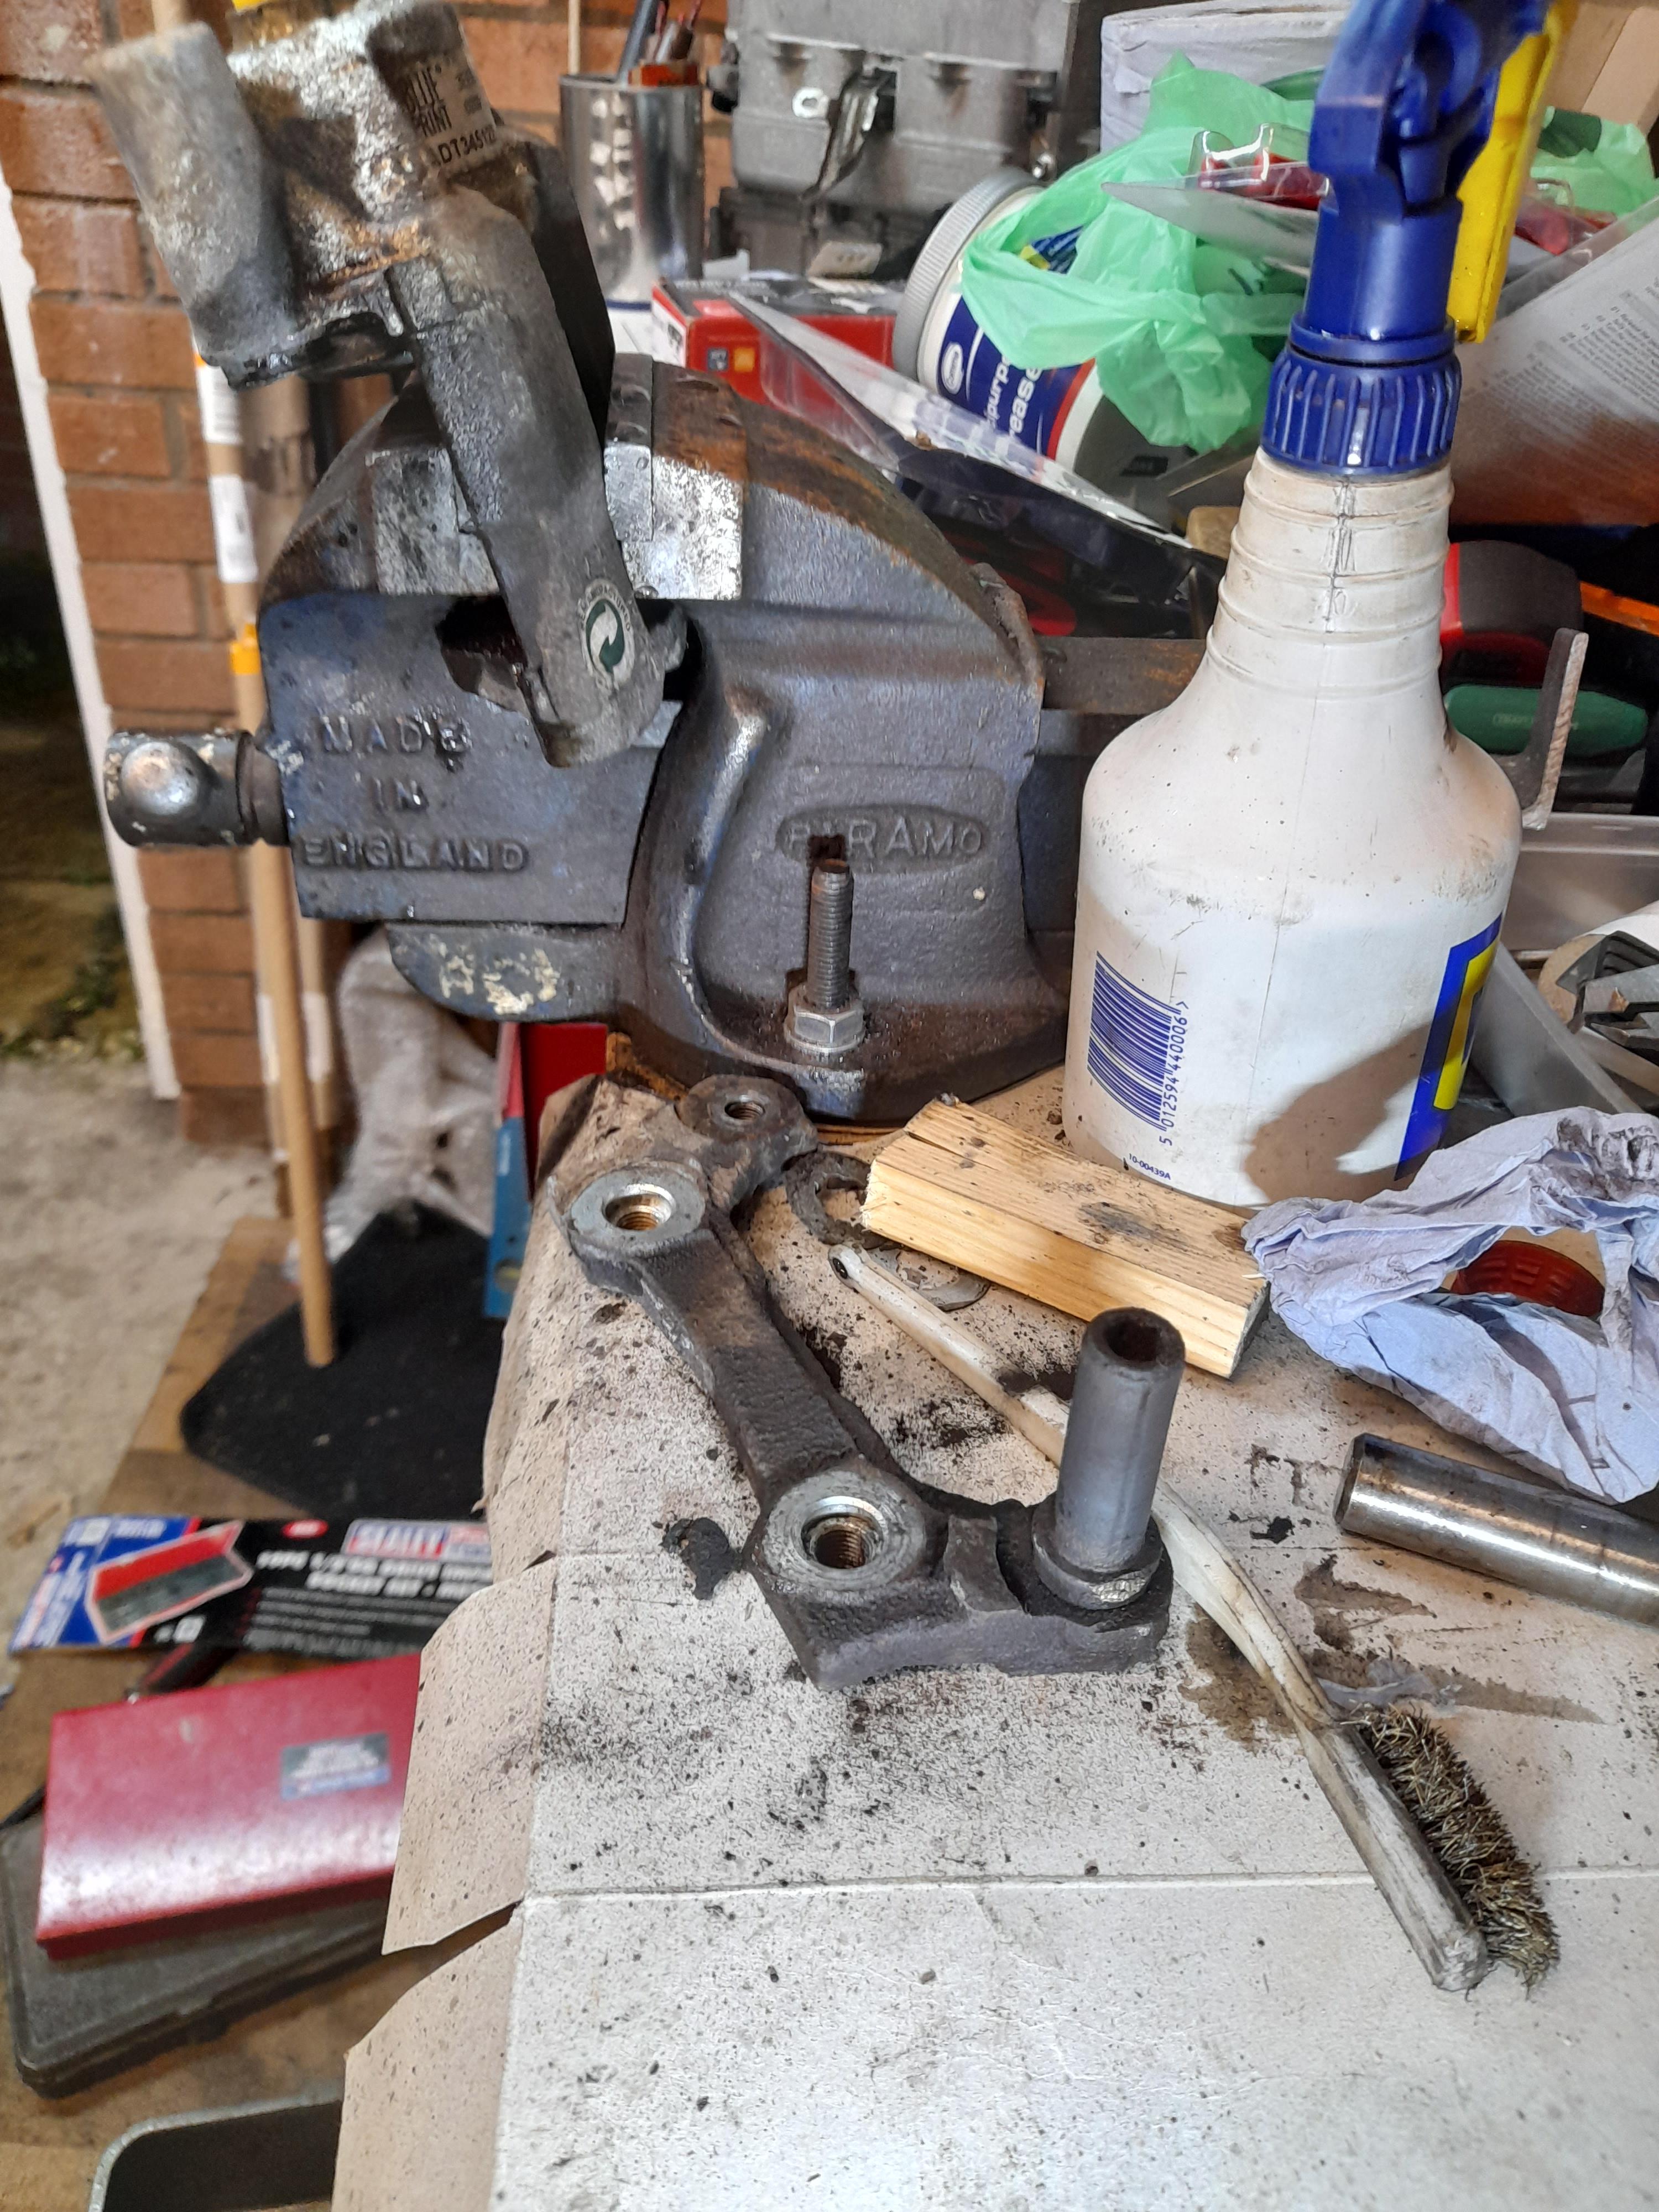
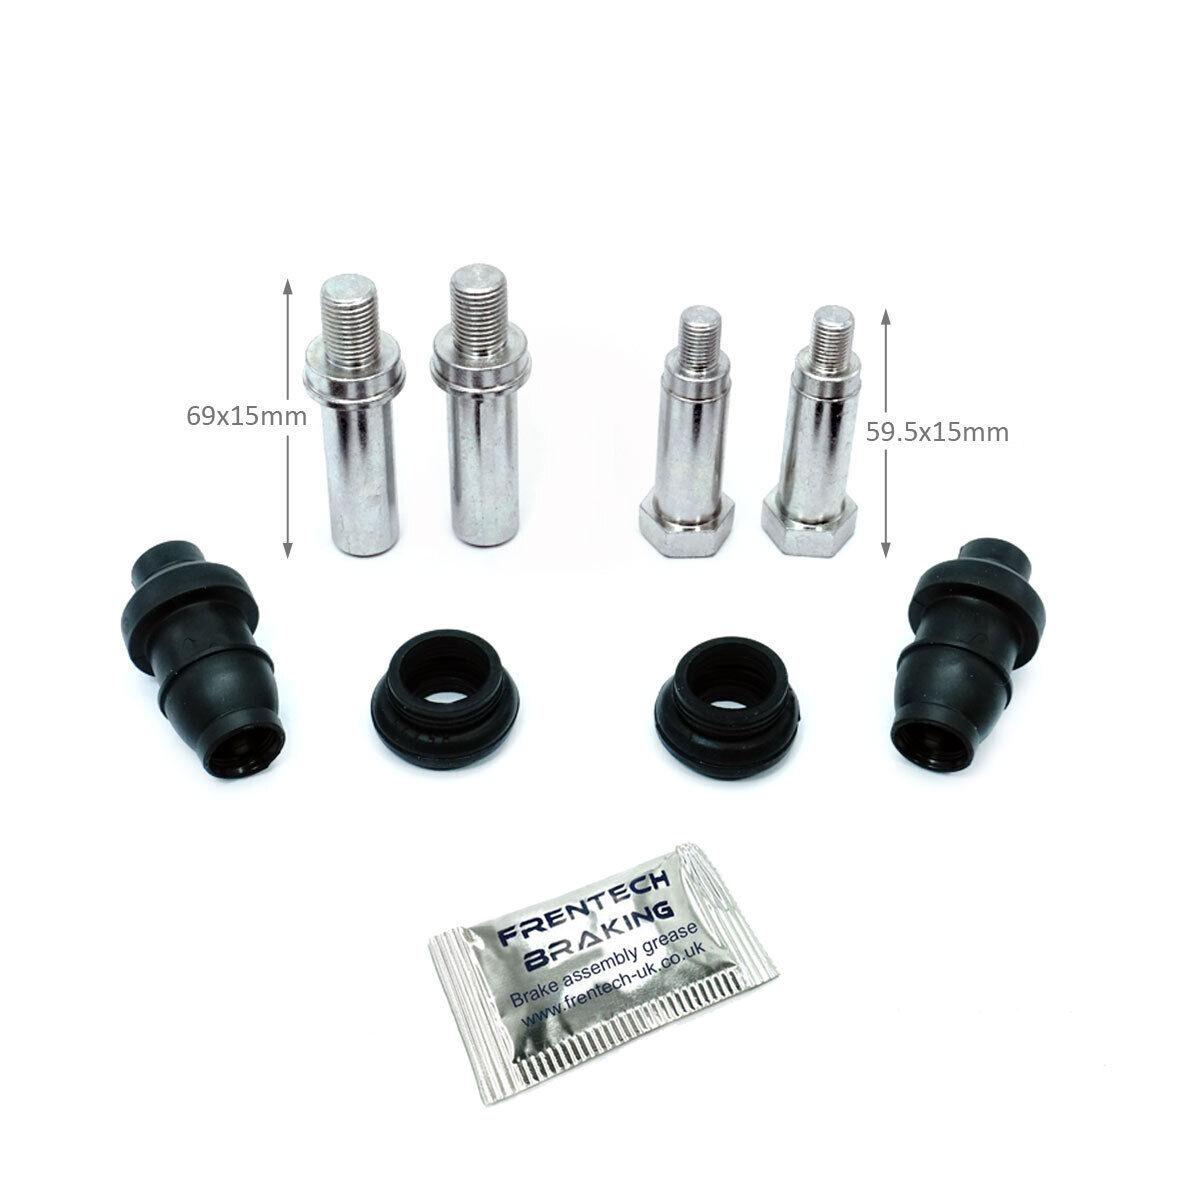
Well, I managed to get the pin out, it was very stubborn. I have ordered a new pin kit, so when they arrive I'll install them. MOT retest on Monday, lets hope the rear axle imbalance failure goes away.
-
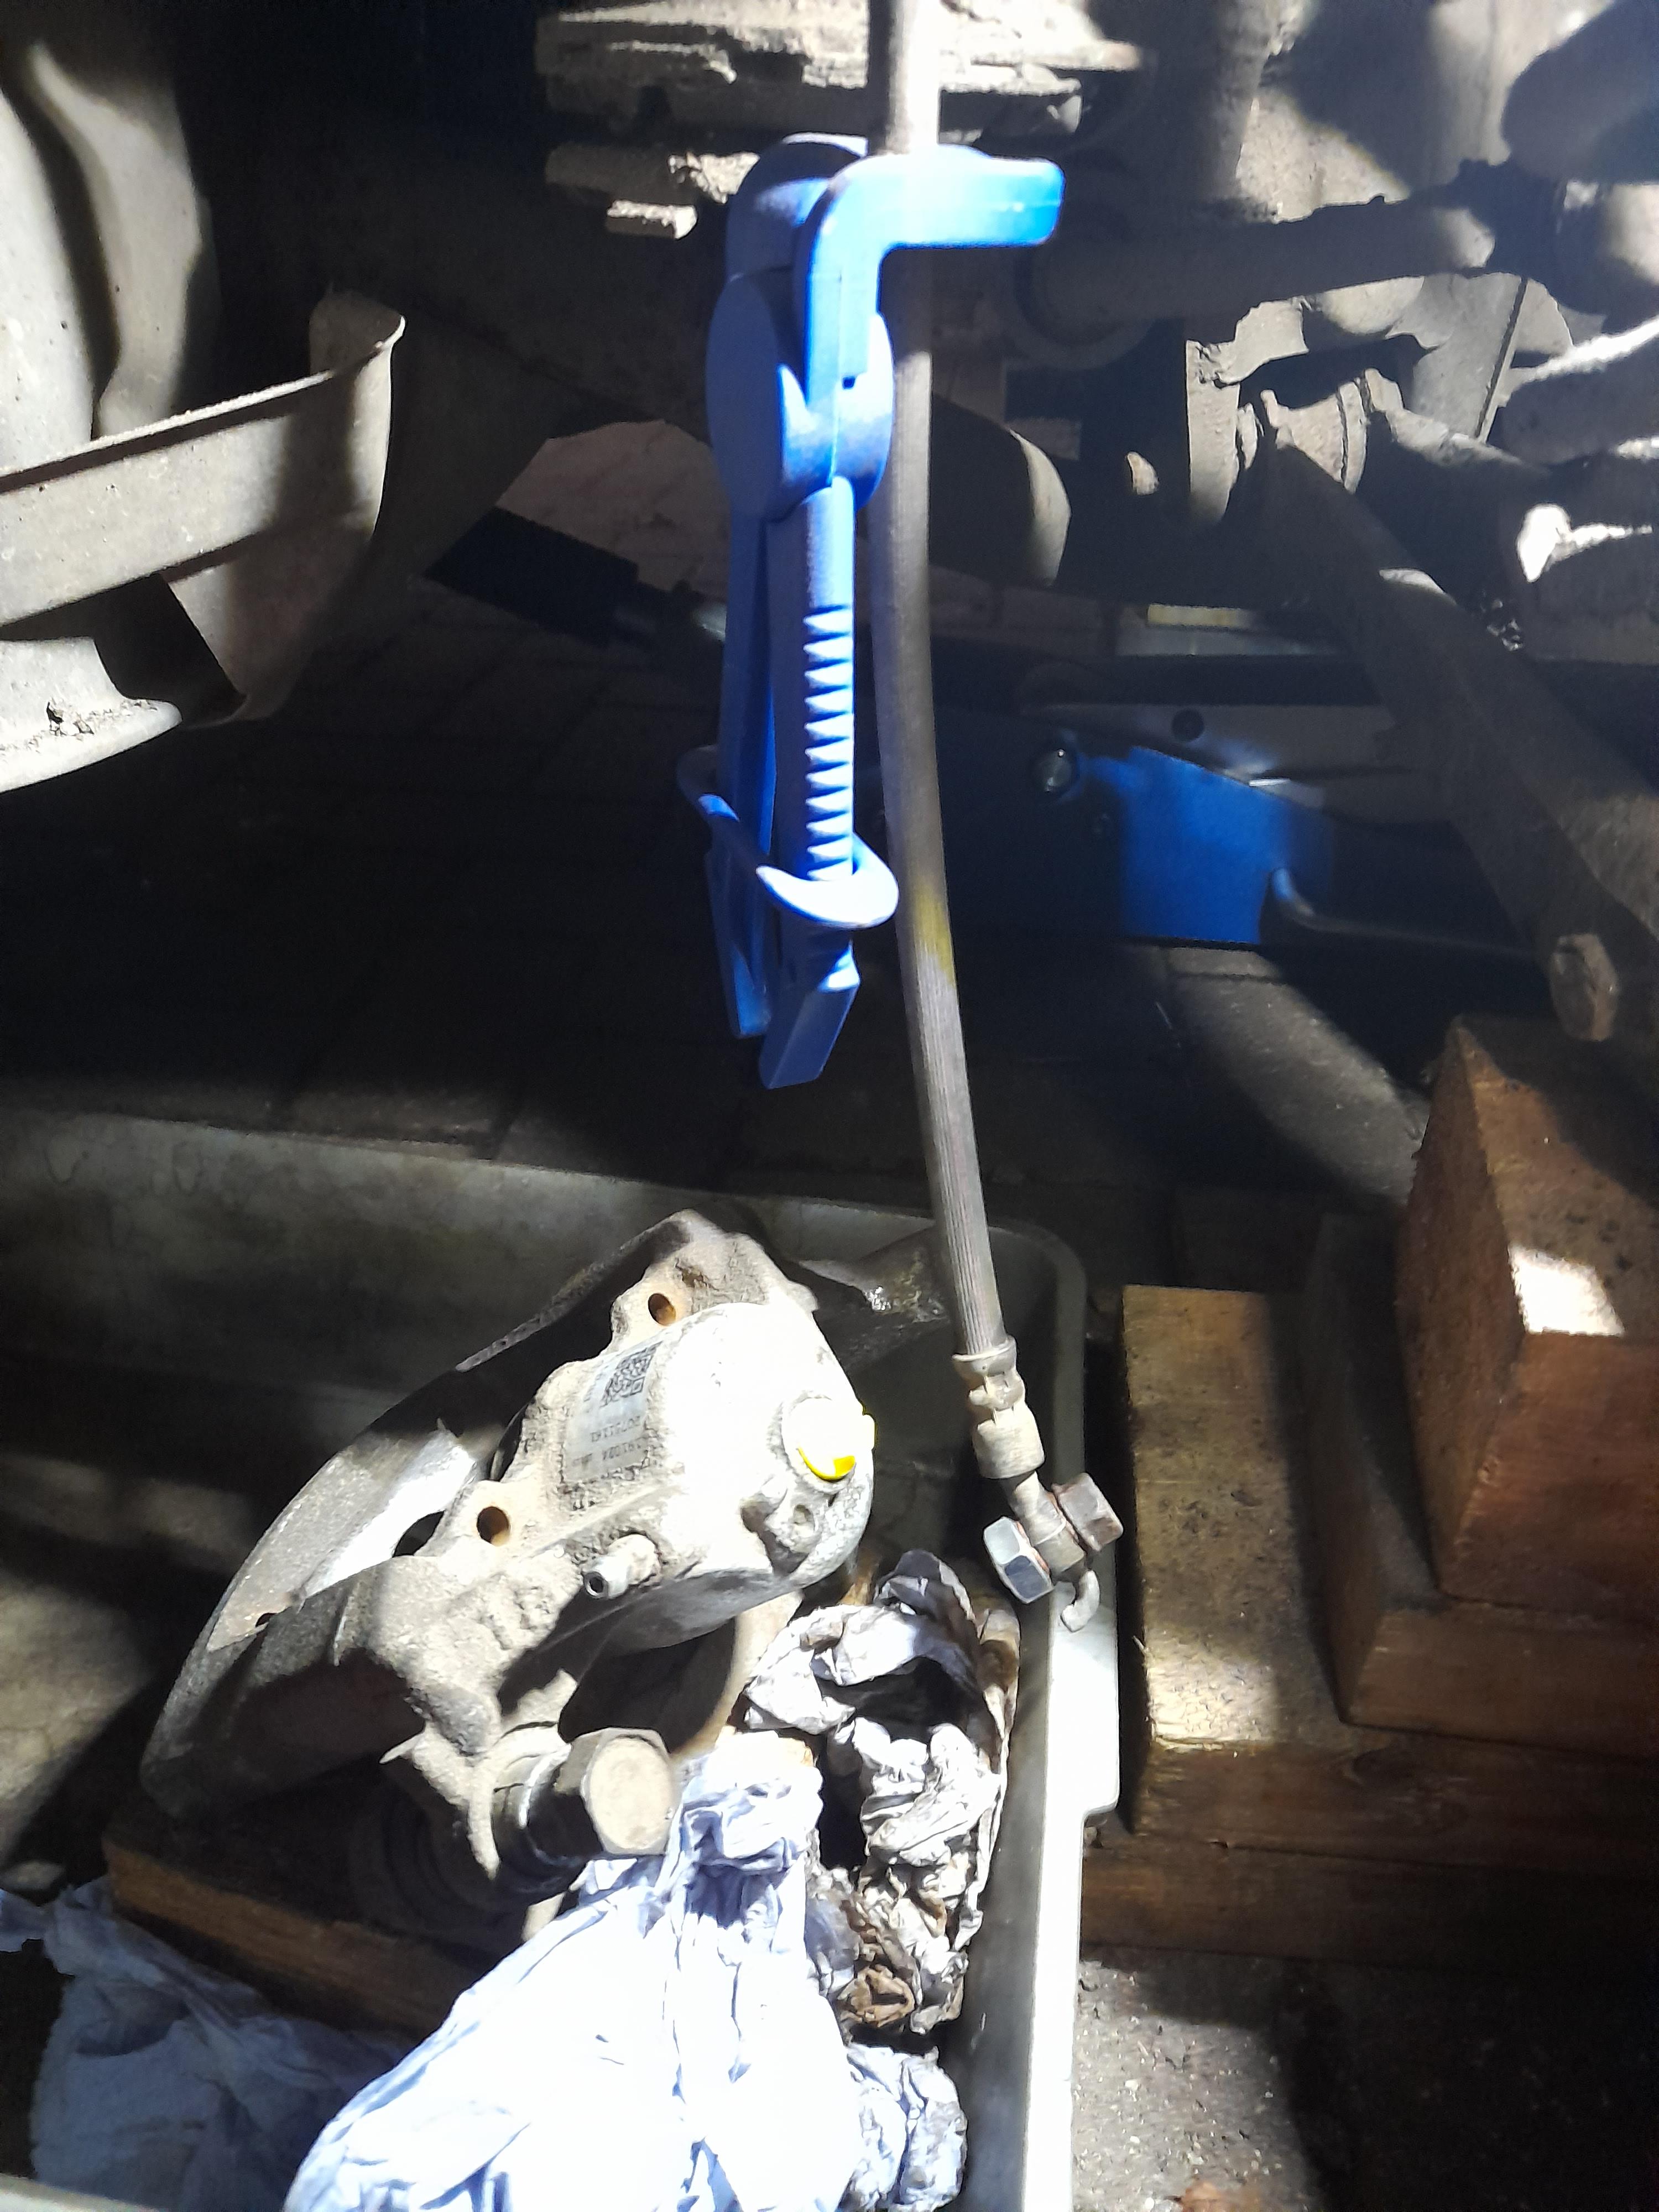
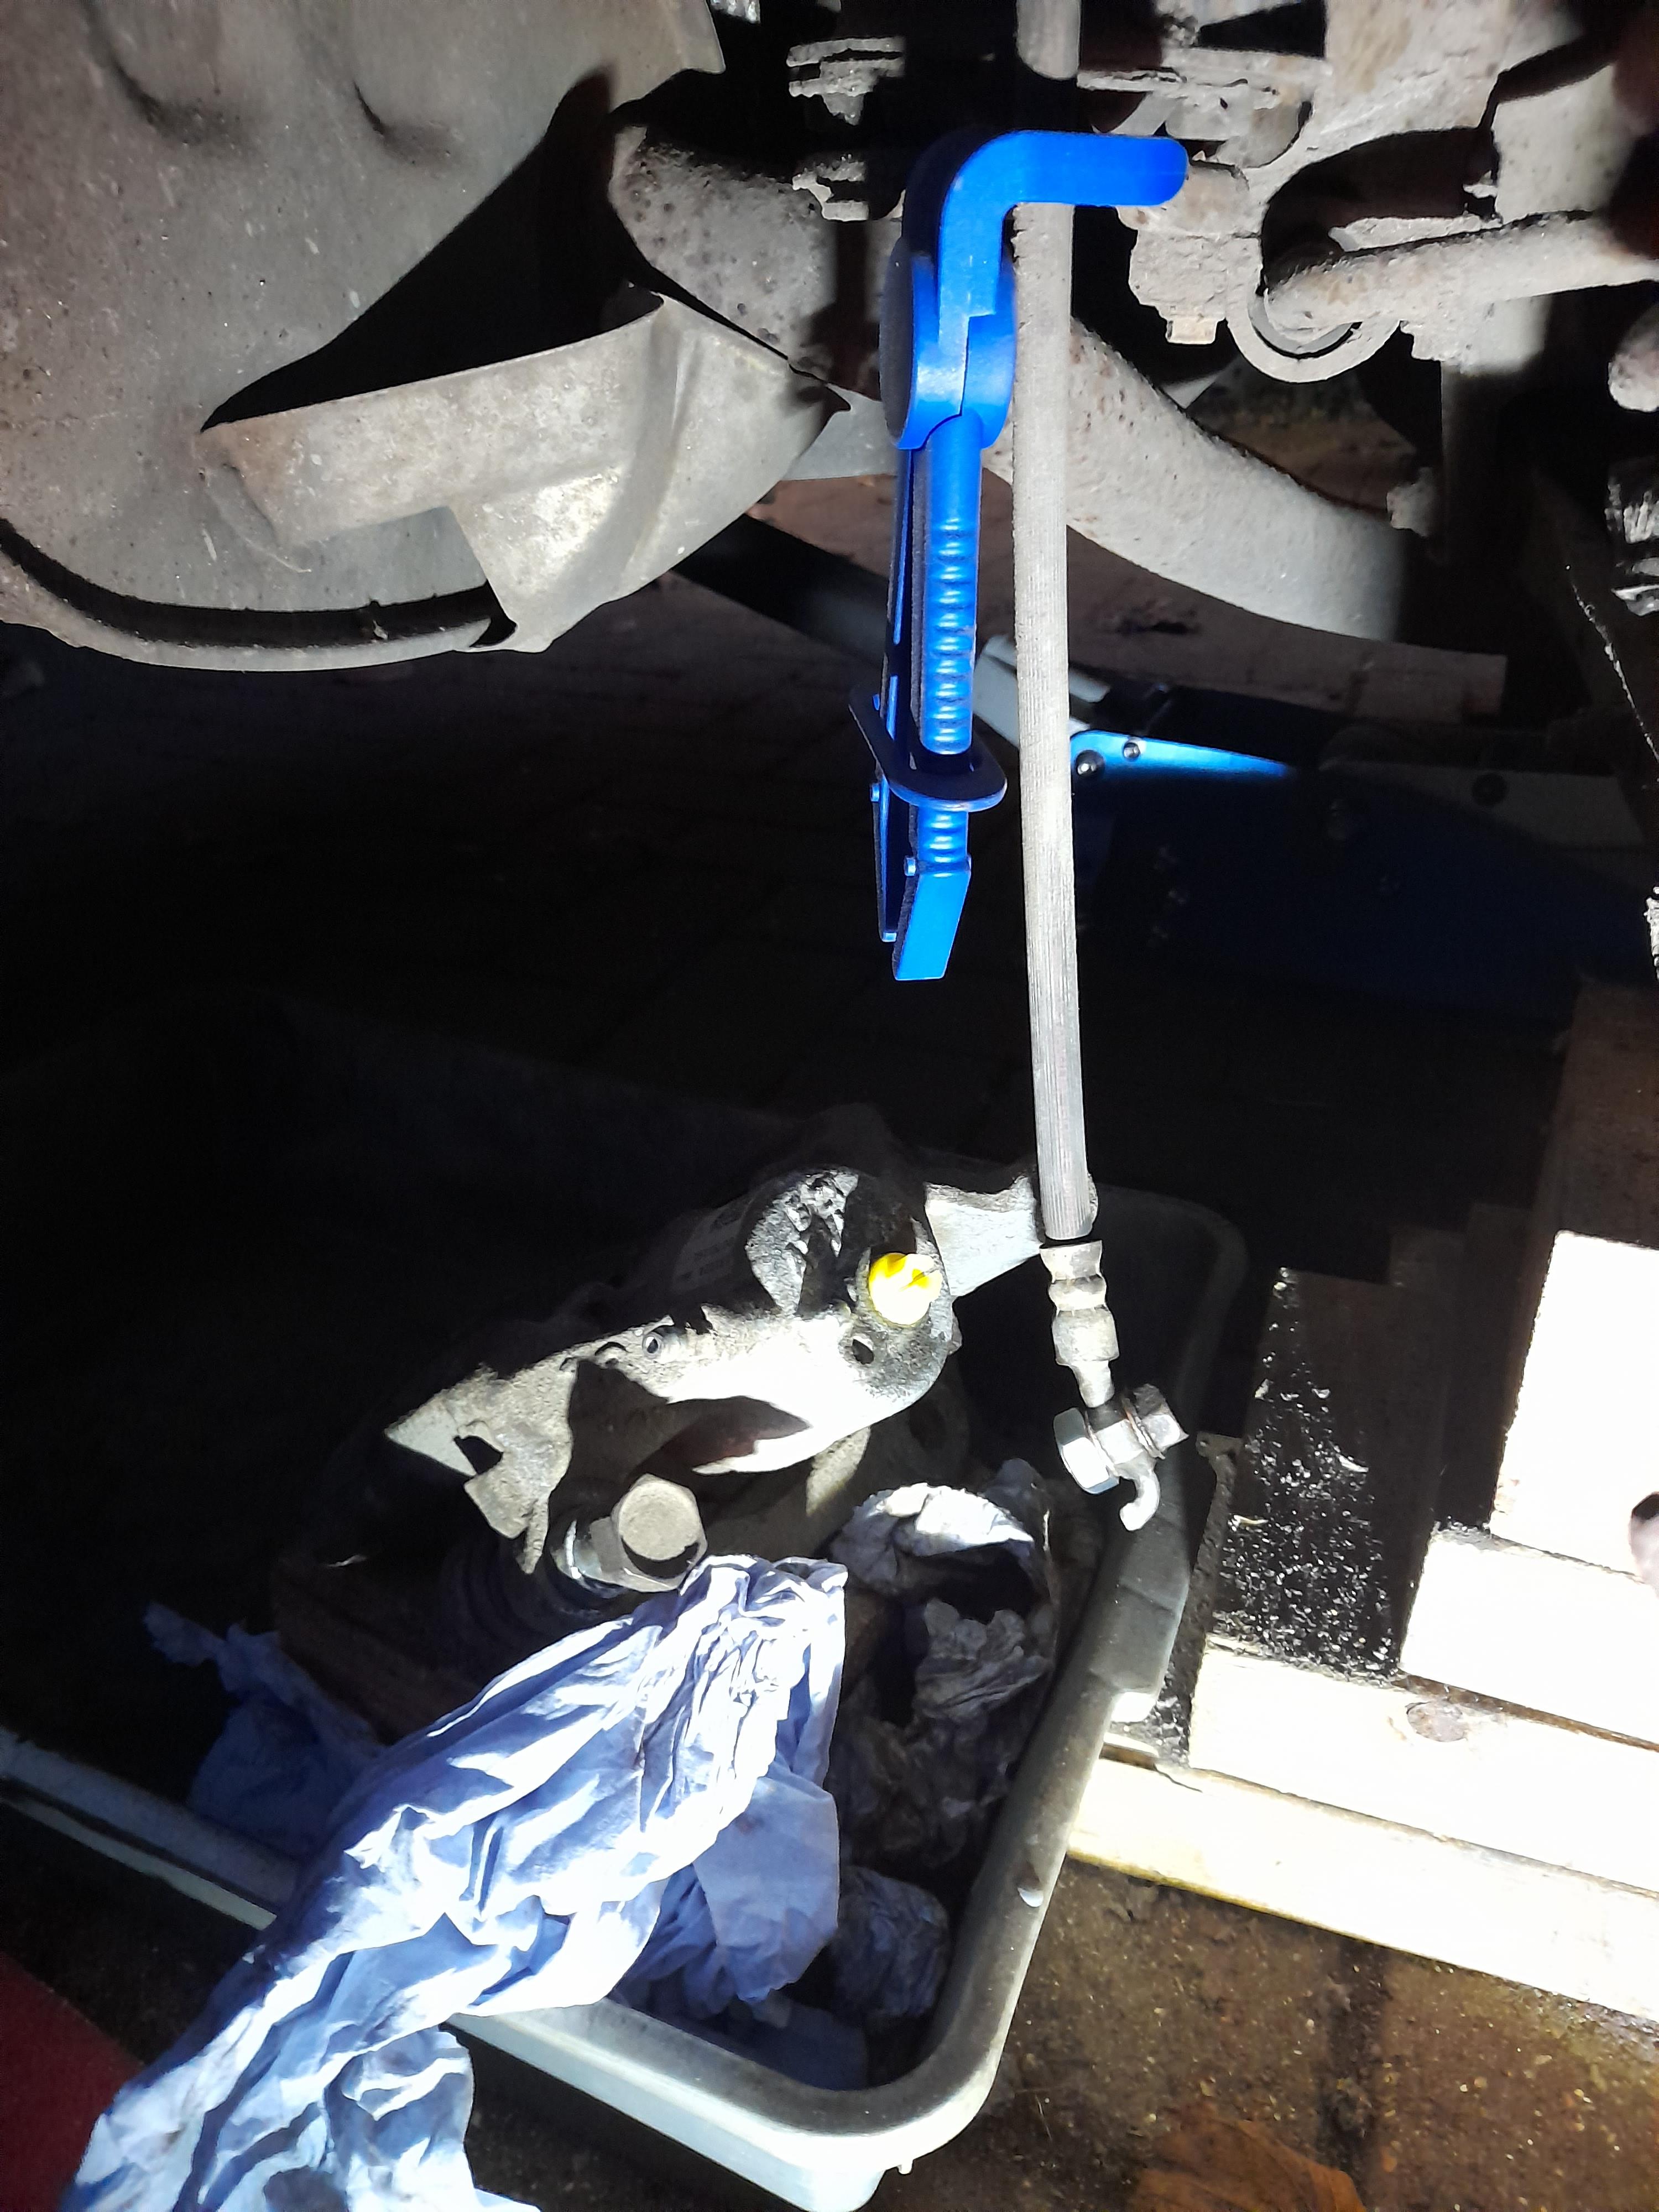
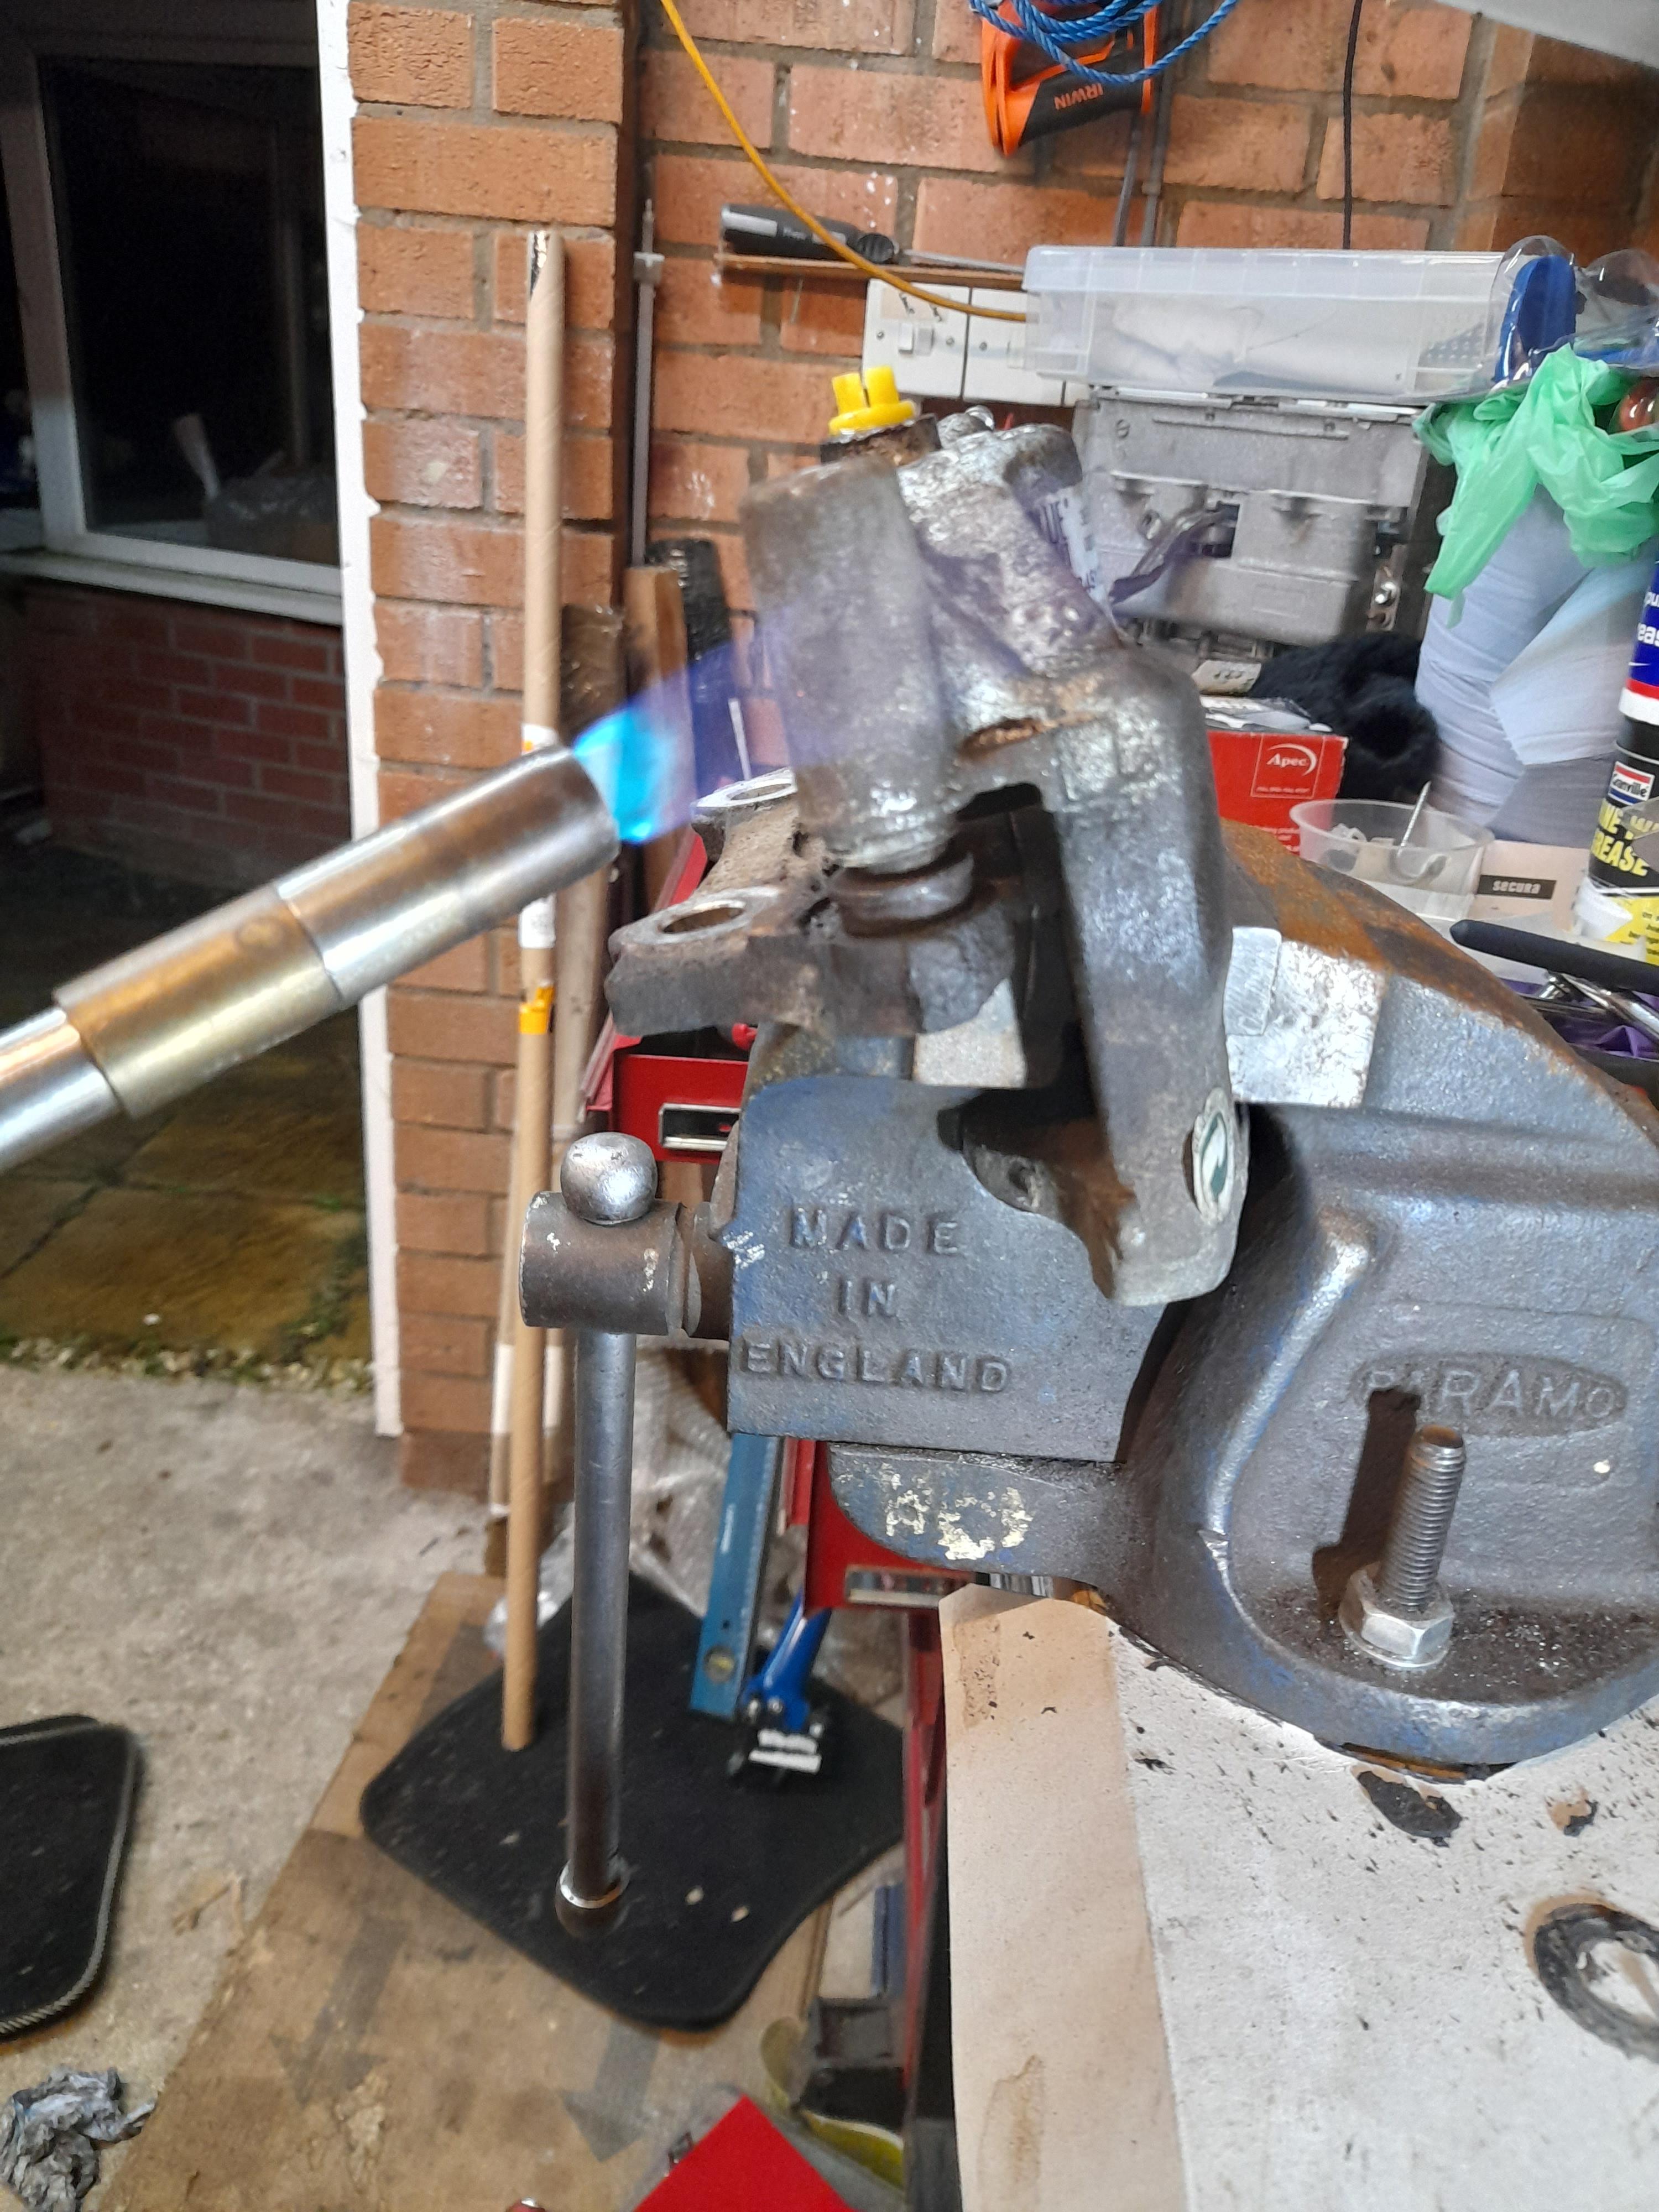
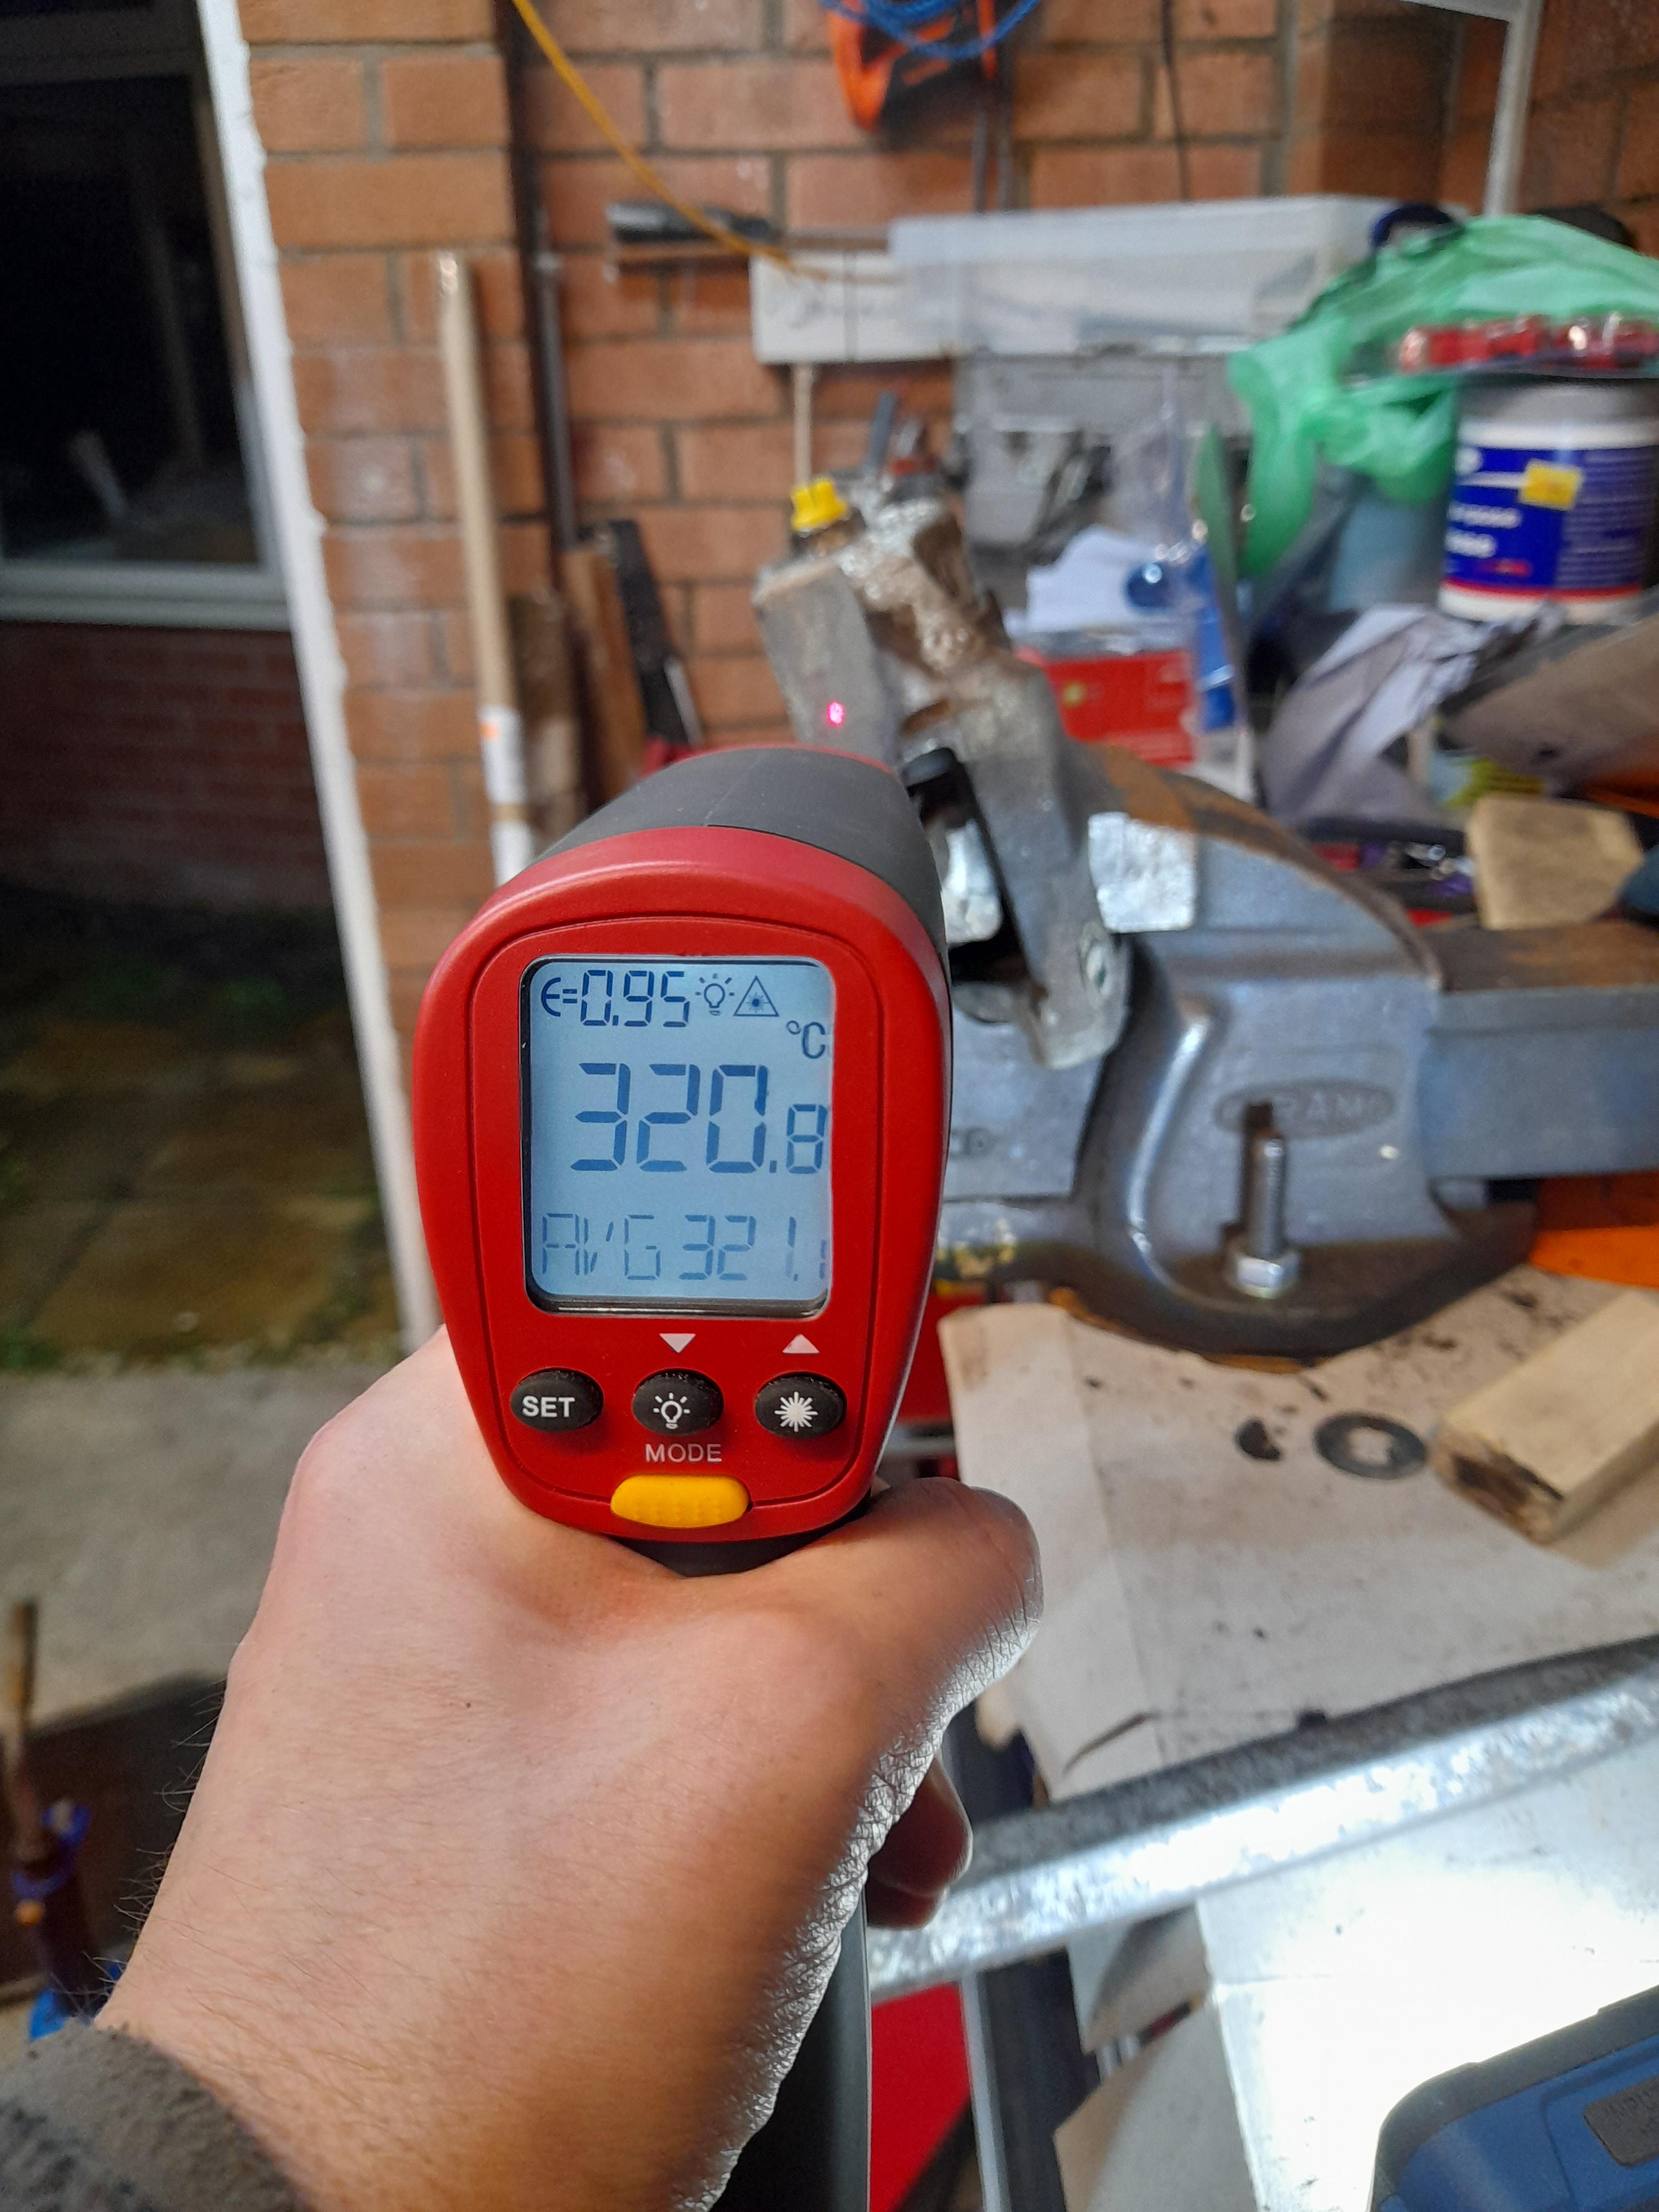
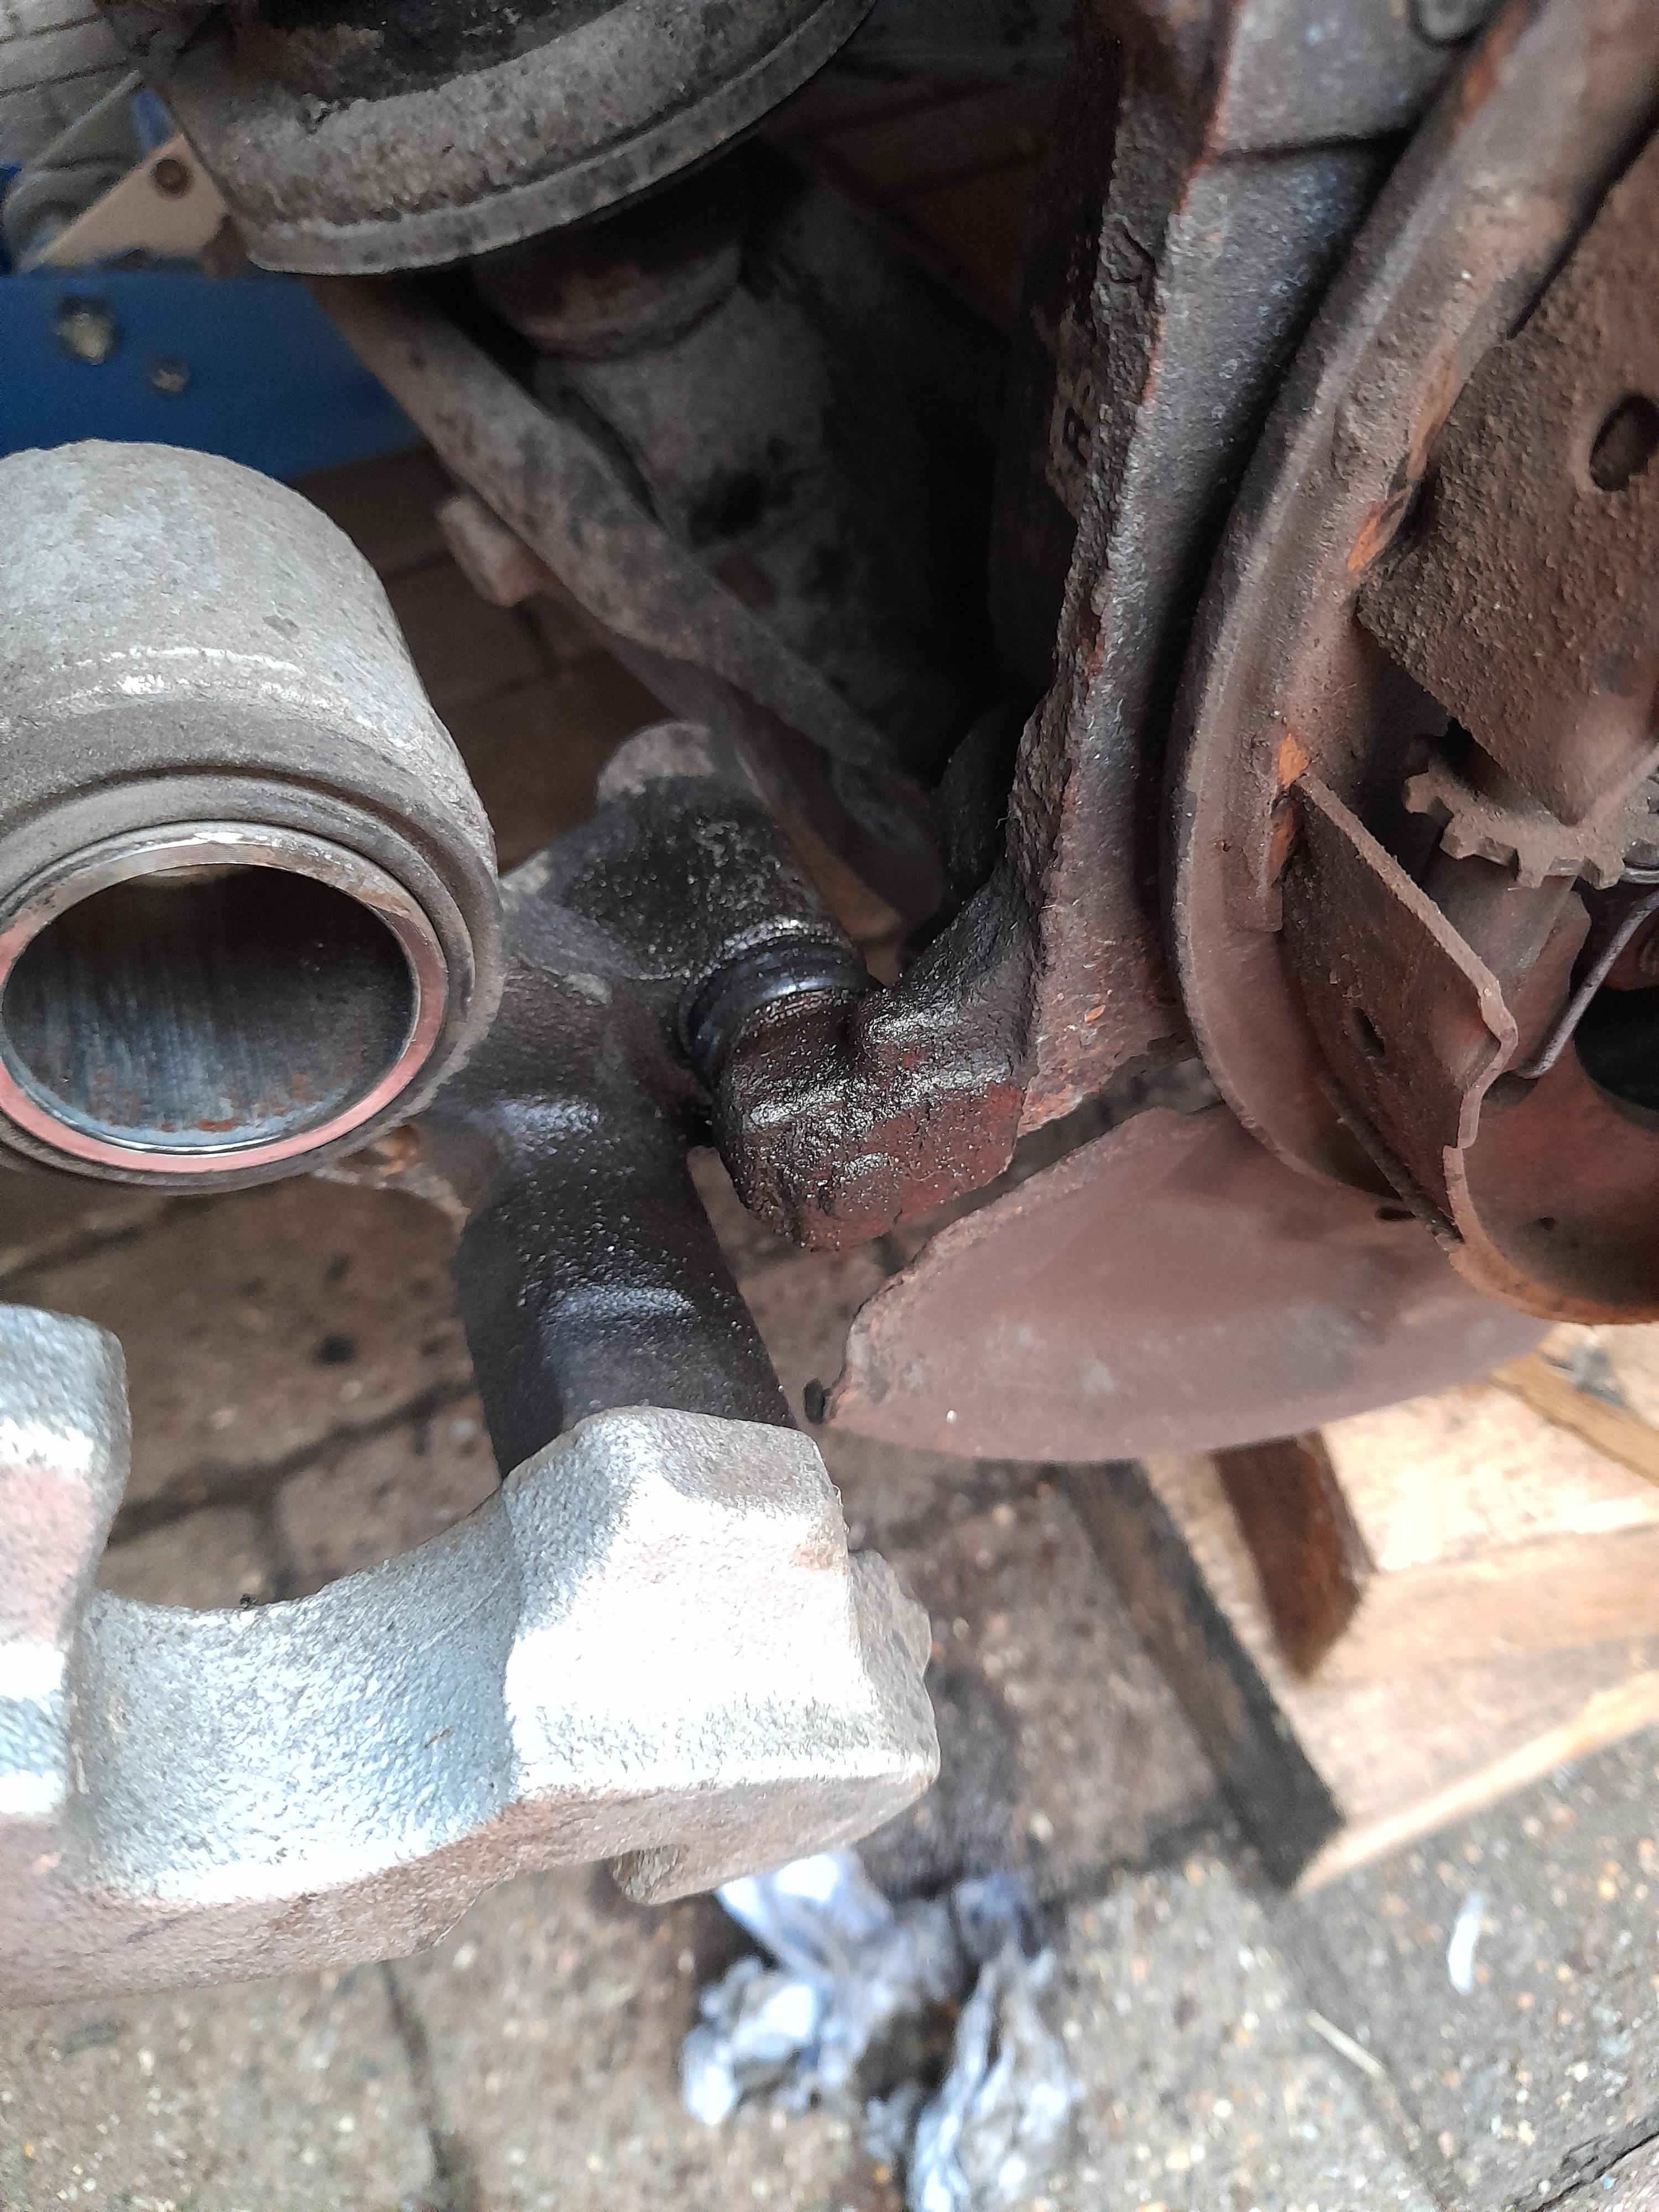
I can't believe nobody else has had this problem for 10 years! I had some issues with brake balance across the axles at the MOT, so I have been systematically removing, cleaning brake pads and discs. The rear lower caliper pin on the NS was devoid of any grease, and the one on the Rear OS is totally locked solid, blowtorch, big hammer etc not making it move. The discs and pads look like new, how could this happen? Anyway I read in the manual to get some lithium soap based grease, which I had to hunt down - I found Zinc Oxide Lithium soap grease, AKA marine white lithium grease for extreme corrosion applications. I put that on the N/S pin, but I noticed if you move the caliper on its float, the seal just unmounts from the caliper and sits on the pin. What a stupid design. The MK4 GS450h rear caliper look much better, two pins with double captive boots - is it worth getting a pair of these? What are my options now, given I will need at least one rear caliper and pin.
-
Good point, I have not. But he claimed no knowledge of the dozen or so Wherthers trapped in the cup holder door...
-
When I got the car I found this on the passenger floor.
-
I found some useful images off t'interweb, and added some A/B markers. It looks like both upper screws are at the same level, so a differential change in the two screws would be L-R adjust, and common mode change would be up-down. So I guess if one of the screws were wound too far it could jam the other screw. I think that is what has happened on my light. The thread of the 'B' screw appears to be a regular right handed screw, so clockwise on both A+B should raise the lamp . PS. I am happy report that worked! I adjusted the 'A' until it became less tight, then the magic screwdriver was able to turn the 'B' screw. Now Both headlights are the same height. Yay