

is200 Newbie
-
Posts
2,118 -
Joined
-
Last visited
-
Days Won
8
Content Type
Profiles
Forums
Events
Store
Gallery
Tutorials
Lexus Owners Club
Gold Membership Discounts
Lexus Owners Club Video
News & Articles
Everything posted by is200 Newbie
-
Anyone know if disconnecting the battery will set the alarm off - dont know if these have battery back ups or even if they are fitted to all the IS's
-
Just need a bit of info - I have HID's fitted to the car as standard (LE model) and this also has headlight washers, again standard. I have read on forums here that headlight washers are required if car has HID's - Why is that?
-
Thanks ESP - I actually looked at that web site before but never noticed the repair service - i will give them a call. Cheers
-

Best Tip I've Been Given In Years
is200 Newbie replied to Silversalmon's topic in Lexus IS200 / Lexus IS300 Club
Wont wiping this stuff on the actual fabric leave a mark on your clothes when you use the belt? -
Bingo - i have PM'd you
-
£3.2k is a steal £2.5k is an insult -- a friend of mine had an insurance payout on his 02 is300 when someone went up the back of him - he was spared injury by the spare tyre taking the full impact as the smash squashed the wheel in its well in the floor, when we tried to take it out the tyre was about half the size and would not budge, anyway, he looked after it and had almost 40k on the clock - the car was spotless and he was offerred £3.9k for it as it had been written off !! Its a rare car now so i would hold out for a better value offerred for the car
-
Hi Bingo I bought a boot lid in the summer to take the spoiler from it to put on my own car (needed a re-spray but the paintshop done a brilliant job in matching the colors). The lid itself is the rusty red colour, dont know what color code, It came with all of the ligths / locks and trim etc - i took all of this off and it came off really easy. I cant see any issues in putting it back on the boot. I still have the lid and if you want it then you can have it. Just arrange for it to be collected, doing me a favour as it gets it out of my way. If you want some pictures then let me know. Only thing is that it has 3 small screw holes in it from where the spoiler was attached but if you are painting it or wrapping it then that wont matter if you fill them. All you need to do with your locks is attach them to the lid with a few bolts. Take a picture of how they are fitted to your lid now for when you need to re-attach. Let me know if any good for you.
-
100k on clock and gear box is still solid - even checked the colour of the oil a few weekends ago and its still red. Did you take this for a test run when you bought it? Presume the 25 miles you have done is since you have bought it, if so i would take it back if you are concerned about the box - more info on the problem would help everyone on the forum to help you out. Like everyone has said, the boxes are bullet proof Whats gone wrong with the instruments?
-
Mine whines and its an auto - 2004, 100k - only does it in 1st and 2nd gears at high revs but it has done this since i had it almost 3 years ago - not been a problem at all - sounds like a quiet whistle but sounds "cool" as if theres a charger on it - dont know if it can be heard outside of the cabin.
-
Thanks Geoffers - thats a handy walkthrough for the door covers.
-
Bummer !!!!!! Just noticed that the drivers side mirror is on its way out. Its the auto dim / heated type at over £200 for a replacement. It looks like what happens to a cracked LCD screen where the liquid bleeds into the screen. It has just started to go at the bottom of the mirror for the moment so i would imagine i can get a month or so out of it. Does anyone know what year these started to be installed on these cars. I cant justify paying around £260 for a new mirror glass so want to look at one from a breakers, even if i need to buy the wing mirror itself. I believe there's no easy way for someone not knowing that it dims that it does and would just sell as a heated mirror. Anyone have any ideas? Also, does anyone know how easy they are to remove, although this is not going to be a major issue as the one on the car is broke so it makes no difference but i can do without damaging the original housing.
-
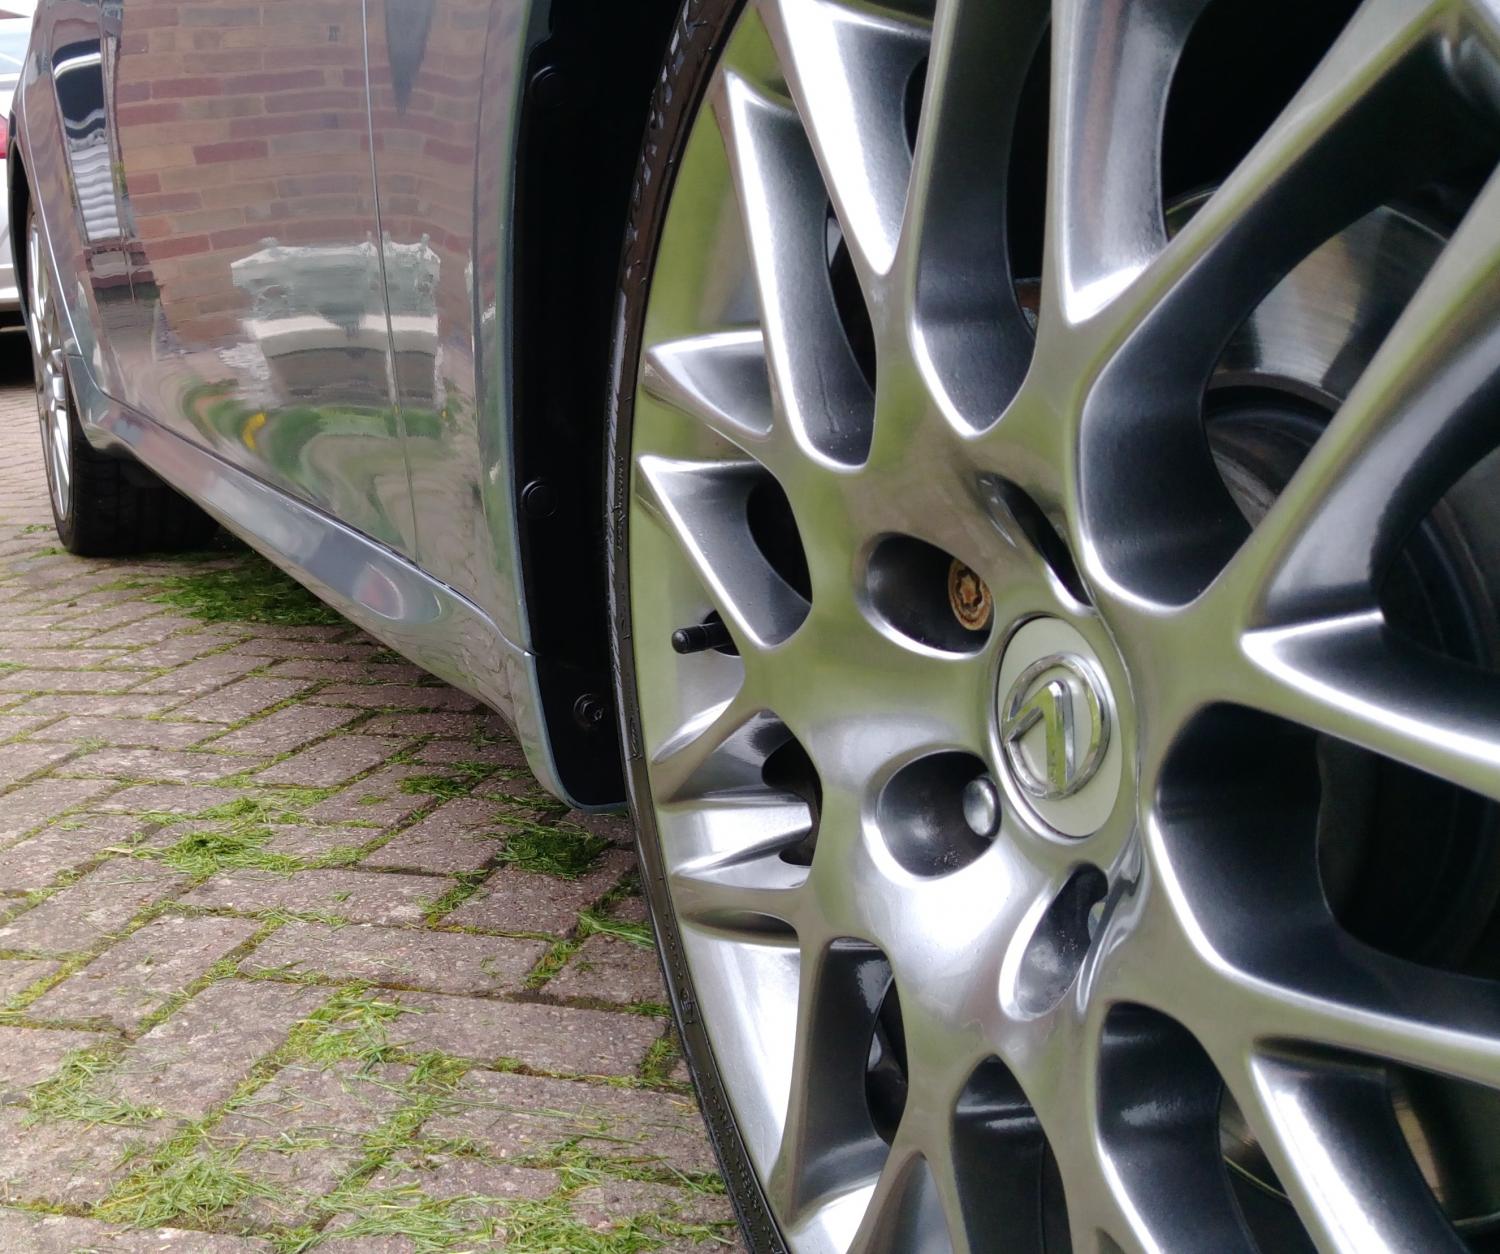
Thanks sprinter - yes they are called spigots - could not remember the name but for soem reason sprockets flew into my head. ICE, like sprinter said, if they are OEM they wont need them - i am not too sure about mine being original as i needed a set of SPIGOTS - they just line the wheel up better to the hub but i think the wheel nuts on the car are self aligning to a point when tightening so if tightened up properly then the wheel is centred. Anyway if you do need them then you can find them on ebay for around a fiver for 4.
-
Thanks for the info I had some time yesterday to give it a quick clean - filter / throttle / plugs - noticed that the second plug (from the cabin) was not tight at all when taking it out, was actually as if it was not tightened up but i remember having this problem last year. A tell tale indication that this was loose was the smell of burnt fuel when the fans are on in the cabin - dont know if its damaged the coil pack as it is a dirty heat damaged colour. Put it all back together - Cleaned and re-oiled the filter - that along with the plugs and throttle which i cleaned has made a big difference as its a lot smoother and quicker of the mark when cold - does not feel laboured any more.
-
Accelerator Stuck....help
is200 Newbie replied to JPWilson's topic in Lexus IS200 / Lexus IS300 Club
I am pretty sure that i have read somewhere (possibly on this forum) that this was a recall by Lexus or a mod by them due to the car mats doing exactly what you have experienced. -
Its a straight swap as i have done this to mine also but just check the alloy bore is a good match to the hub as if its a bit bigger which mine was then you will need to buy a sprocket for each wheel which isn't expensive. Also tyre pressures to 35psi.
-
Accelerator On An Auto
is200 Newbie replied to sjrainsford's topic in Lexus IS200 / Lexus IS300 Club
What are your revs reading when the cars engine is up to temp? If your throttle cable is sticking the revs will be high? -
Filter also but presume with you doing the plugs then you have changed the filter? Just going through the obvious things to look at
-
Not sure if this is a problem ... cant seem to remember how the car used to start in the mornings (from cold) but recently i have noticed that from cold - when starting off for work its a bit sluggish. Drive if for around 5 mins to the shop and stop. Then back on the road to work - after starting again after the shop stop it is a lot more responsive. I have noticed that it gets up to temp quick so am just thinking its the cold starts - Its more noticeable in "Drive" . Not really worried about it as its just something i have recently noticed - a lifetime K&N filter is fitted which was last cleaned and gelled about a year ago so for good measure i might give this a good clean. Anyone else see this with theirs?
-
On looking through eBay a few times i have seen breakers selling fuel injector rails from the is200 Is there any benefit in taking these out and giving these a clean or a case of if its not broke dont fix it. To be honest i do not even know where these are installed in the engine bay anyway? Anybody done this / have any info or know where they are located?
-
Clutch slipping MAYBE? What mileage has it done?
-
Constant Whine Coming From The Rear
is200 Newbie replied to Barratt1982's topic in Lexus IS200 / Lexus IS300 Club
Hopefully they changed the rear shoes as well as the pads? If they have just changed the disc without cleaning the guard and by cleaning i mean by using a grinder or some sort of abrasive tool to remove the rust from the guard (the lip that is inserted into the disc) then the noise will still be present as the rust on this shield, which there will be, will still be creating the screeching you are hearing when the wheel is rotating as it rubs on the disc. Was the noise explained to the dealer when it went in as they possibly just done the job with no road trial after as when up to temp the discs will expand a little so what might seem like a good initial job with no noise after doing the work could be masked by the fact that when driven for a period to get the discs to temp the noise appears again. -
I cant see that as there's no spring on the rear pads - its a clip on the pads held on partly by the brake pad pin through the caliper which is the one you need to give a good clean as this pin, if rusted, could be causing the pads to stick - see the picture below showing the clip with the through pin. Maybe thats a mod for the US market?? The picture below is of the rear disc mounted onto the hub (not a good picture) showing the dust guard and where its inserted into the disc. So you can see there's very little play or room for the rust that builds up. When i get the time to replace the shoes and discs on the rear i will post a walkthrough with pics.
-
Its an easy job for both front and rear Front is just a case of : Jack car up - quick check while wheel is off the ground - check bearings by seeing if there's any movement in the wheel by moving it by hand from side to side at both 3/9 and 12/6 oclock positions. 1 / remove the wheel (5 wheel nuts) 2 / remove the caliper (2 bolts holding the caliper on / will need to push the caliper pistons back a bit (there are 2 pistons) to free up the pads to make it easier to remove the caliper from the disc. Make sure you have something to place the caliper on when its off the car to stop it straining the hose. I use a tall paint pot for this. Check the pistons are free and not siezed or sticking by getting someone to keep an eye on them while you slowly press the brake pedal but DO NOT keep pressing the pedal as you WILL push the pistons out. To be on the safe side place a block of wood in the caliper between the piston and edge of caliper leaving a 2cm gap between piston and wood, that way they will not fall out. I open the brake fluid resovour cap when doing this. Push back in when checked. 3 / remove the disc - is not secured onto the hub (no alignment screw like on other cars) - if tight give a small tap with a hammer and it will come off. 4 / at any point after removing the caliper, take out the slide pins , 2 of, (these are on the caliper mounting and are what the caliper is bolted into) clean and re-grease, hi temp grease - this is presuming they are not siezed in. They are not threadded and should pull out - one has a black rubber seal on it - not sure if this is on the top or the bottom pin - i have taken mine off as i dont think it has a use, been off for over a year with no issues (just easier to re-grease in the future as they split if taking out often) What you want to check - disc pads / slide pins / disc wear / caliper pistons / ball joints - replace as required Rear just a case of : Before removing the wheel this time, chock the front and other back one to stop the car from moving then take the handbrake off and if an auto box put into N. MAKE SURE CAR IS SECURE BEFORE JACKING UP As above - jack up car - check bearings - remove wheel 1 / remove the caliper - again two bolts but only one piston on this caliper.Support on paint tin. 2 / strip the pads from the caliper - clean the pins holding the pads on the caliper, they will be rusty and hard to move through the caliper and pads - they need to move and will be causing the pads to stick and cause the clunking you are experiencing. 3 / check the caliper piston as per the front 4 / to remove the disc you will need to back off the inner brake shoes. To do this, take off the plastic bung plug and align this hole to 6oclock. Using a torch you can see a cog inside the drum. I am not sure if it is adjusted up or down but one way will make the disc tighten up (the shoes are being applied to the drum) and the other will loosen the drum so it spins freely. Use a flat head screwdriver to flick this cog up or down so the drum loosens to a point where it can be removed. 5 / i would at this point take the brake shoes off, grind a bit off the lip on the dust shield which is now easy to get to. Also i would replace the shoes and the drum. If its anything like mine its gonna be worn after all those miles. Clean up and put all back together. When putting new drum back on, turn the cog so the disc goes on easy and gradually tighten it - when you can feel the shoes catching then back off a turn so its free, when all together check handbrake in cabin does not have excessive movement - about 3-4 clicks is good. Once you get into doing the work you will see how easy it is. If not sure on how things go back together then take a picture of it as it is before dismantling. Same for other side. Takes me about half an hour each corner. I am sure other members here can add to this.
-
Auto Transmission Illumination Problem
is200 Newbie replied to petayV8's topic in Lexus IS200 / Lexus IS300 Club
The gear selection should also show on the instrument panel on the dash? -
Sounds like your brakes at the rear are unbalanced (not that you can balance them) but what it sounds like to me is that you have a sticking caliper - wheel is squeeling when driving / to me its still the brake dust cover but you say its dissapearing when the brakes are applied then appearing again when taking your foot of the brake - this would suggest that the piston is applying the brake pad to the disc on one side (the inward face of the disc) and moving the pad to the disc but no opposite action bringing the other pad into play, hence moving the disc slightly out of the way from the guard and stopping the squeel. When you take your foot from the brake the piston returns into the caliper and the noise is back. There must be a bit of flex or movement in the disc which is solid on the rear - theres a lot you can check on the back brakes to see the cause of this - is the wheel on tight / pads / shoes etc The clicking sound could be the pads sticking on the pins on the rear and releasing under force of them being applied. Initially i would do a good clean of the parts, as with mine, at 100k they just look like they need a bit of attention now (new shoes and discs definately)
