ambermarine
-
Posts
2,184 -
Joined
-
Last visited
-
Days Won
29
Content Type
Profiles
Forums
Events
Store
Gallery
Tutorials
Lexus Owners Club
Gold Membership Discounts
Lexus Owners Club Video
News & Articles
Everything posted by ambermarine
-
 Hi Howard One source of investigation would be the cavity between the floor if you remove the oblong rubber bungs in the chassis just forward of the wheel arch at the back door there is enough room to place your fingers inside and feel what the surface is like it should be smooth and rust free. If it is wet or rusty It would point towards the cavity between the floor panels being filled with water at some time. Another way of checking is to remove the cill rocker plates this gives an even easier access to the cills and floor cavity and can be inspected visually, again this area should be clean and dry and lightly spray painted in the body colour.
 -
Howard I have been quite shocked by the amount of surface corrosion to the ferrous metal parts within the dashboard and firewall area I stripped out a 1990 LS400 back to the firewall a few years ago and found no corrosion anywhere within the cabin . With the corrosion to the back seat you discovered is there the liklehood that this car as been the victim of a flood.
-
Ls400 Cuts Out
ambermarine replied to lurch's topic in LS 400 / Lexus LS 430 / Lexus LS 460 / Lexus 600h / Lexus 500h Club
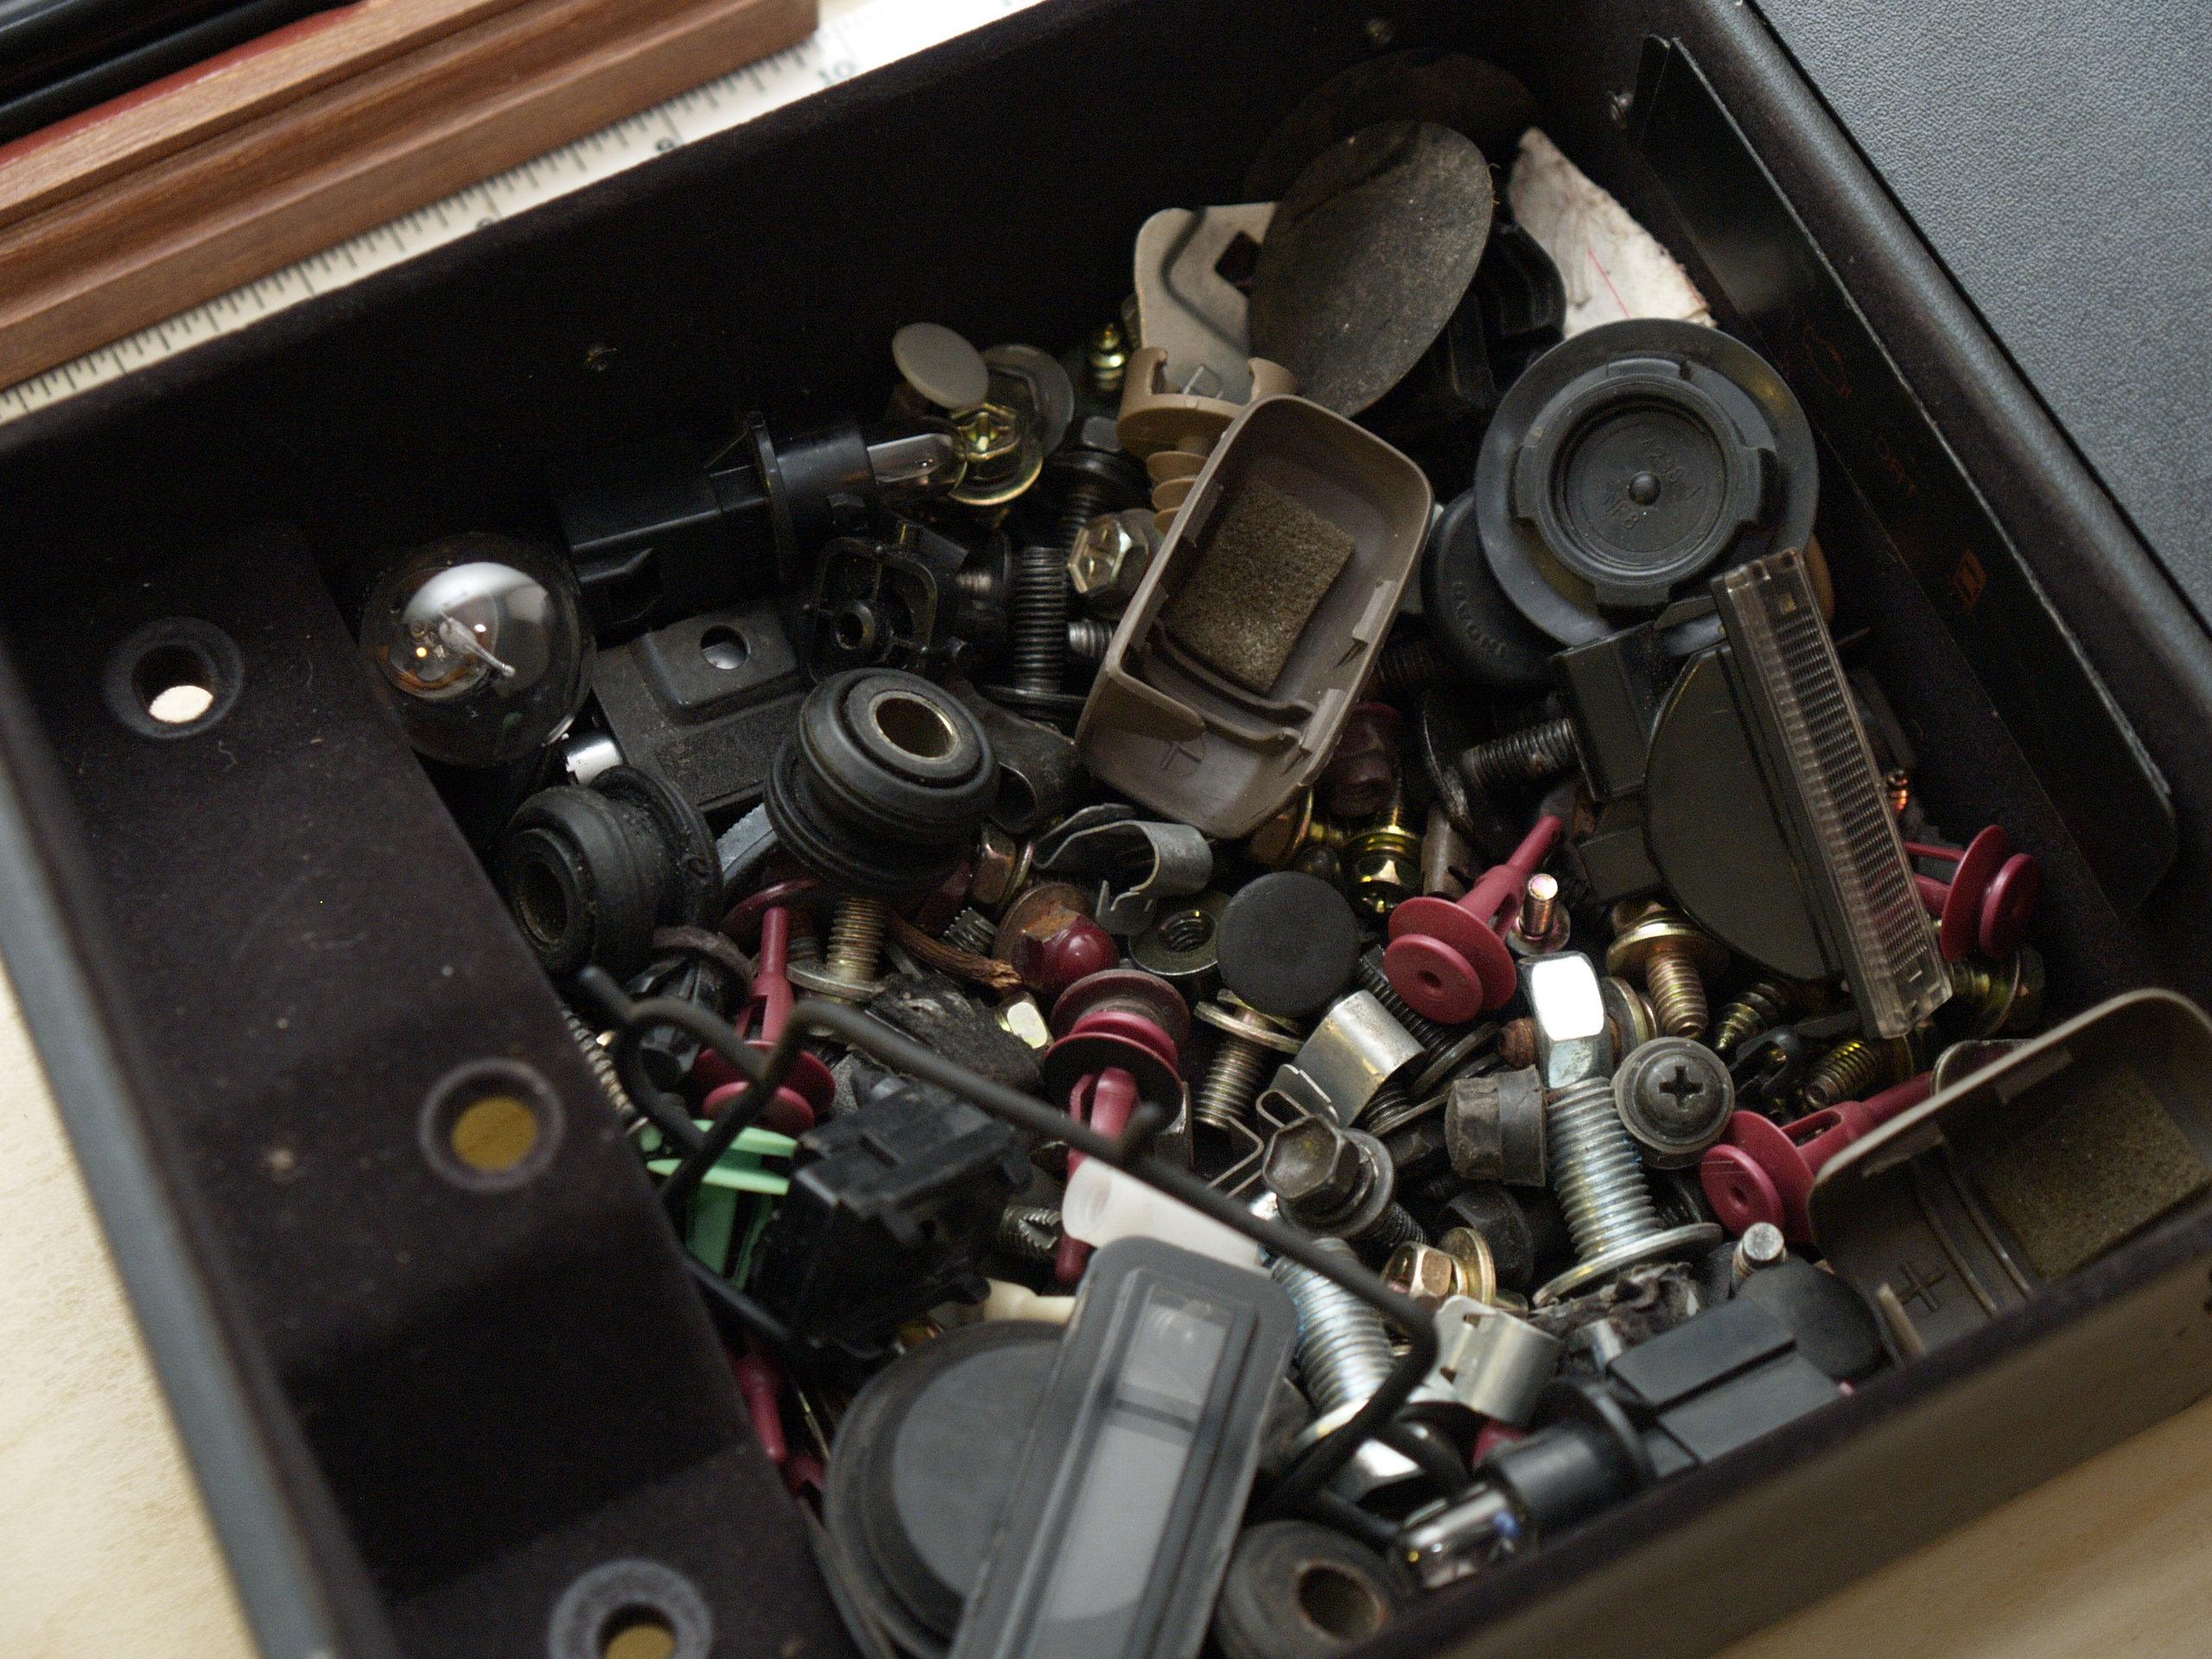
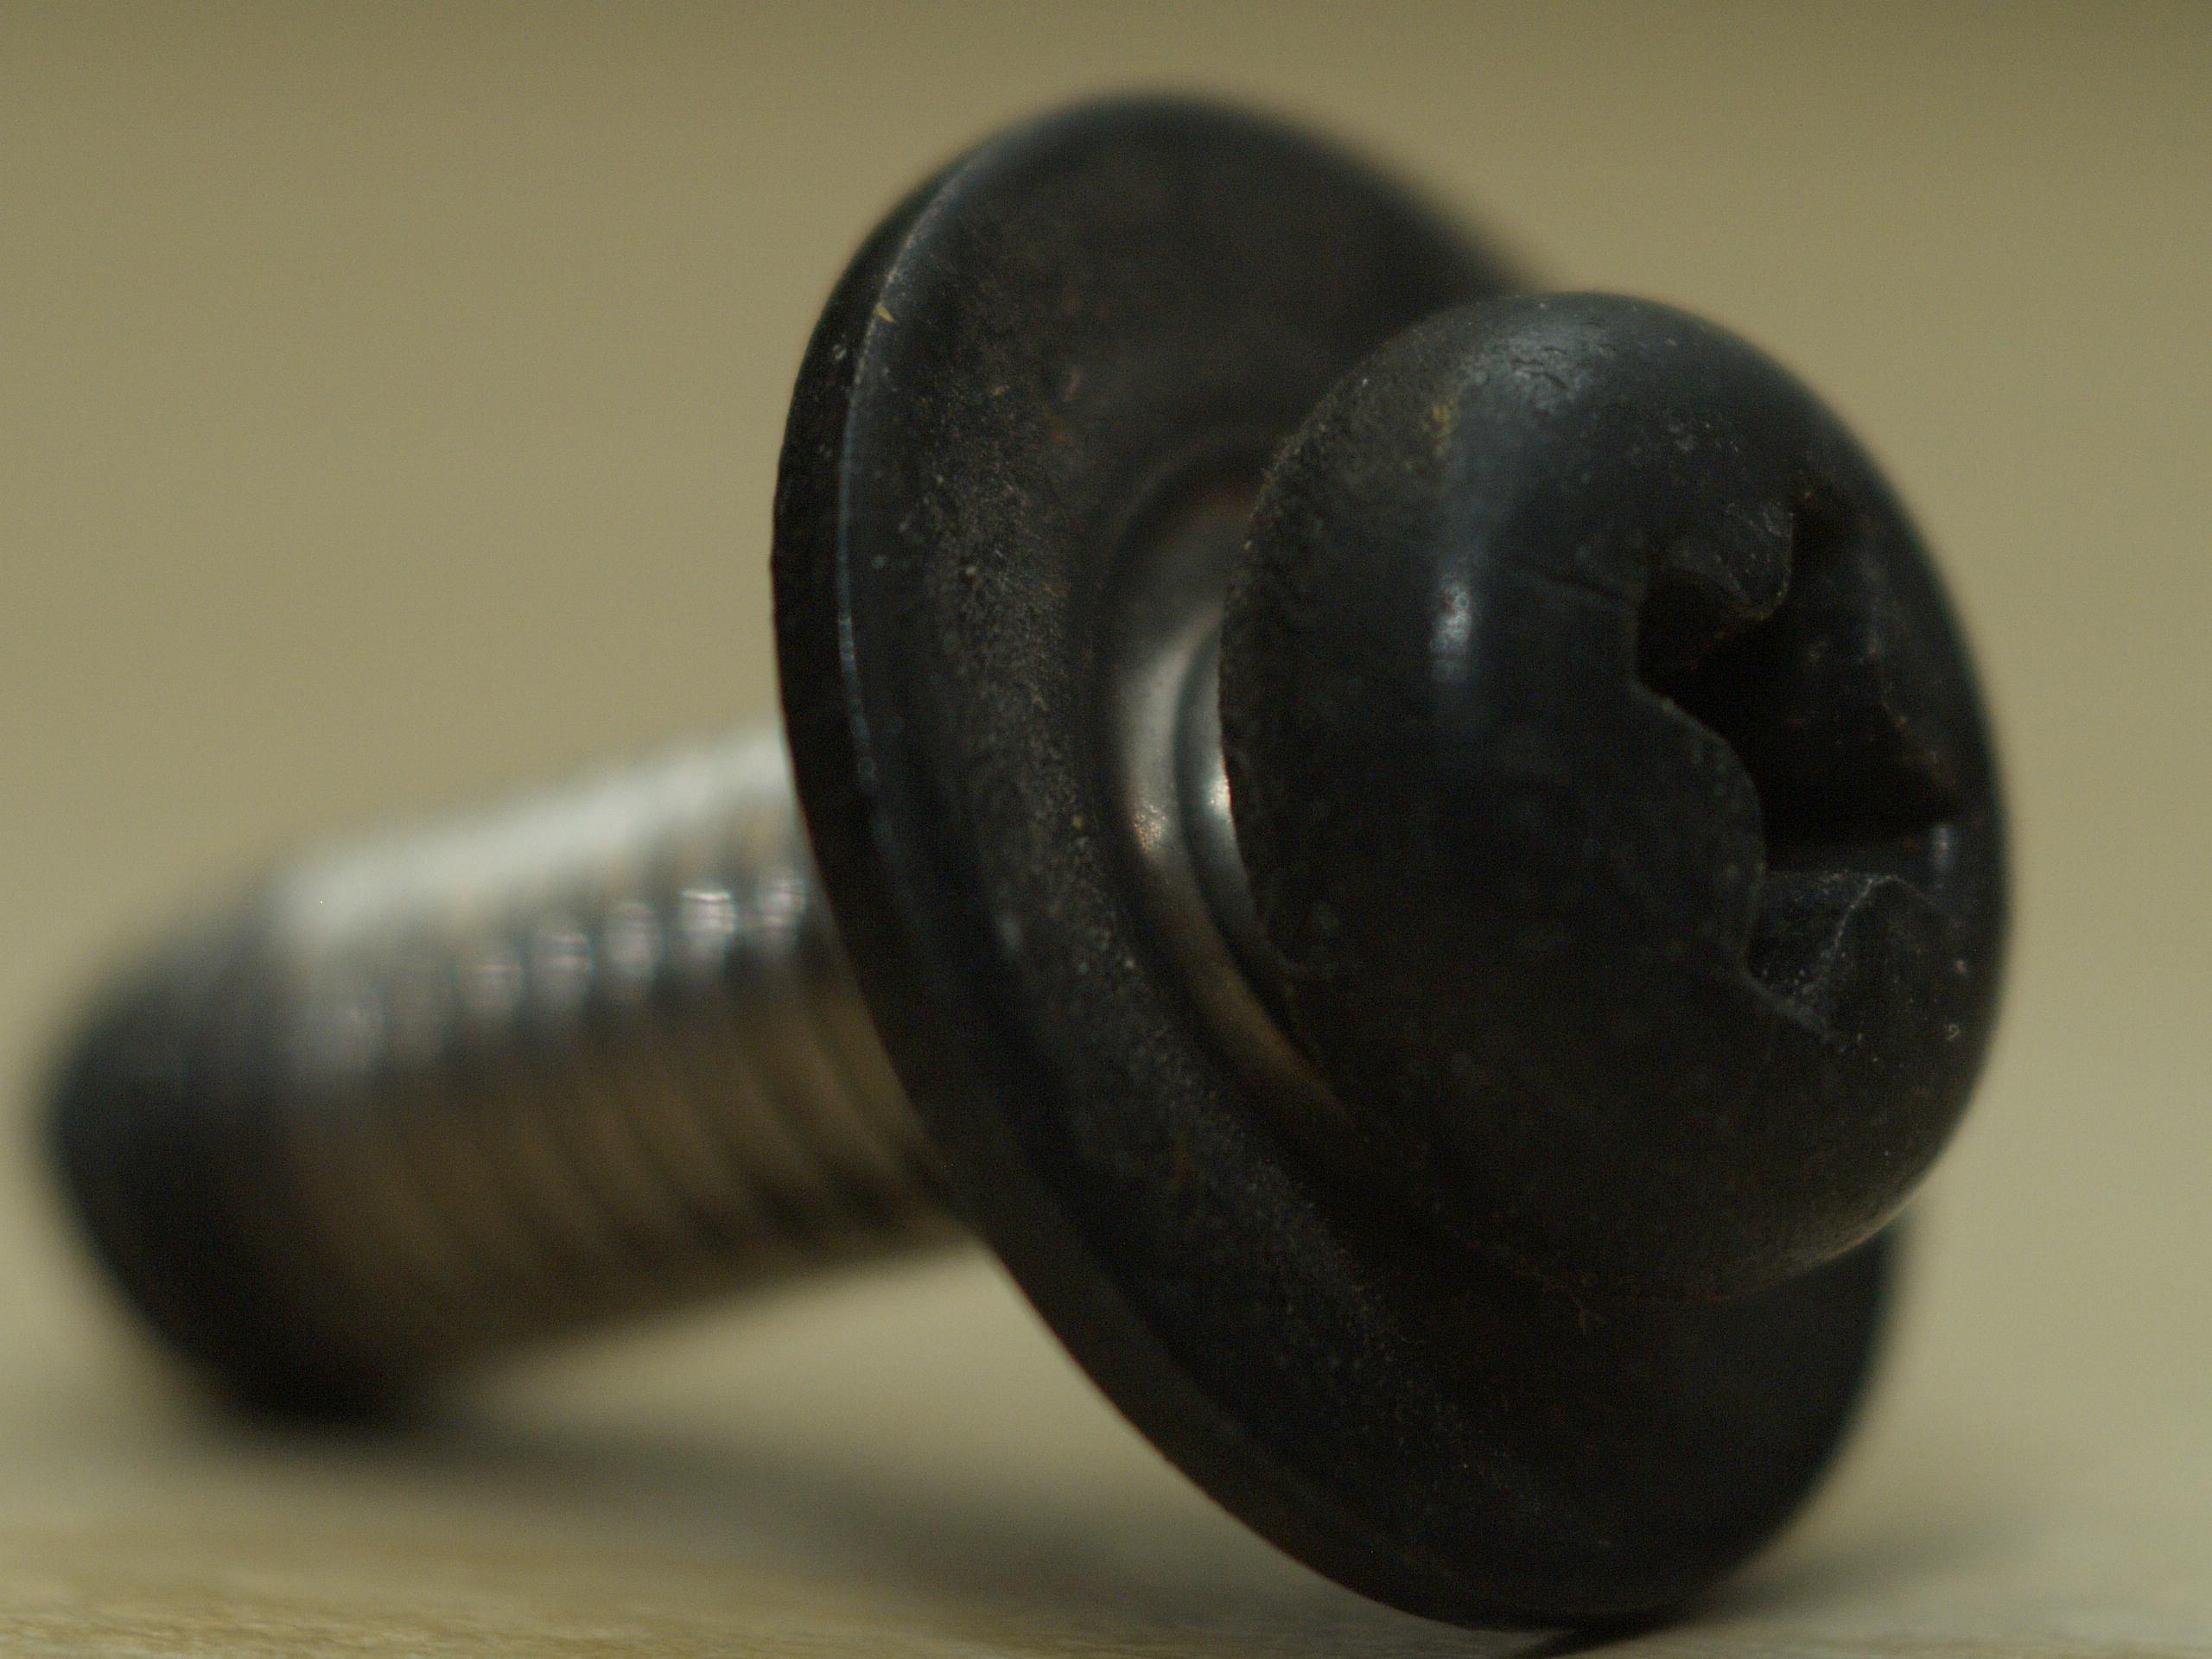
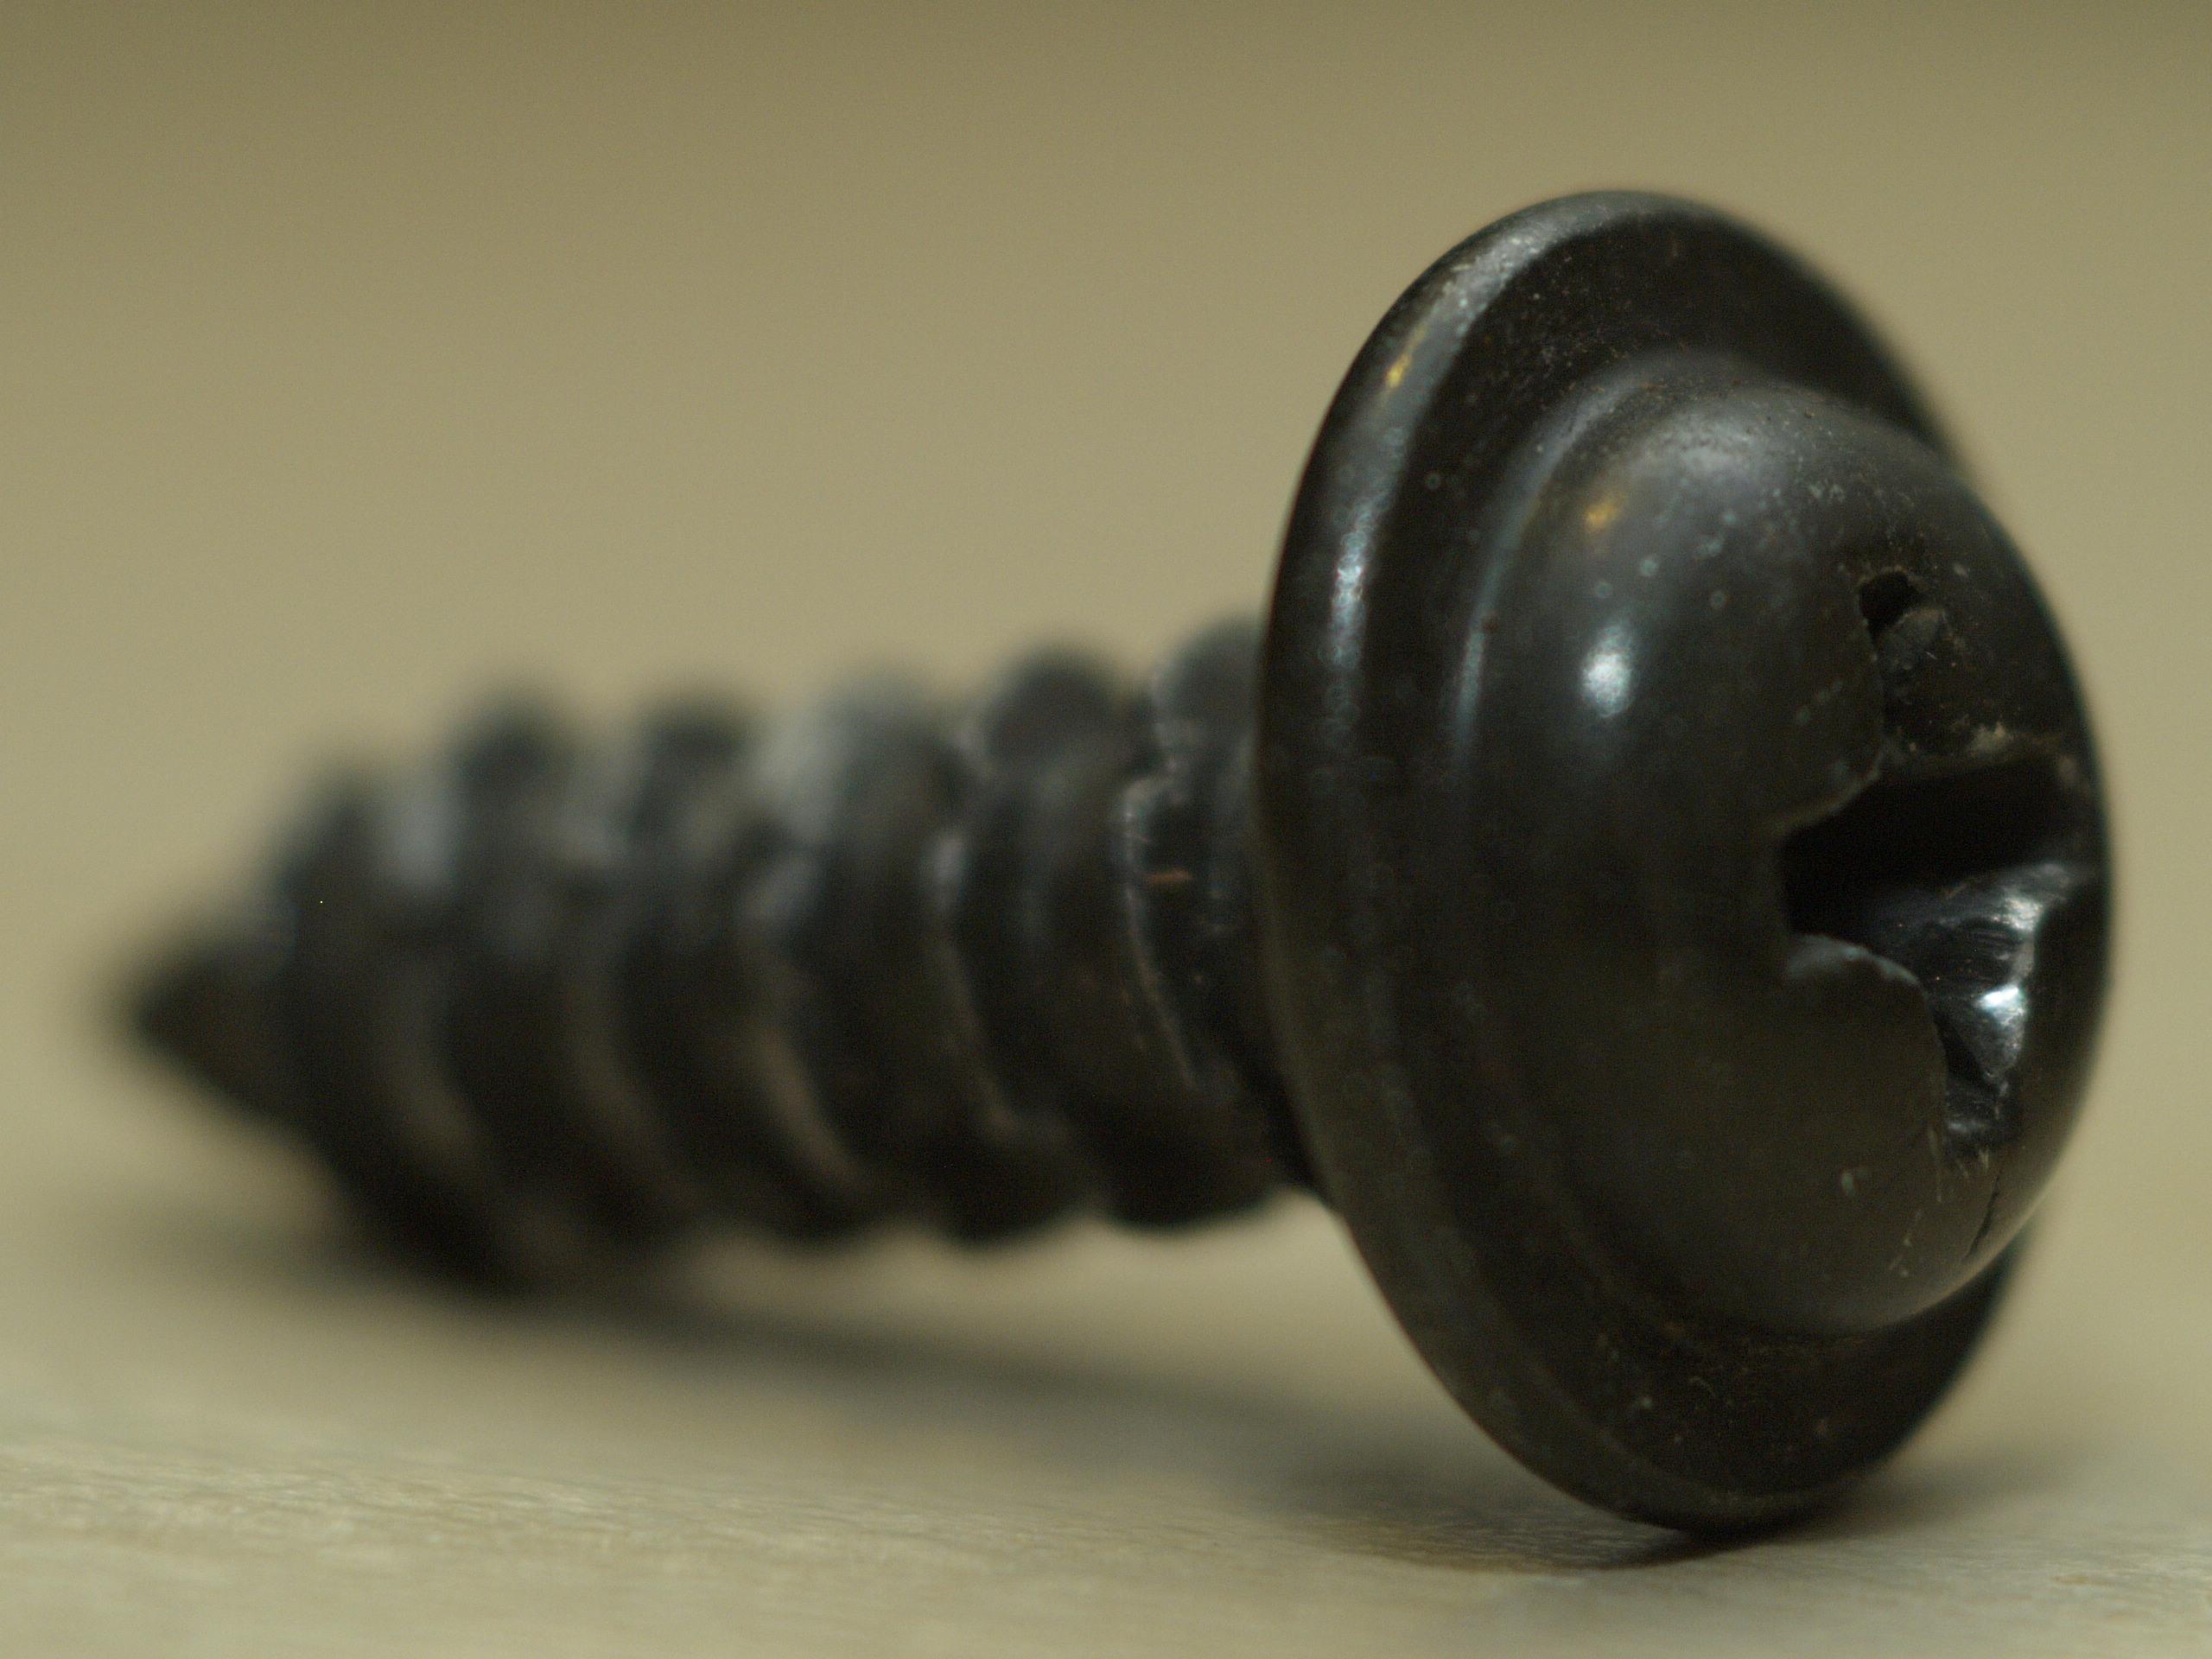
I took a look but the screws are obscured by the slide mechanism and only viewable if the lower panel is dropped down . I can feel them and they are either one of the two shown in the pics which came from my screw stash that are the screws used in the dashboard of a LS400 I stripped.
-
Ls400 Cuts Out
ambermarine replied to lurch's topic in LS 400 / Lexus LS 430 / Lexus LS 460 / Lexus 600h / Lexus 500h Club
Hi To be honest I haven't got the foggiest try them all that's there and work with one that fits best. -
Hi Mark Yes and it is as far as I can gather fairly straight forward there is a tutorial either on the Lexus US owners club forum or on U-tube on accessing this motor and gears and on how to refurb it.
-
Qamar So Sorry to hear this sad news and my sincere condolences god speed your safe recovery.
-
Ls400 Cuts Out
ambermarine replied to lurch's topic in LS 400 / Lexus LS 430 / Lexus LS 460 / Lexus 600h / Lexus 500h Club
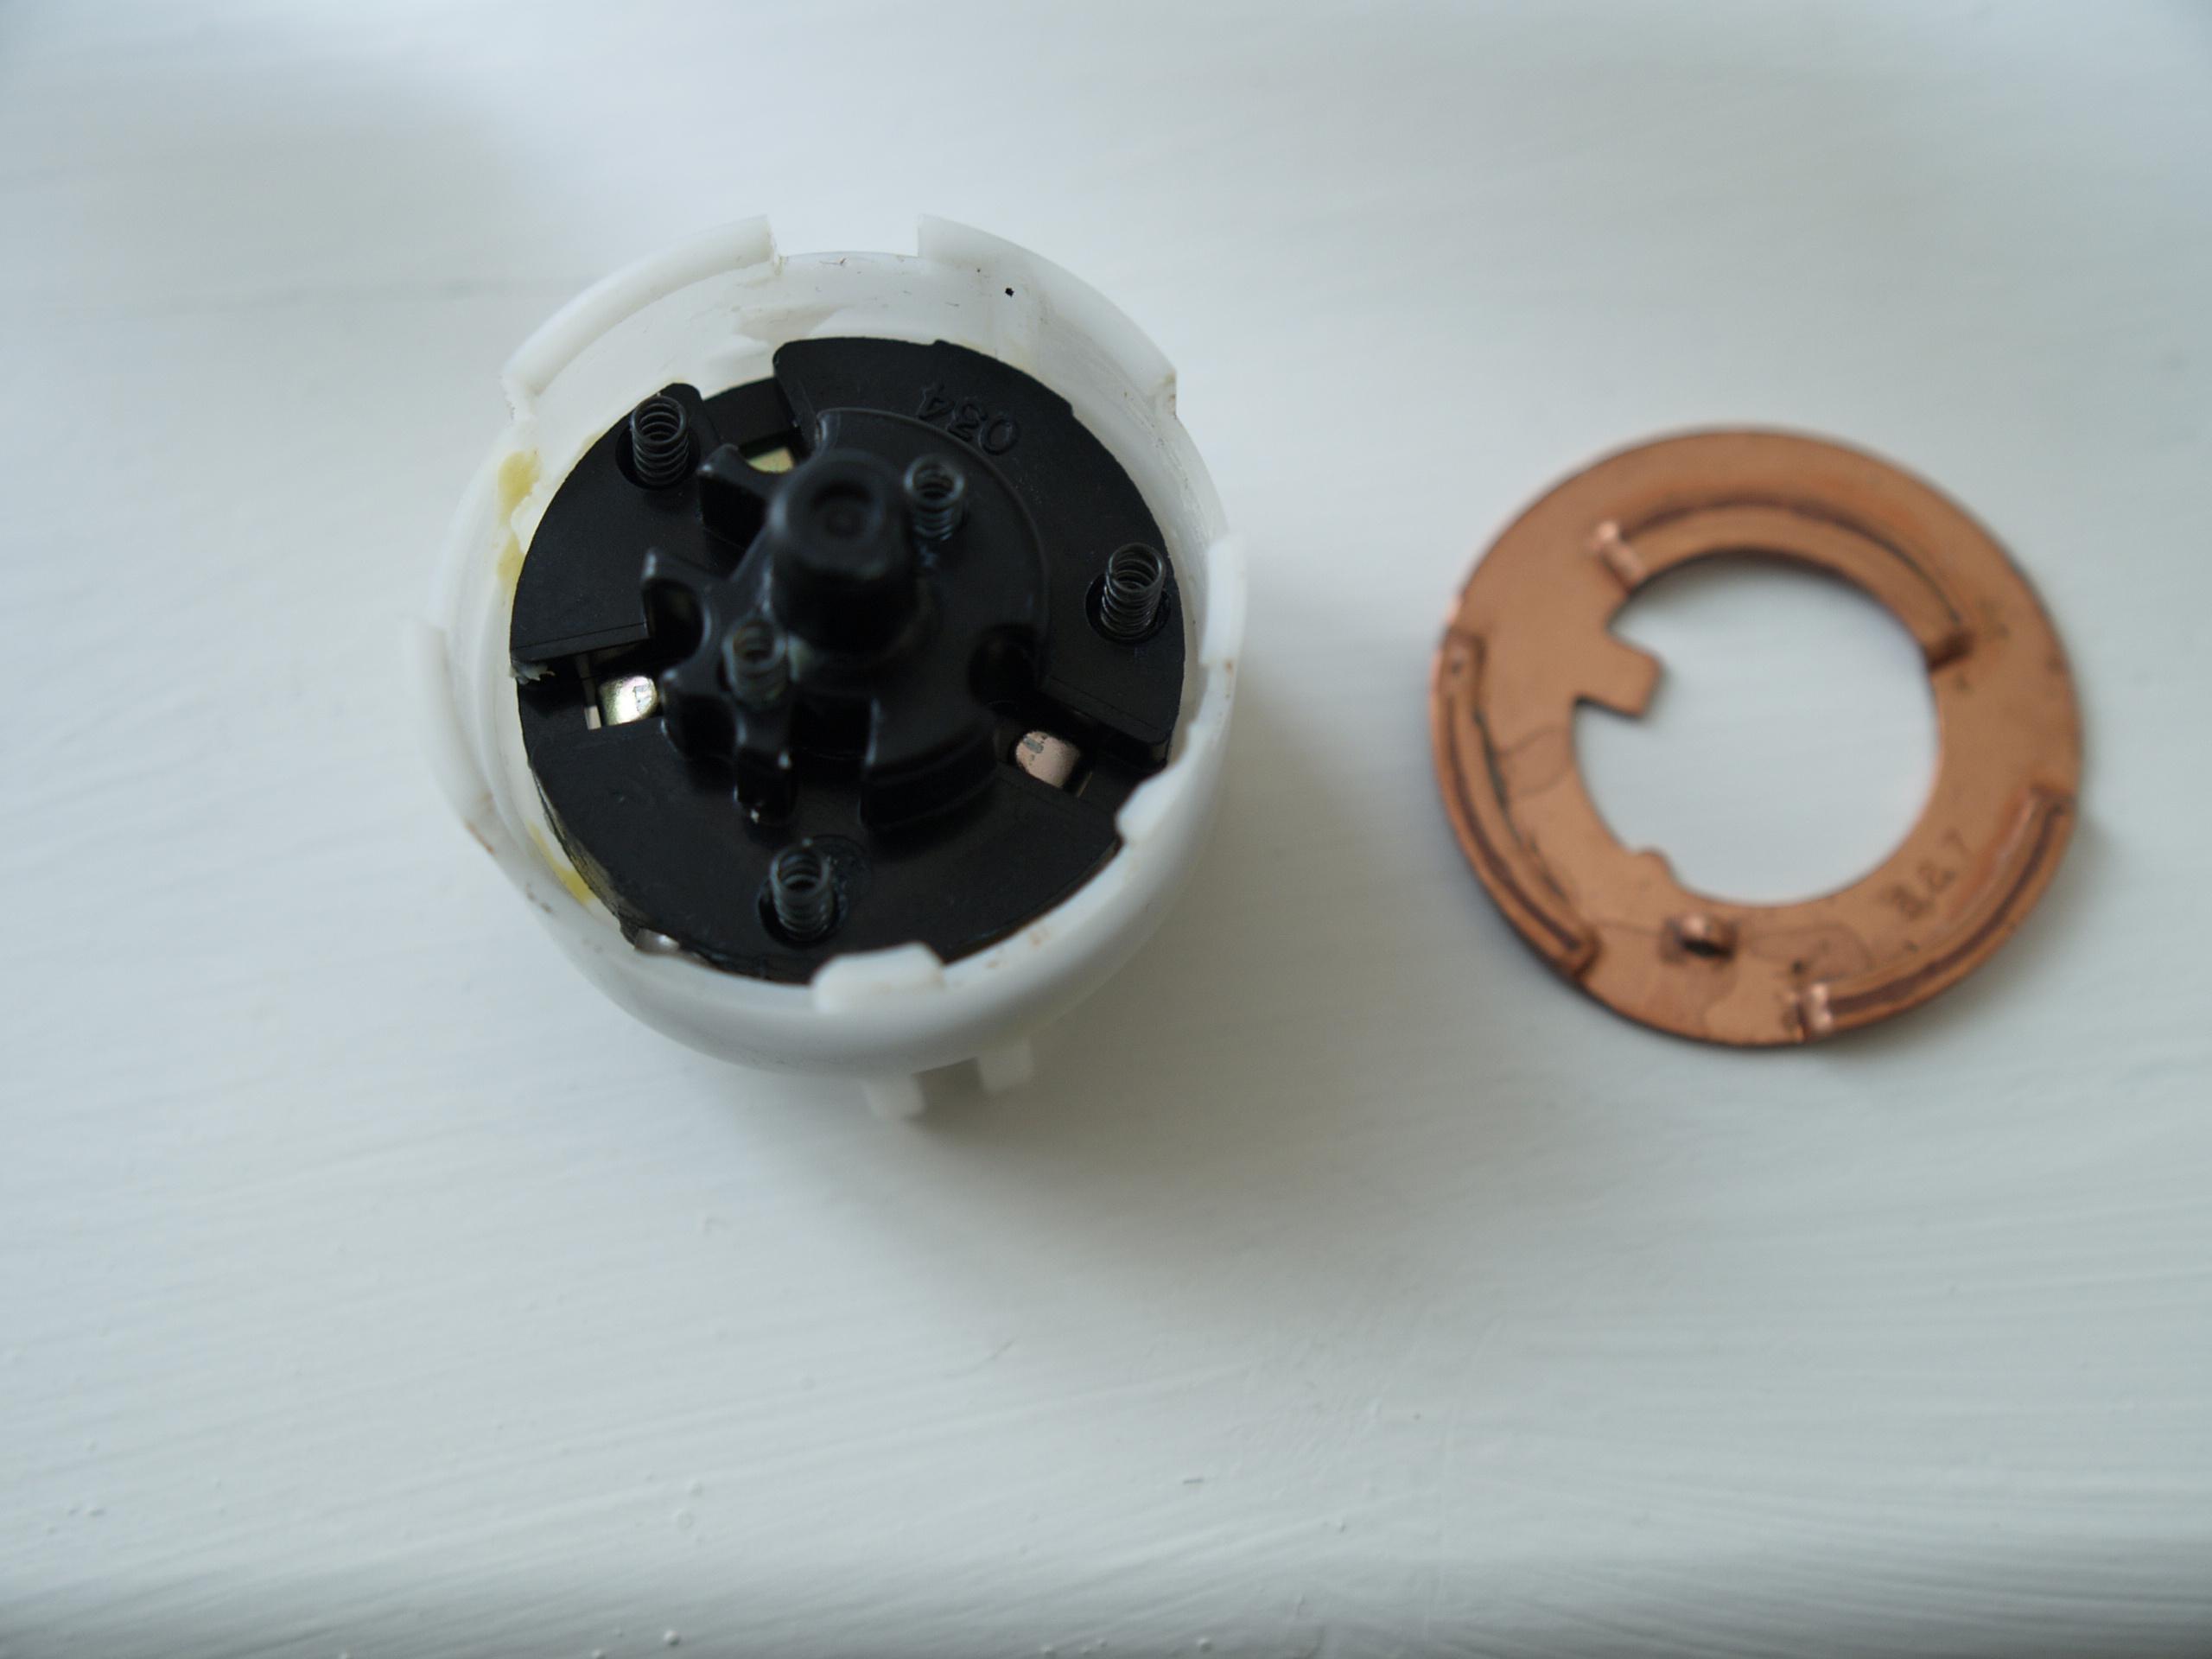
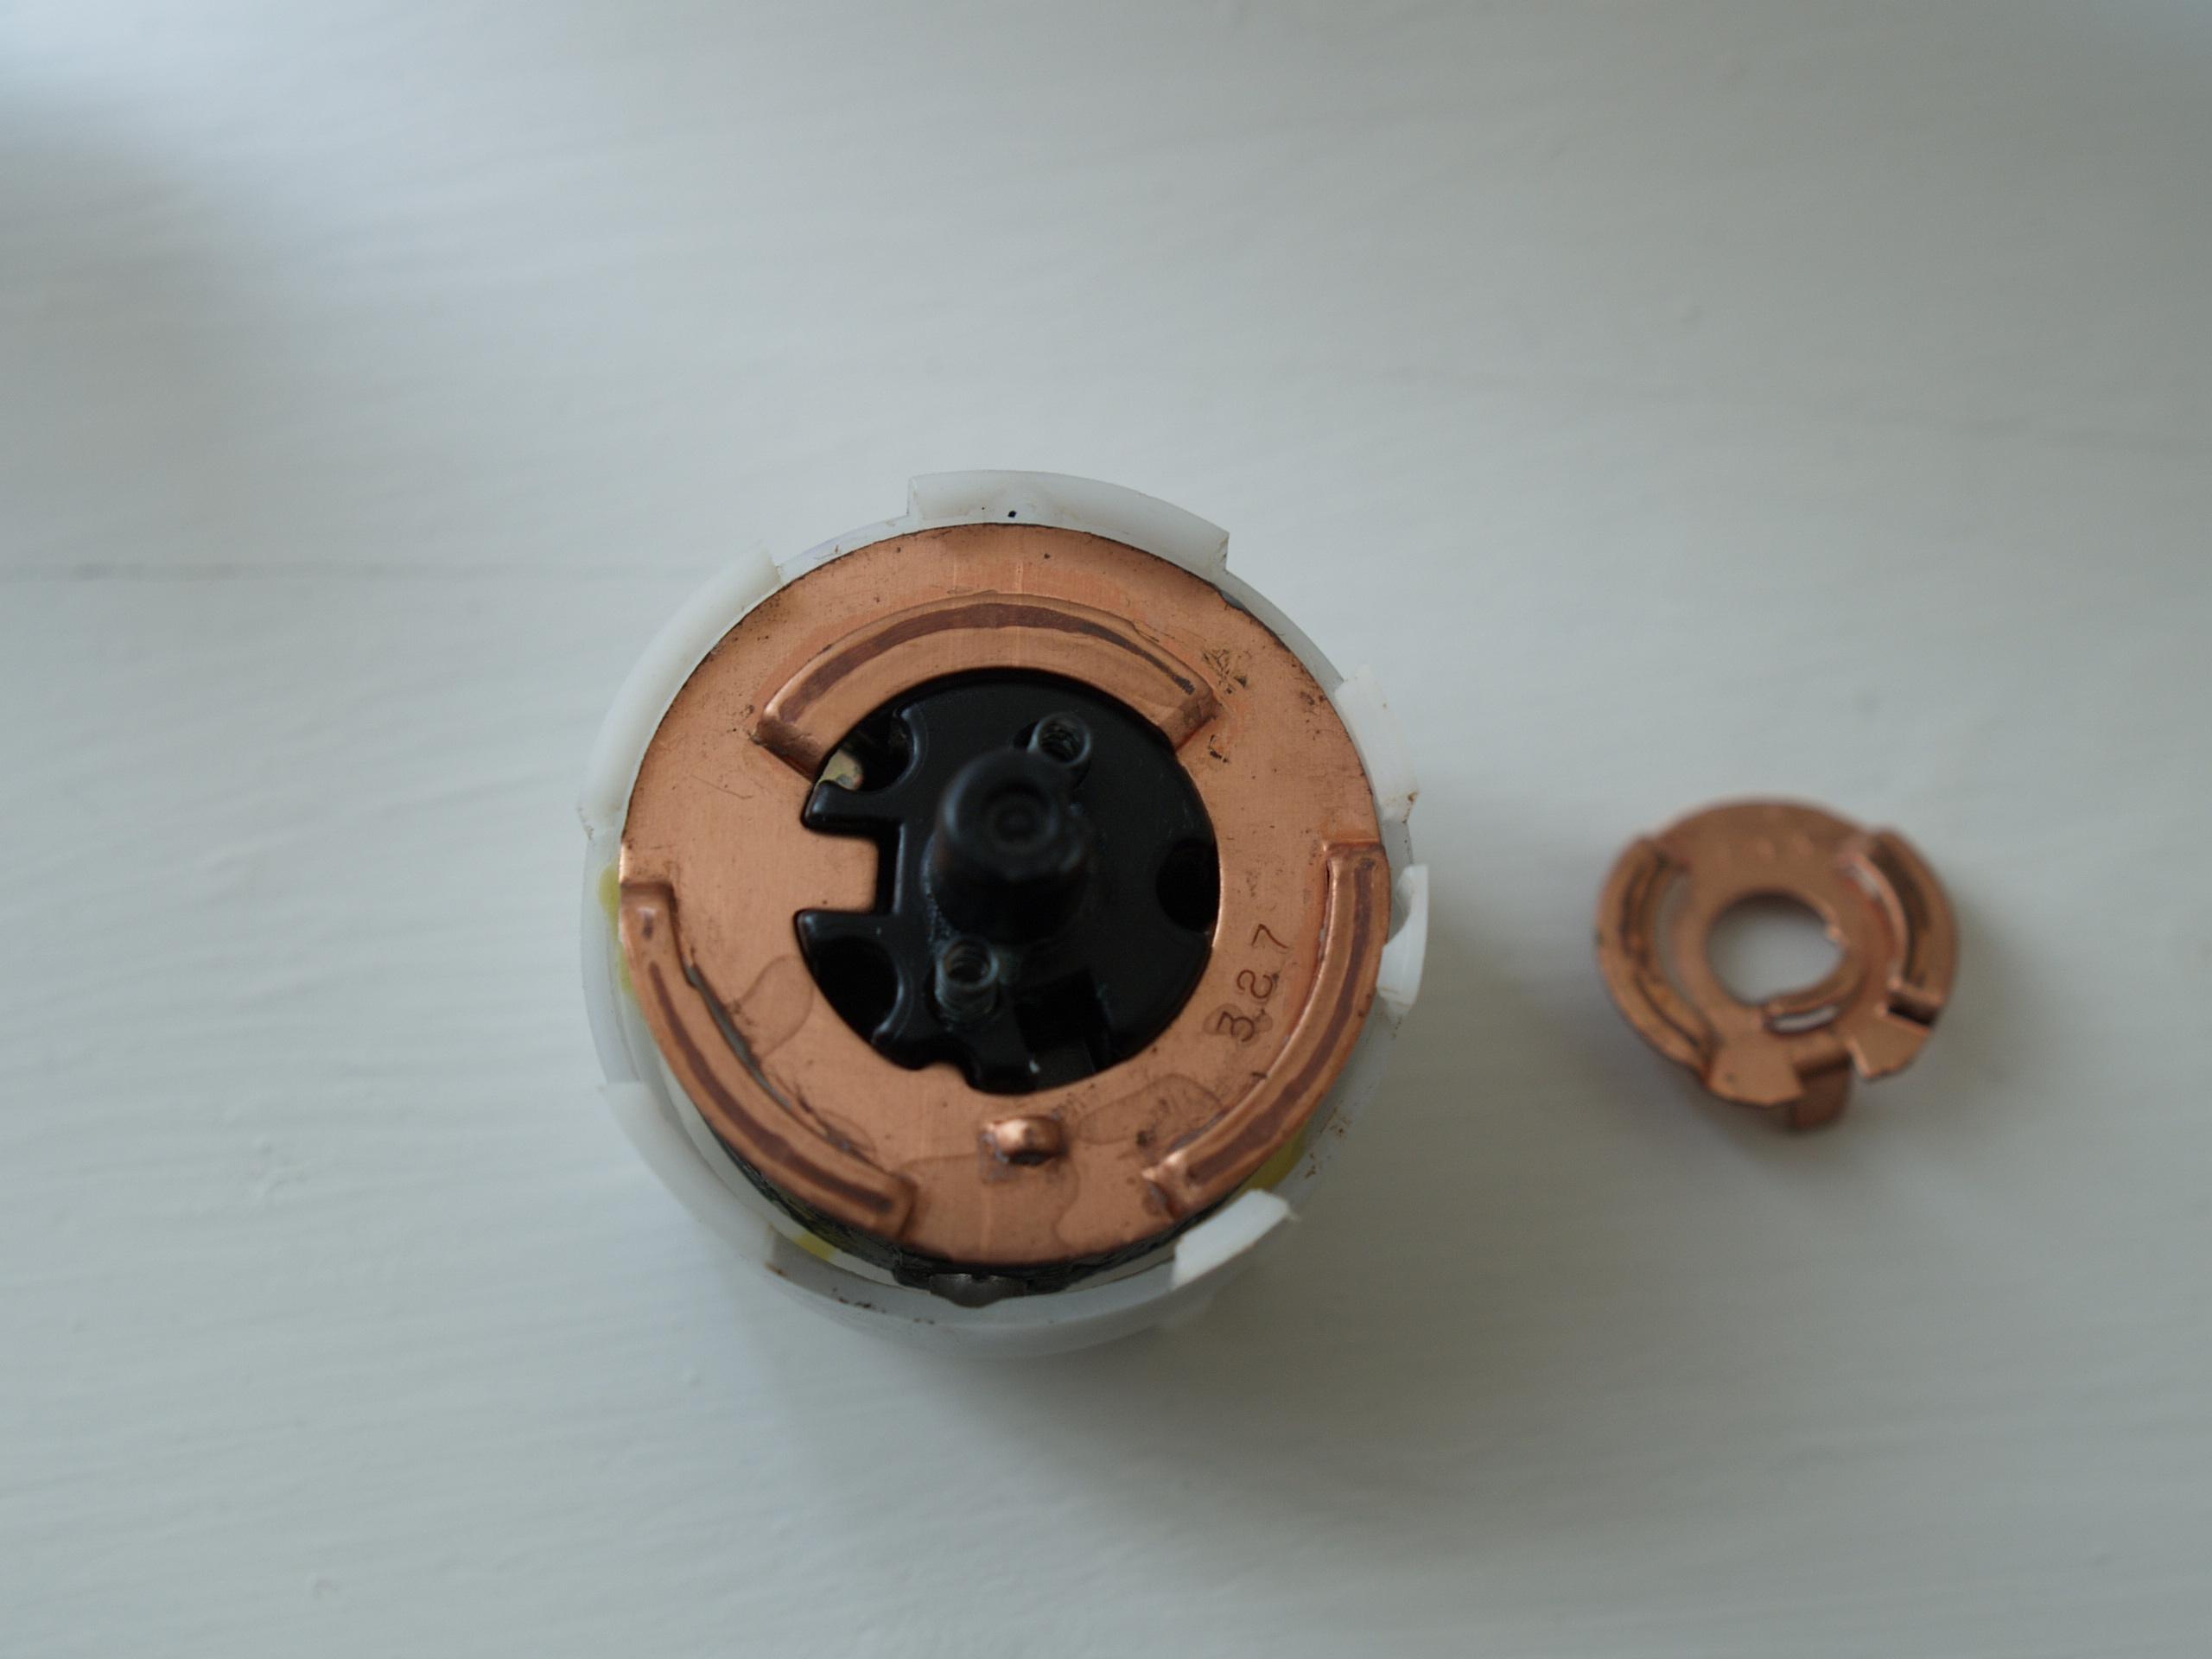
Yes the ball bearings go into the holes with a spring at the back of them the hub then slides down into the case with the ball bearings sliding into the two grooves at the side of the case,its a bit fiddly I found it easiest to insert one in situ at an angle then ease the other ball in as you push it down. I may have confused you on the pic showing out of focus balls sitting in the case that is were they land when you remove the hub, sorry.The balls should look like they are in photo 1 which is the hub without the copper contacts in place.The copper contacts can only go back one way and are keyed. -
Ls400 Cuts Out
ambermarine replied to lurch's topic in LS 400 / Lexus LS 430 / Lexus LS 460 / Lexus 600h / Lexus 500h Club
The pics show the ball bearing locations in the centre hub and the other pics show the sequence and positions for reassembly. -
Ls400 Cuts Out
ambermarine replied to lurch's topic in LS 400 / Lexus LS 430 / Lexus LS 460 / Lexus 600h / Lexus 500h Club
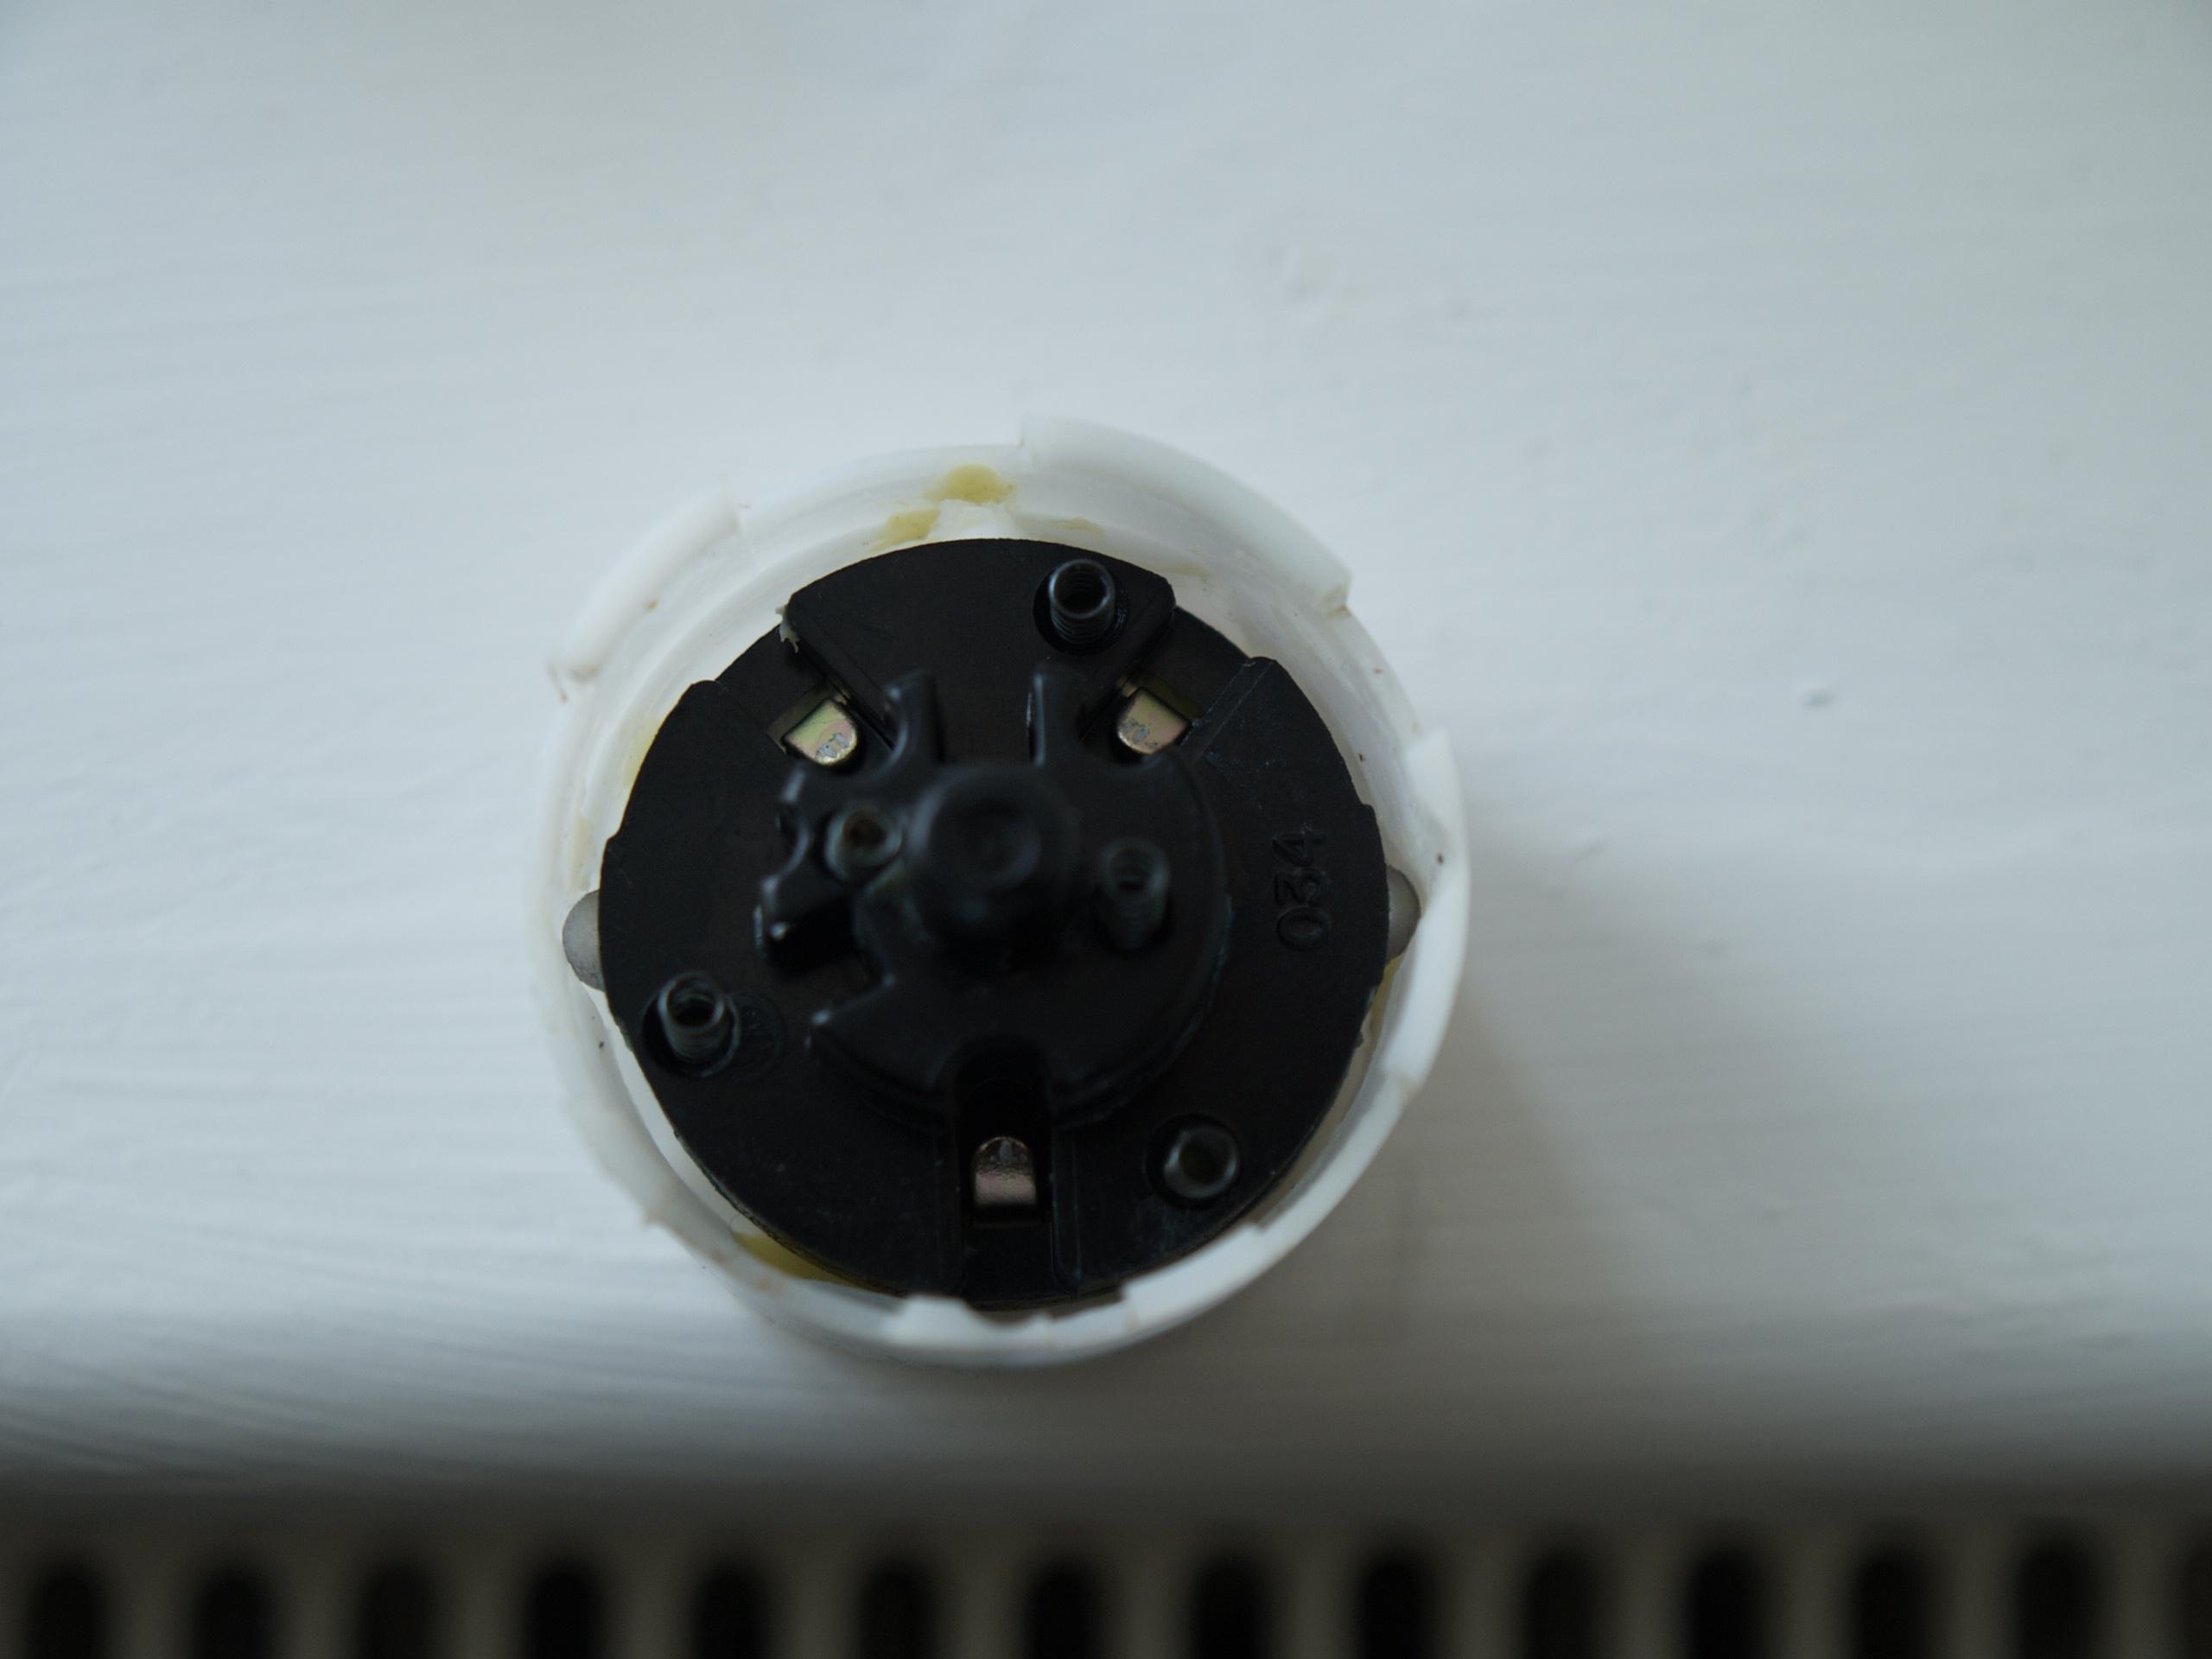
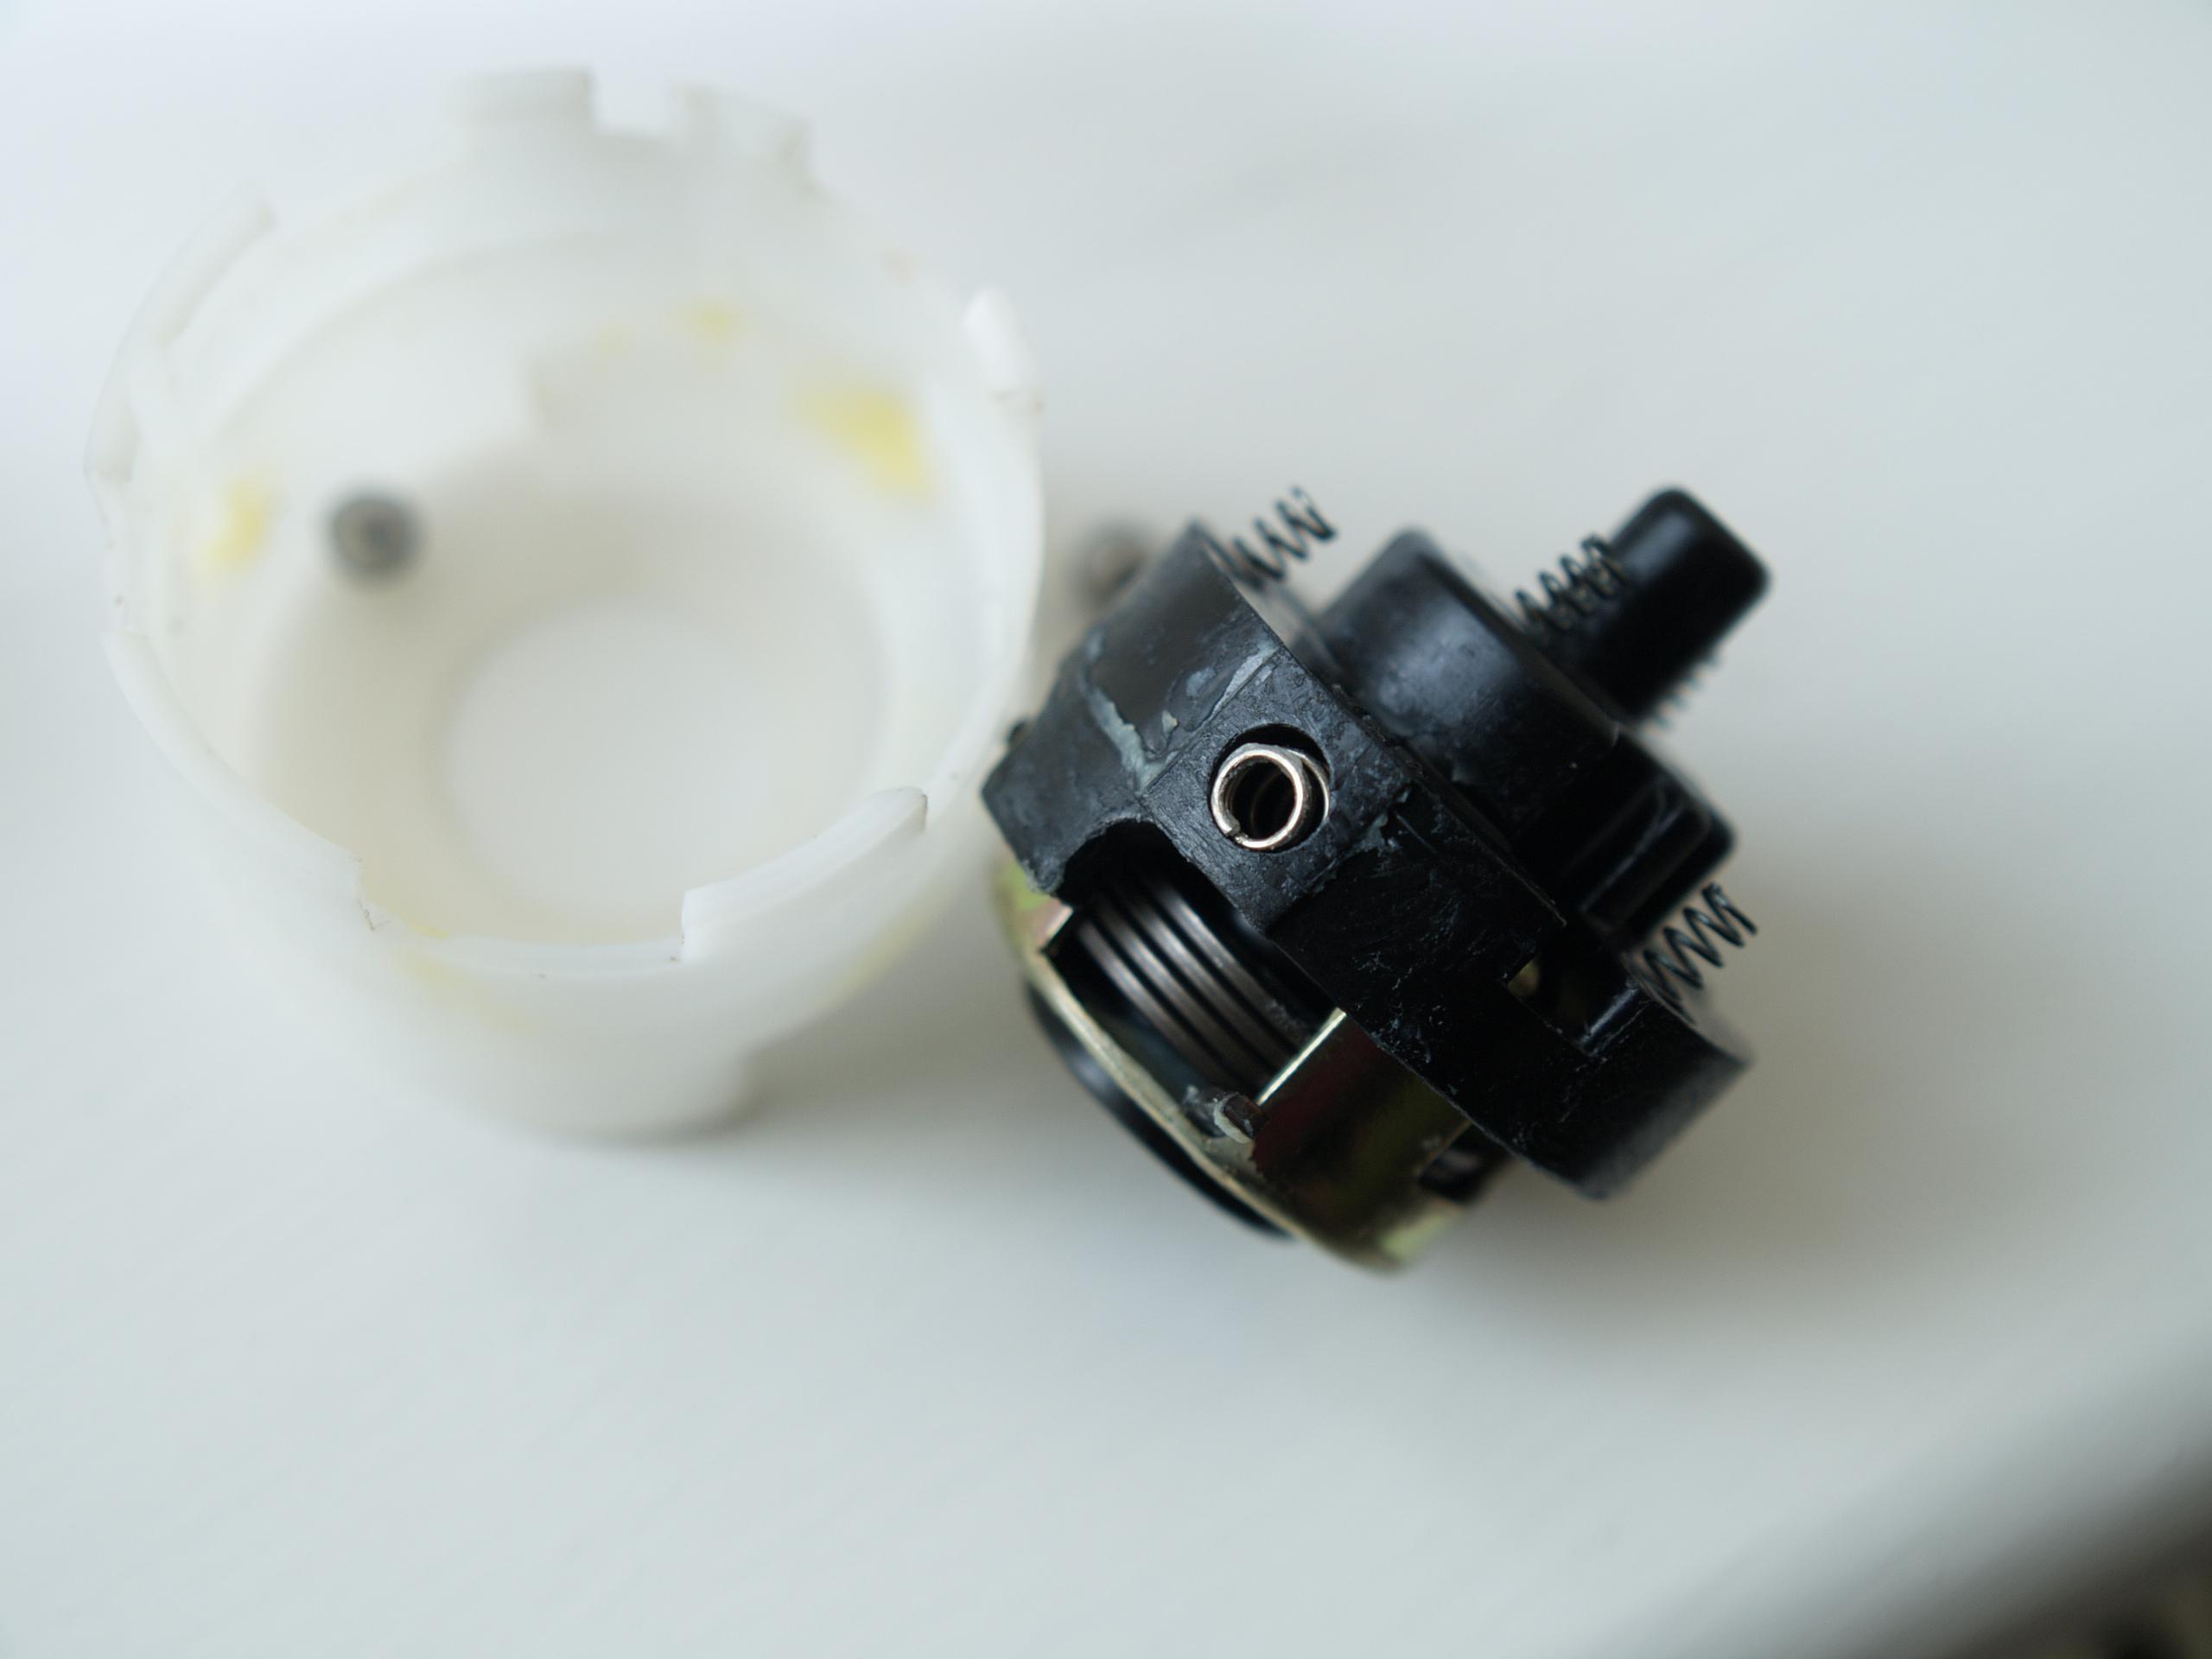
Hi Jack Just read this request and have this minute stripped down my spare switch and as you can see the ball bearings sit in the grooves on each side of the switch body this creates the switch resistance to the different positions.
-
Ls400 Cuts Out
ambermarine replied to lurch's topic in LS 400 / Lexus LS 430 / Lexus LS 460 / Lexus 600h / Lexus 500h Club
Go for it Jack,Be careful when stripping the switch the springs may fly out,otherwise its a simple process .Where the screw fastening the switch to the car is very restrictive I used a Phillips bit held with a small pair of vice grips to rotate it from the side rather than the back. And when you have it all back together and working properly you will glow in the fact you have saved £100. There are approx 10 screws to remove on the lower dash and associated fixtures. Remove the steering column shroud first you need that out to get at some of the screws and the ignition switch shroud. -
The grease that the motors gears are packed in can go really dense when prolonged to low temperatures so the warming up may have increased its viscosity.
-
Hi Ganesh 44k
-
Always shop around I kept using Churchill for seven years and the premium hardly moved but when I moved house they doubled the premium for the final months of the policy. When I renewed with another company that came in cheaper than the previous year without the hike,I change every year now because they give you a cheap introductory quote and hike it the following year. Another benefit is the AA or Green flag cover which again is low intro cost but get out before they renew because it goes up to full price.
-
Quite
-
Took the LS out doors for a spring clean do not use any kind of paint rejuvenation just Holts triplewax wash and rinse . Gave the inner mudguards a swill but I am fortunate that a breeze blows through the garage all the time and it is very dry so no moisture accumulates when the car is stood.
-
Just need to make a correction to this mo the parking brake release is actually fastened to the top section of the dash board ,it is the bonnet release that I think is fastened to the lower part ,it also helps access the foot pedal area if you remove the steering wheel column shroud around the stalks it is only four screws and takes a few seconds.
-
With regard to removing the bottom dash panel it is a series of screws within the panel mainly at the corners and the parking brake release handle as to be unscrewed as it forms part of the fastening . I can remember this when I replaced the ignition switch which also requires dropping this panel. You will also need to lie upside down to see what you are doing it as been suggested that removing the drivers seat makes this job a lot easier .
-
The probable reason you had not seen the logo's prior to this time is the battery had not been up to capacity from you owning the car and the Ecu had set conserve mode cutting back on supplied power use. Putting in a brand new battery with total power requirements for all services as reset the ECU,there may be a switch sequence also that disables this logo.
-
Howard If you have not already you need to remove that soundproofing below the rear seat and reveal the metal below that is part of the floor pan and the rust needs to be eradicated and repainted.
-
Howard The first method you describe is the easiest and safest you will use approx 2 litres to bring it back to pink. Use a turkey baster to syphon out the reservoir and refill with new each time until the fluid is fresh and pink. I advise against removing pipes and fittings when doing fluid changes it can lead to leaks and air pockets which then lead to problems in the system.
-
I was checking out the newer post 2010 Lexus and Toyota transmissions for the fluid change after this discussion started and I am now very pleased I have a transmission with a dipstick. The newer models do not and the transmission fluid change is an absolute nightmare involving all sorts of procedures with high tech special equipment that inevitably leads to a Lexus dealership for this procedure.
-
The changing of the transmission fluid is easy if you have the right kit . A 12v pump, narrow enough diameter plastic tube to fit down the dipstick tube and about 16 litres of the correct ATF for the car. First check the fluid in the vehicle if it is pink and does not smell burnt if it is ok and does not require changing . If it is brown and smells burnt and the drive and gear changes are lumpy it needs changing out. There is no need to drain the fluid from the sump as this only holds about 3 litres anyway,most of the fluid is in the torque converter and cannot be accessed . The method for change is a litre out and a litre in then a run round the block until you have used the 16 litres this does not give an entire change but that is fine because the seals within the system are helped in their operation by the old fluid .When you have changed the fluid the old brown stuff will be out and fluid that is in should be pink and smell as fresh as it does in the bottle It takes a bit of time and requires the purchase of the pump which are available on Ebay or at Halfords but other than the above procedure that' s it.
-
Lock down work
ambermarine replied to Razor61's topic in LS 400 / Lexus LS 430 / Lexus LS 460 / Lexus 600h / Lexus 500h Club
Paul Best treatment for the strength in place is the aluminum mesh soaked with epoxy resin then applied as a plaster,this will bond better than fibreglass and will wear better. When it as gone off build it with more layers and shape into the contours. -
On my Mark 1 the cable seized within the outer cable at tne exits around the horse shoe junction it also seized at the entrance to the back plates, I had to strip most of it out to free it up as that was preferable to fitting a new one but it took a full day if I remember correctly . The adjustment tutorial you have is spot on and saves a lot of faffing about.
-
Hi Sandy There is a topic on the US forum on this subject and I have tried to put in a URL Link Suffice to say I have failed. Go on USLexus owners club and search 98 LS400 climate control back light and it will come up.