

Colin M
-
Posts
384 -
Joined
-
Last visited
-
Days Won
3
Content Type
Profiles
Forums
Events
Store
Gallery
Tutorials
Lexus Owners Club
Gold Membership Discounts
Lexus Owners Club Video
News & Articles
Everything posted by Colin M
-
 I got the bar from a steel stockholder, Edwards Metals in Witton, Birmingham.
 -
I have the same problem as you, Matt, on both my LS400s. The approach I am thinking of is this. Get a piece of hexagonal bar (about one inch long) which is the same size as the internal hexagonal in the filler and drain plugs, clean up the rusty plug and then have the hexagonal bar welded to the plug. A socket can then be used on the hexagonal bar to (hopefully) remove the plug. I have got as far as buying replacement plugs and a hexagonal bar from which I have cut 4 one inch pieces. I just need to get them welded in and see whether this will work. Has anyone tried this before?
-
Thanks, John, that's good to know. I will see what price Lexus discs are and see if I can get a 20% discount as well!
-
Going back to your original post, Steve, what make of discs did you buy when you replaced them? I want to replace the front discs on my 1997 LS400 over the summer as they were an advisory on the last MOT in January. Any thoughts from anyone else on what is good or not so good on replacement discs would be appreciated. Thanks.
-
Looks great and look forward to seeing more photos. Sorry I cannot help with the problem either!! I hope you manage to get it sorted.
-
Nice looking car, Shirish, and I hope it serves you well.
-
Waxoil
Colin M replied to RgrWynne's topic in LS 400 / Lexus LS 430 / Lexus LS 460 / Lexus 600h / Lexus 500h Club
Yes, I think it would be wise to try to cover the sensors to prevent water ingress - perhaps a strong plastic bag over the area where they are, held on by cable ties, might do the job. I am not convinced that high pressure blasting will remove all the loose rust either. There are some areas on the rear subframe that are pretty inaccessible, mainly at the top where it fits closely to the car body. Also some of the rust on the subframes on my cars was a bit like barnacles on a ship - it wasn't loose rust but it needed chipping off with a hammer and chisel to get back to good metal! Having said this, it is still worth having it done even if one or two areas might need revisiting. Good luck and I hope the sensor survive the high pressure blast. Cheers, Colin -
Waxoil
Colin M replied to RgrWynne's topic in LS 400 / Lexus LS 430 / Lexus LS 460 / Lexus 600h / Lexus 500h Club
Yes, definitely worth doing Roger. The cars are generally well protected underneath but there are some rustprone areas - not sure what the LS430 rear subframes are like but the ones on the LS400 rust badly. I have cleaned and wire brushed the rusty areas underneath on both of my cars and have applied rustproofing paint to the easily accessible areas and waxoyl to the less accessible areas. I reapply waxoyl on an annual basis as necessary. When I run out of waxoyl, I might try something else - I think there probably are better products on the market now, as indicated in the previous posts - but I have been using waxoyl for about 30 years now and it has done a good job of protecting my cars. -
That's good news and hopefully no more near death experiences now!
-
Your Lexus Dealer Experience
Colin M replied to dutchie01's topic in Lexus IS 300h / IS 250 / IS 200t Club
I have used both Lexus Birmingham and Lexus Wolverhampton and have found both to be very good. -
Some excellent advice from the guys posting above and I hope the cars are good if you go to have a look at them. Good luck!
-
Hi Shirish, Welcome to the forum. As regards your questions, I think parts availability is not too bad. I have not had any trouble getting parts so far. eBay is a good source for secondhand parts and there are usually a few cars on eBay which are being broken. There are also aftermarket parts available e.g Blueprint. You can also get genuine Lexus parts from the United States (e.g from Rock Auto) or from Amayama in Japan for a cheaper price than you can get them from Lexus dealers in the UK. It can be quite a bit cheaper even with postage and customs duty! Don't let parts availability put you off. Parts are not usually cheap and some can be expensive (e.g. upper front suspension arms) but, on the plus side, these cars are very reliable and rarely go wrong. These are great cars and I do not think you will regret it if you buy one. Hope this helps.
-
The Certificate that came with the car describes it as having electronic sequential injection, so I think that probably means it is a multipoint rather than a single point injection system.
-
If it is any help, I did a post on fitting a replacement mirror glass (LS400 Mk 3 Replacement Mirror Glass, September 13 2014). This involved replacing the original glass with a heated eBay mirror glass which I had bought and the glass was replaced rather than the new glass being stuck on top of the old one.
-
I had similar problems to you, Jonny, and it turned out to be the alternator. This was after I had bought a new battery ... Well worth checking the alternator out. It turned out to be an intermittent fault on mine - when it was checked initially, there seemed to be no problem with it but on further investigation it was found to be charging only intermittently. Good luck in getting it sorted.
-
Glad to hear you are ok, John. I have never experienced anything like this when filling up with LPG. I now always put a pair of surgical/vinyl gloves on when filling up to avoid the risk of a cold burn from escaping LPG when releasing the trigger (after getting my hand too close once when I did not have any gloves on). Regarding the gauge, when mine goes to red there is still LPG in the tank and this is just an indication that LPG is getting low - there is probably still 30+ miles left in the tank. When I first had the car I thought when the gauge went to red that this meant the LPG was about to run out but this is not the case. Then again, mine has an orange light when it is running on petrol, so it may well be a different type of gauge to yours. The system is different, as mine is an Emer system. I hope you manage to get the problem sorted.
-
I put 5 litres in mine and with an oil filter change the oil comes to about half way between max and min on the dipstick. Since neither if my cars seem to use any oil between annual oil changes, I do not add any more oil and leave the oil level at half way.
-
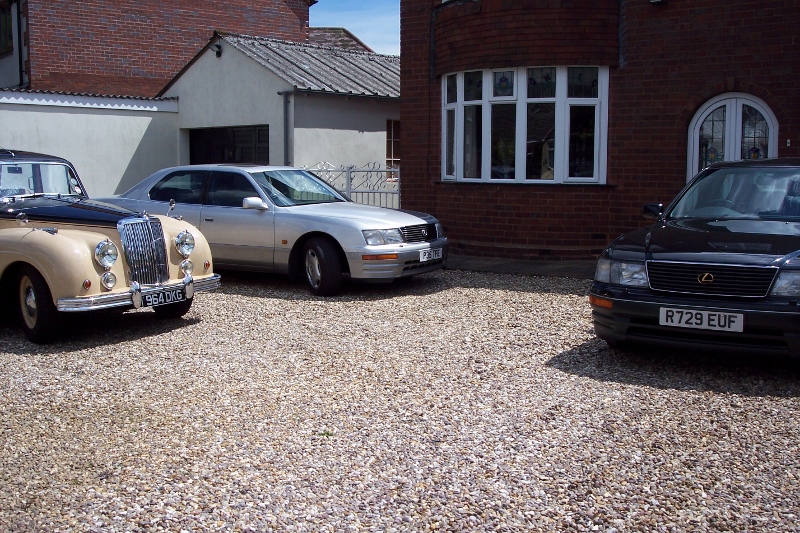
Yes, Steve, thanks, it is in my profile section.
-
Thanks, guys, that's very helpful. Something stopping the worm gear on the runner does seem to be the most likely explanation and I will investigate this further sometime next week (no time before then). It would still be helpful to have the exploded diagram of the seat, Steve, so I can see how things are put together. Thanks a lot. Hopefully I will be able to get it sorted.
-
Thanks, Phil. I have removed the seat to have a look. As far as I can tell, there is not a faulty motor. The motor that moves the seat backwards and forwards works when I move the switch backwards and forwards but it only operates one seat runner. The two runners are connected by a rod running between them which joins them together, so it seems unlikely that there will be a separate motor for each seat runner. If this is the case, the fault might lie with the non-operating seat runner mechanism - this might explain the juddering that occurred and the lack of smooth movement when I first tried to move the seat. However, the good news is that I have managed to turn the nut to move the threaded rod so that the seat has moved forward on the runner. The loctite held for a while and then failed but there is just enough thread visible to put a second nut on to act as a lock nut to prevent the nut from unscrewing. By gently turning the nut with the lock nut in place to move the runner forward and operating the switch to move the other runner forward a bit at a time so as to keep the seat level on the runners, I was able to get the seat into the position where I have it for driving.
-
Thanks for this, Stuart, which was an interesting read, but unfortunately I do not think it helps with the problem I have. The problem is not with raising/lowering the front and back of the seat, which works ok when the switch is pushed up and down at each end, but with getting forwards and backwards movement. If I get a problem with raising/lowering (hopefully not!), the thread will be very helpful and I have made a note of it for future reference if needed. I have made some progress towards getting the seat back into a position where I can drive the car. In its current position (fully retracted), I would need to grow at least a foot in height in order to reach the pedals! I have found that the threaded rod on the transmission tunnel side that does not spin round when the switch is operated can be moved manually by turning the nut on the end of the rod at the front of the seat (which is visible if you remove the two screws holding the black plastic trim at the bottom of the front section of the seat that is facing the brake/accelerator pedals). As the seat is fully retracted at present, the nut unfortunately has to be turned anti-clockwise in order to move the seat forwards. Yes, this means that nut unscrews from the rod rather than turning the rod! So I have put some loctite on the nut in the hope that when I try it again the rod will turn and the nut will not unscrew. Fingers crossed! Perhaps the long term solution is to see if I can locate a replacement seat on which all the electrics work. Then unbolt the seat from the electrical undercarriage and bolt my seat onto it. Has anyone got a driver's seat with working electrics that they would be willing to sell me?
-
Hi guys I hope someone will be able to help me with a backward and forward seat adjustment problem that I have just encountered. I went to move the seat forward to my normal driving position and instead of the usual smooth adjustment there was some juddering. This did not improve as I tried to move the seat backwards and forwards, and then the seat movement stopped altogether. It would not adjust backwards or forwards when pressing the switch and the seat seemed slightly offset, with the side nearest the door a bit further forward than the side nearest the transmission tunnel. I have unbolted the seat from the floor to have a look underneath to see what the problem is. When pressing the switch the runner on the door side moves properly (what looks like a threaded rod spins round and moves the runner backwards or forwards) but there is no movement at all from the threaded rod on the other side and the runner stays where it is. Presumably this is why, when the seat is bolted to the floor, there is no movement at all either backwards or forwards when pressing the switch - one rod is not moving at all, so the seat stays where it is. It occurs to me that a wiring fault may be preventing the runner from moving. Does anyone have a wiring diagram which could identify the relevant wire which provides the power to the non-moving runner? If anyone knows how to remove the backwards and forwards adjustment switch and the plastic trim on the door side of the seat, that would also be helpful. Any help, suggestions or ideas gratefully received!! Many thanks.
-
All the more reason, Hugh, to keep the LS400 and then you can easily justify spending the money you have saved by not buying a newer car on restoring your Mk2 Jag!!
-
I hope a fully recharged battery sorts the problem. If it does not, it might be worth checking the engine earth strap connection. If that is not making a good contact, the starter motor may not turn the engine over as fast as it should. I agree with Steve and Phil that it would be wise to invest in a smart charger. They are very good for vehicles which are only used occasionally.
-
Like everyone who has commented above, I would say keep your LS400. You will lose little or nothing in depreciation, the cars are very reliable and there will not be any massive bills (unless you are unlucky), and they are great cars to run and drive.

