Leaderboard


Popular Content
Showing content with the highest reputation on 07/12/2018 in all areas
-
This work was undertaken on a facelift IS250 my 2010. But I expect it will apply to any IS250, ISF, 220d, 200d from 2005 - 2012. I recently had a problem with the interior handle on the driver’s door. It was one of those moments where you think to yourself ‘what the …….’. I had just parked at home and was opening the door to get out of the car. Pulled the handle as usual but something twanged, the handle felt it was going to come away from the door and the handle did not spring back to its rest point but hung down at a bit of an angle. Clearly something was very wrong. And no I had not just had 3 Weetabix (other cereals are available) and I don't ever use an excessive force to pull the handle. I could see the tail end of a spring that was not in the right place but the handle was still functioning. The door could be opened from inside, with care as the handle was very wobbly. The door could be locked by pressing the outside button. Using the remote fob there was a weird whirring sound from inside the door and I could see the interior handle fluttering back and forth very rapidly. The door did not lock, the other 3 doors locked just fine. I did some searches but could not find anything here on this forum so started looking around, even at other manufacturers forums. Started to assemble some snippets of info and commenced the repair path. So, here you are, How to get the door lining off, a work around if your door handle breaks….and let’s face it…it is likely to be the driver’s door as that gets most use!! I tried to remember to take as many photos as I could as I went along. A set of plastic pry tools will come in handy as it avoids any stress damage on upholstered areas. You could get away with taped flat-blade screw drivers with due care. Pozi 1 and 2 screwdrivers complete the tools list! First up. Lower the window all the way down, it makes the liner removal possible. You won’t do it with the window up! Then pry off the cover plate behind the handle to reveal the pozi screw hidden behind. Remove the screw and put decal plate and screw aside. Then pry up at each end of the window/mirror control unit. It will readily pull vertically off its tabs at each end. Unclip the electrical plugs and put the unit to one side. You will see a pozi headed nut to the right which attaches to the inside of the door. Remove this and put to one side. Pry out the bottom door courtesy light and disconnect the loom. Again, store the light unit to one side. Now you need to establish where the door liner attachment clips are located. I used a slim pry tool to slide under the lining and then move left and right to find the clips. There are 3 along the bottom of the door, 2 vertically above on the hinged side of the door and 3 vertically above on the opening side of the door. IMPORTANT There is an additional clip to release just below the tweeter. You just need to give a sharp and forceful tug at each clip point to pull each clip from its hole in the door frame. Now you can start the process of removing the liner. I found it comfortable to hold the armrest handle with my left hand and slid my right hand into the top RHS of the liner where it clips over the lip at the window seal point. Pull up gently on the armrest handle and the liner will pop off of the lip. Lift the RHS side of the liner gently keeping an eye on the tweeter housing and the liner will come free from the door quite easily with a little force. Keeping hold of the armrest handle you can now unclip the 2 door handle cables. The cables are a bit like bike brake cables with a ball at the end to keep it place. The cables are enclosed in plastic cable sleeves that fit into the back of the door handle unit. Unclip the sleeve and then turn the cable to remove the ball end from its socket. It’s quite simple. You can see the bent vertical tag on the chromed finish part where the cable slots in Now the liner is completely free. Getting to this point only takes about 10 – 15 minutes. You may find a couple of clips or the fibre washers still in the door frame …... you can remove these and fit them back into the requisite hole/clip in the liner. I had 2 clips and a couple of washers that did this. If you are just investigating at this point ( eg:- it could have been a snapped cable) and don’t have a repair part present you can reconnect the window/mirror control unit and close the window and lock up the car if needed. Lay the liner face down on some old sheets/towels (you don’t want to mark or damage anything do you?) so you can inspect the handle unit. I had thought that a return spring had snapped or the ball socket (plastic) for the cable end had failed but it was neither of these (although there was a part near the ball socket was bent out of shape and about to fall off). I could see it was the pivot point for the base of the handle itself that had sheared off completely. There was plenty of grease evident on all moving parts, so am at a bit of a loss to know why 2 bits failed....perhaps it was just a duff manufacture. Both upper and lower pivot tags were sheared off as well as that bent tag You need to remove the 3 pozi screws from the securing plate and set to one side. Then remove the 4 pozi screws that hold the actual handle unit to the door liner. Now you can fit a replacement handle, fit the 4 screws and re-attach the securing plate. I managed to source a handle from an Ebay scrapper for £12 delivered. It was not the correct colour but I wanted to get a repair sorted. Given the cost I figured I may as well just get one (I’ll keep an eye out for a Taupe/Stone Grey version … they are a somewhat rare at present) and change the handle unit once I had the liner off. Refitting is literally a reversal of the process. Holding the liner close to correct position reattach the internal loom connectors. Don’t forget the tweeter! Re-attach the two cables back into the rear of the interior handle remembering to clip in the cable sleeves. The only tricky bit is first getting the tweeter end of the liner correctly located over the door lip. Once located, the rest pushes down over the lip quite readily but with a little force. The liner is quite secure with the top lip engaged. At this point retrieve the loom connectors and plug them back in to the window/mirror control unit and the courtesy light. You can fully fit the courtesy light but leave the window/mirror control unit hanging loose. The liner (for me) fell exactly into the right place and all the clips pushed back into place with a sharp rap from the heel of my hand. Refit the screw in the interior door handle and window control unit. Refit the door handle decal ( I put my original correctly coloured one back in to lessen the impact of the black colour) and push home the window control unit. Job done! Check the window action is good, mirror controls, the speakers all work correctly, courtesy light works (it will light as soon as you re-connect it!) and the door opens and locks correctly. The whole process took around 50 mins including me taking a gander at my old handle to ascertain what was wrong with it. Hope that helps anyone who may have a similar problem. Don't be put off from trying, in all honesty, it really is not very difficult at all.......just be methodical. Now the search begins, no rush though, to locate an interior door handle in the correct Taupe/Stone Grey colour. Anyone know what the colour is referenced as? Mind you I doubt a scrapper would be aware of any difference of colours. The colour difference
 4 points
 -
Then...... I changed my mind 😀3 points
-
Interesting. So convincing, I went in to my garage with the full intention of selling my car.
3 points
-
Don't forget to order the suit as well if you do go ahead.3 points
-
Quite a fair review I thought. I don't compare the Rcf to an M4, the Rcf for me is a nice reliable GT car. I'd compare the Rcf to a Jag F-Type, Jag XK, Aston DB9 even. My last car was like an M4, I chose the Rcf because I wanted something a bit more luxurious, better quality, and more grown up. Just like he describes the buyer in the review. And of course the big one for me, something rare. After a couple of months of ownership I'm still getting people asking me what it is.2 points
-
"Murdered out" all the way. If you're going to the dark side you can't do 95% of the job. I'd also remove the engine and replace it with an actual black hole so you can run her on the immense power of a singularity. Cost dependent of course.2 points
-
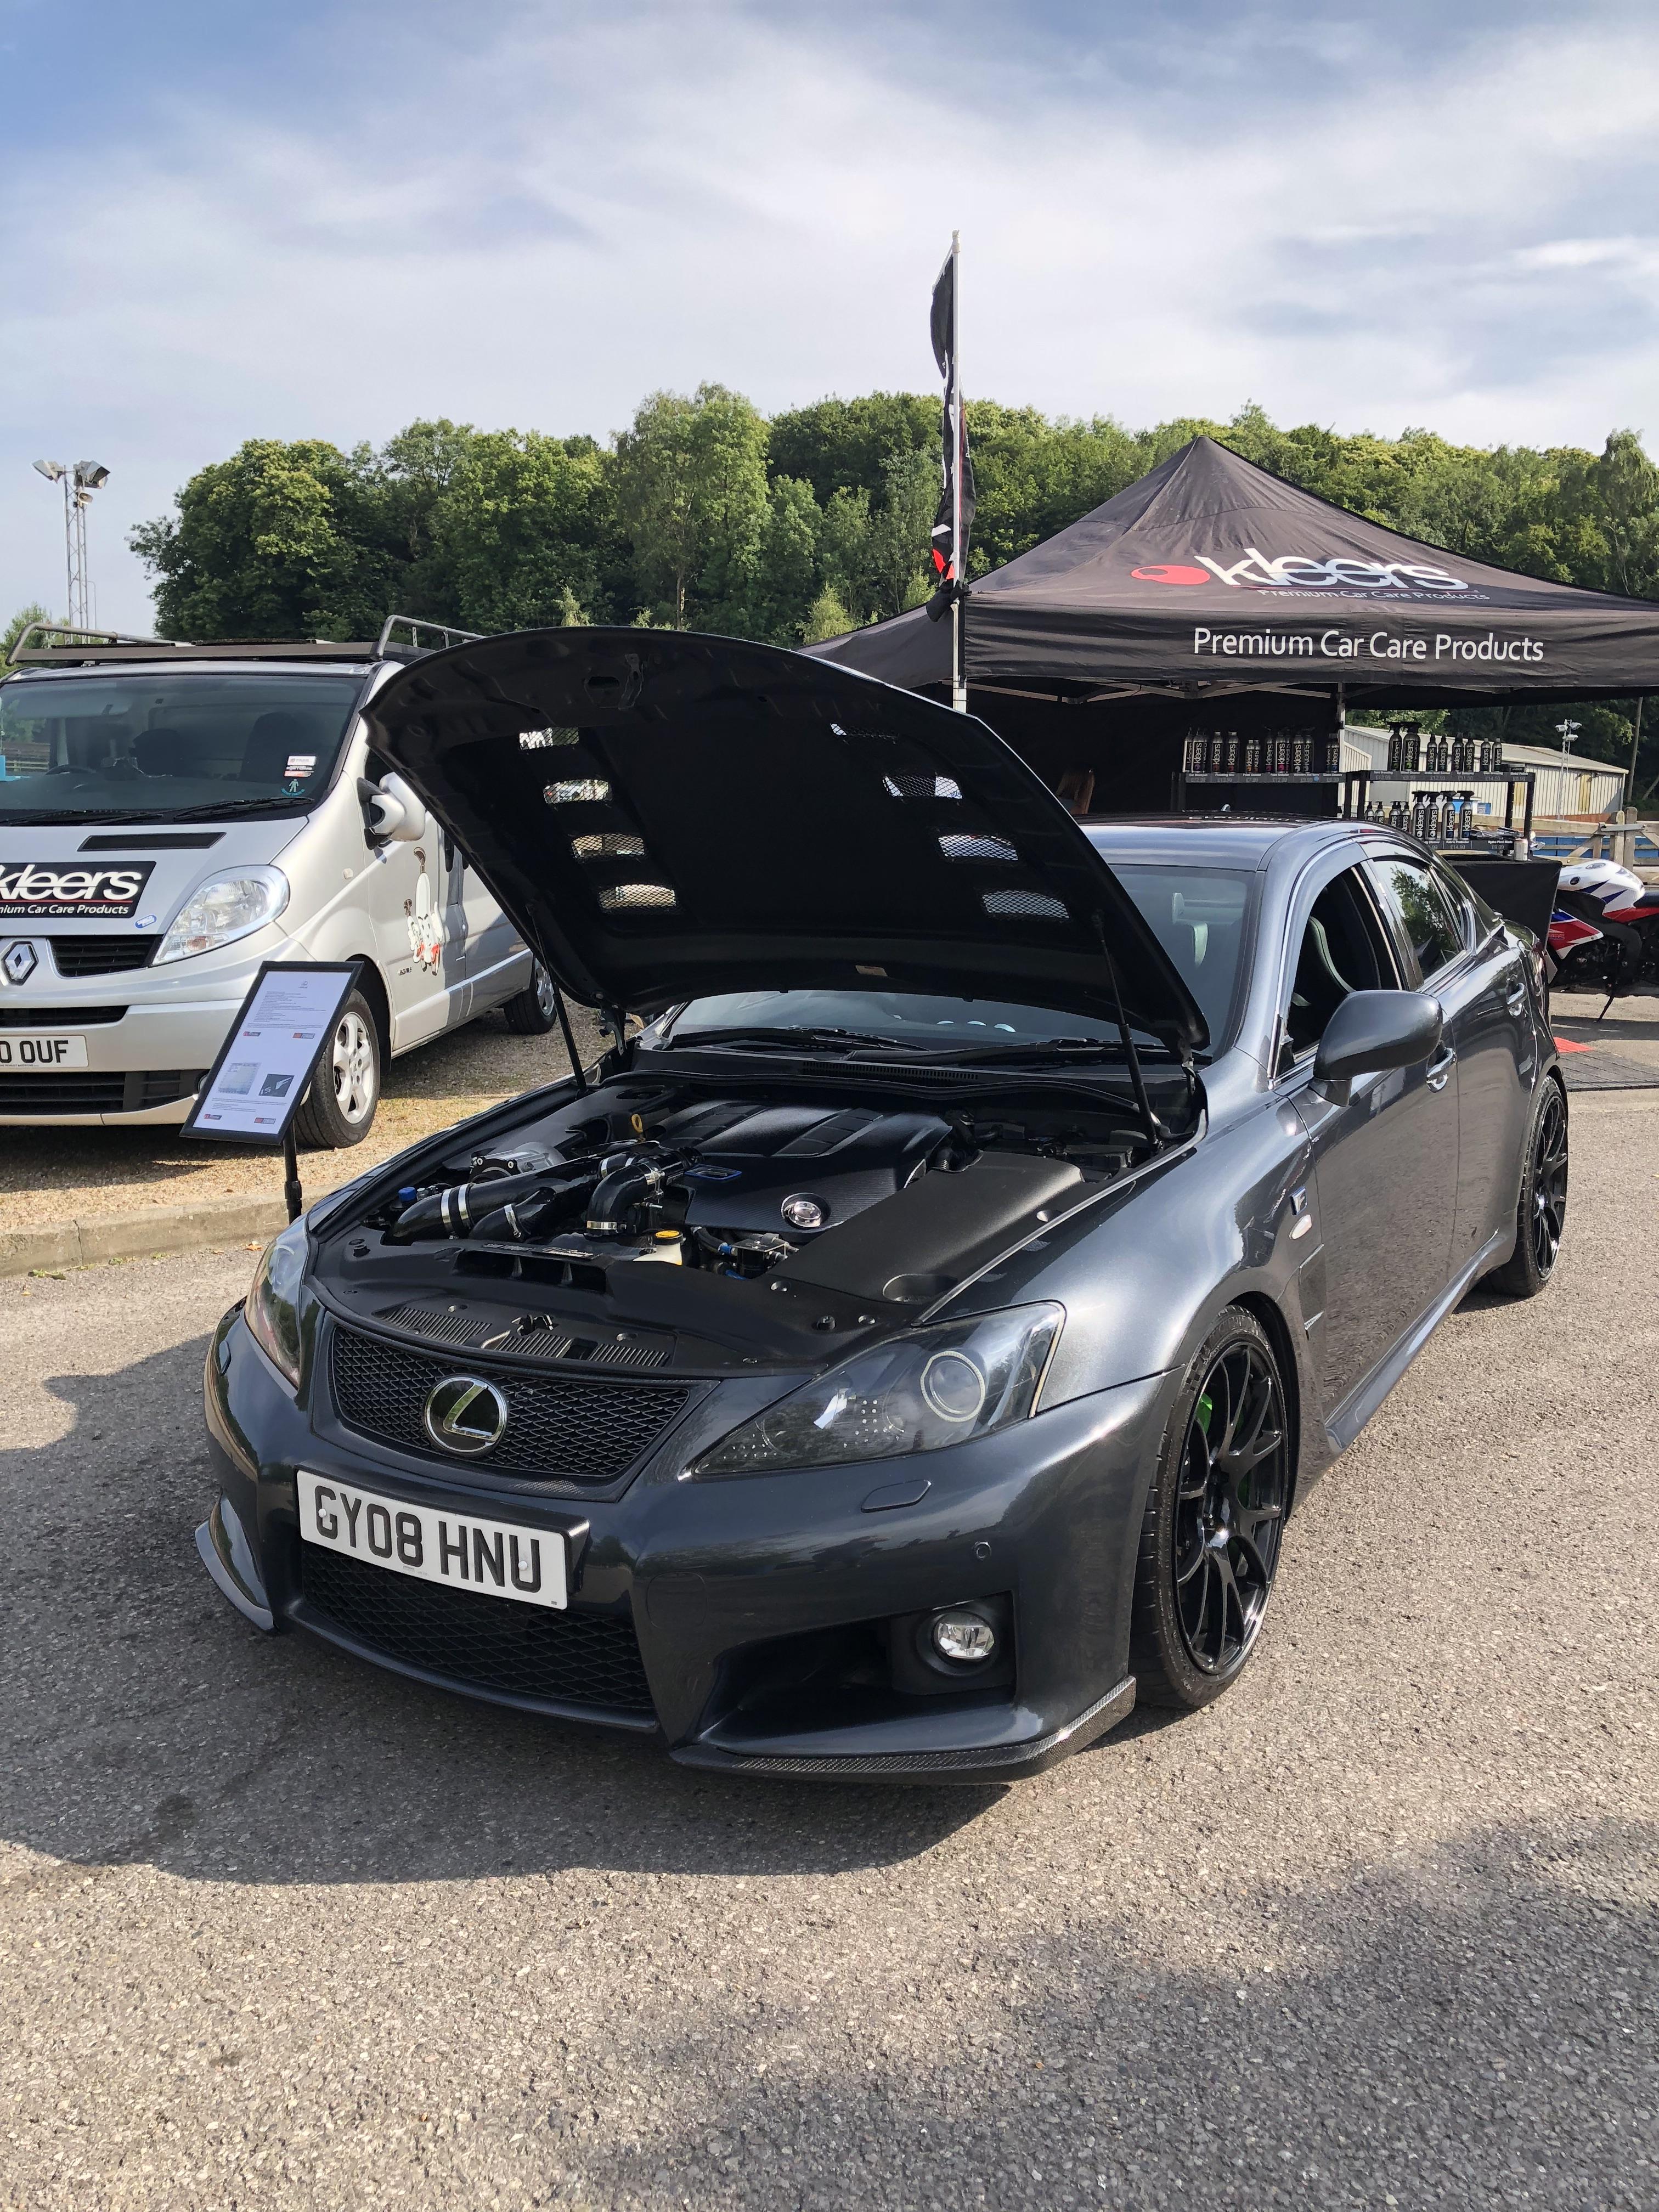
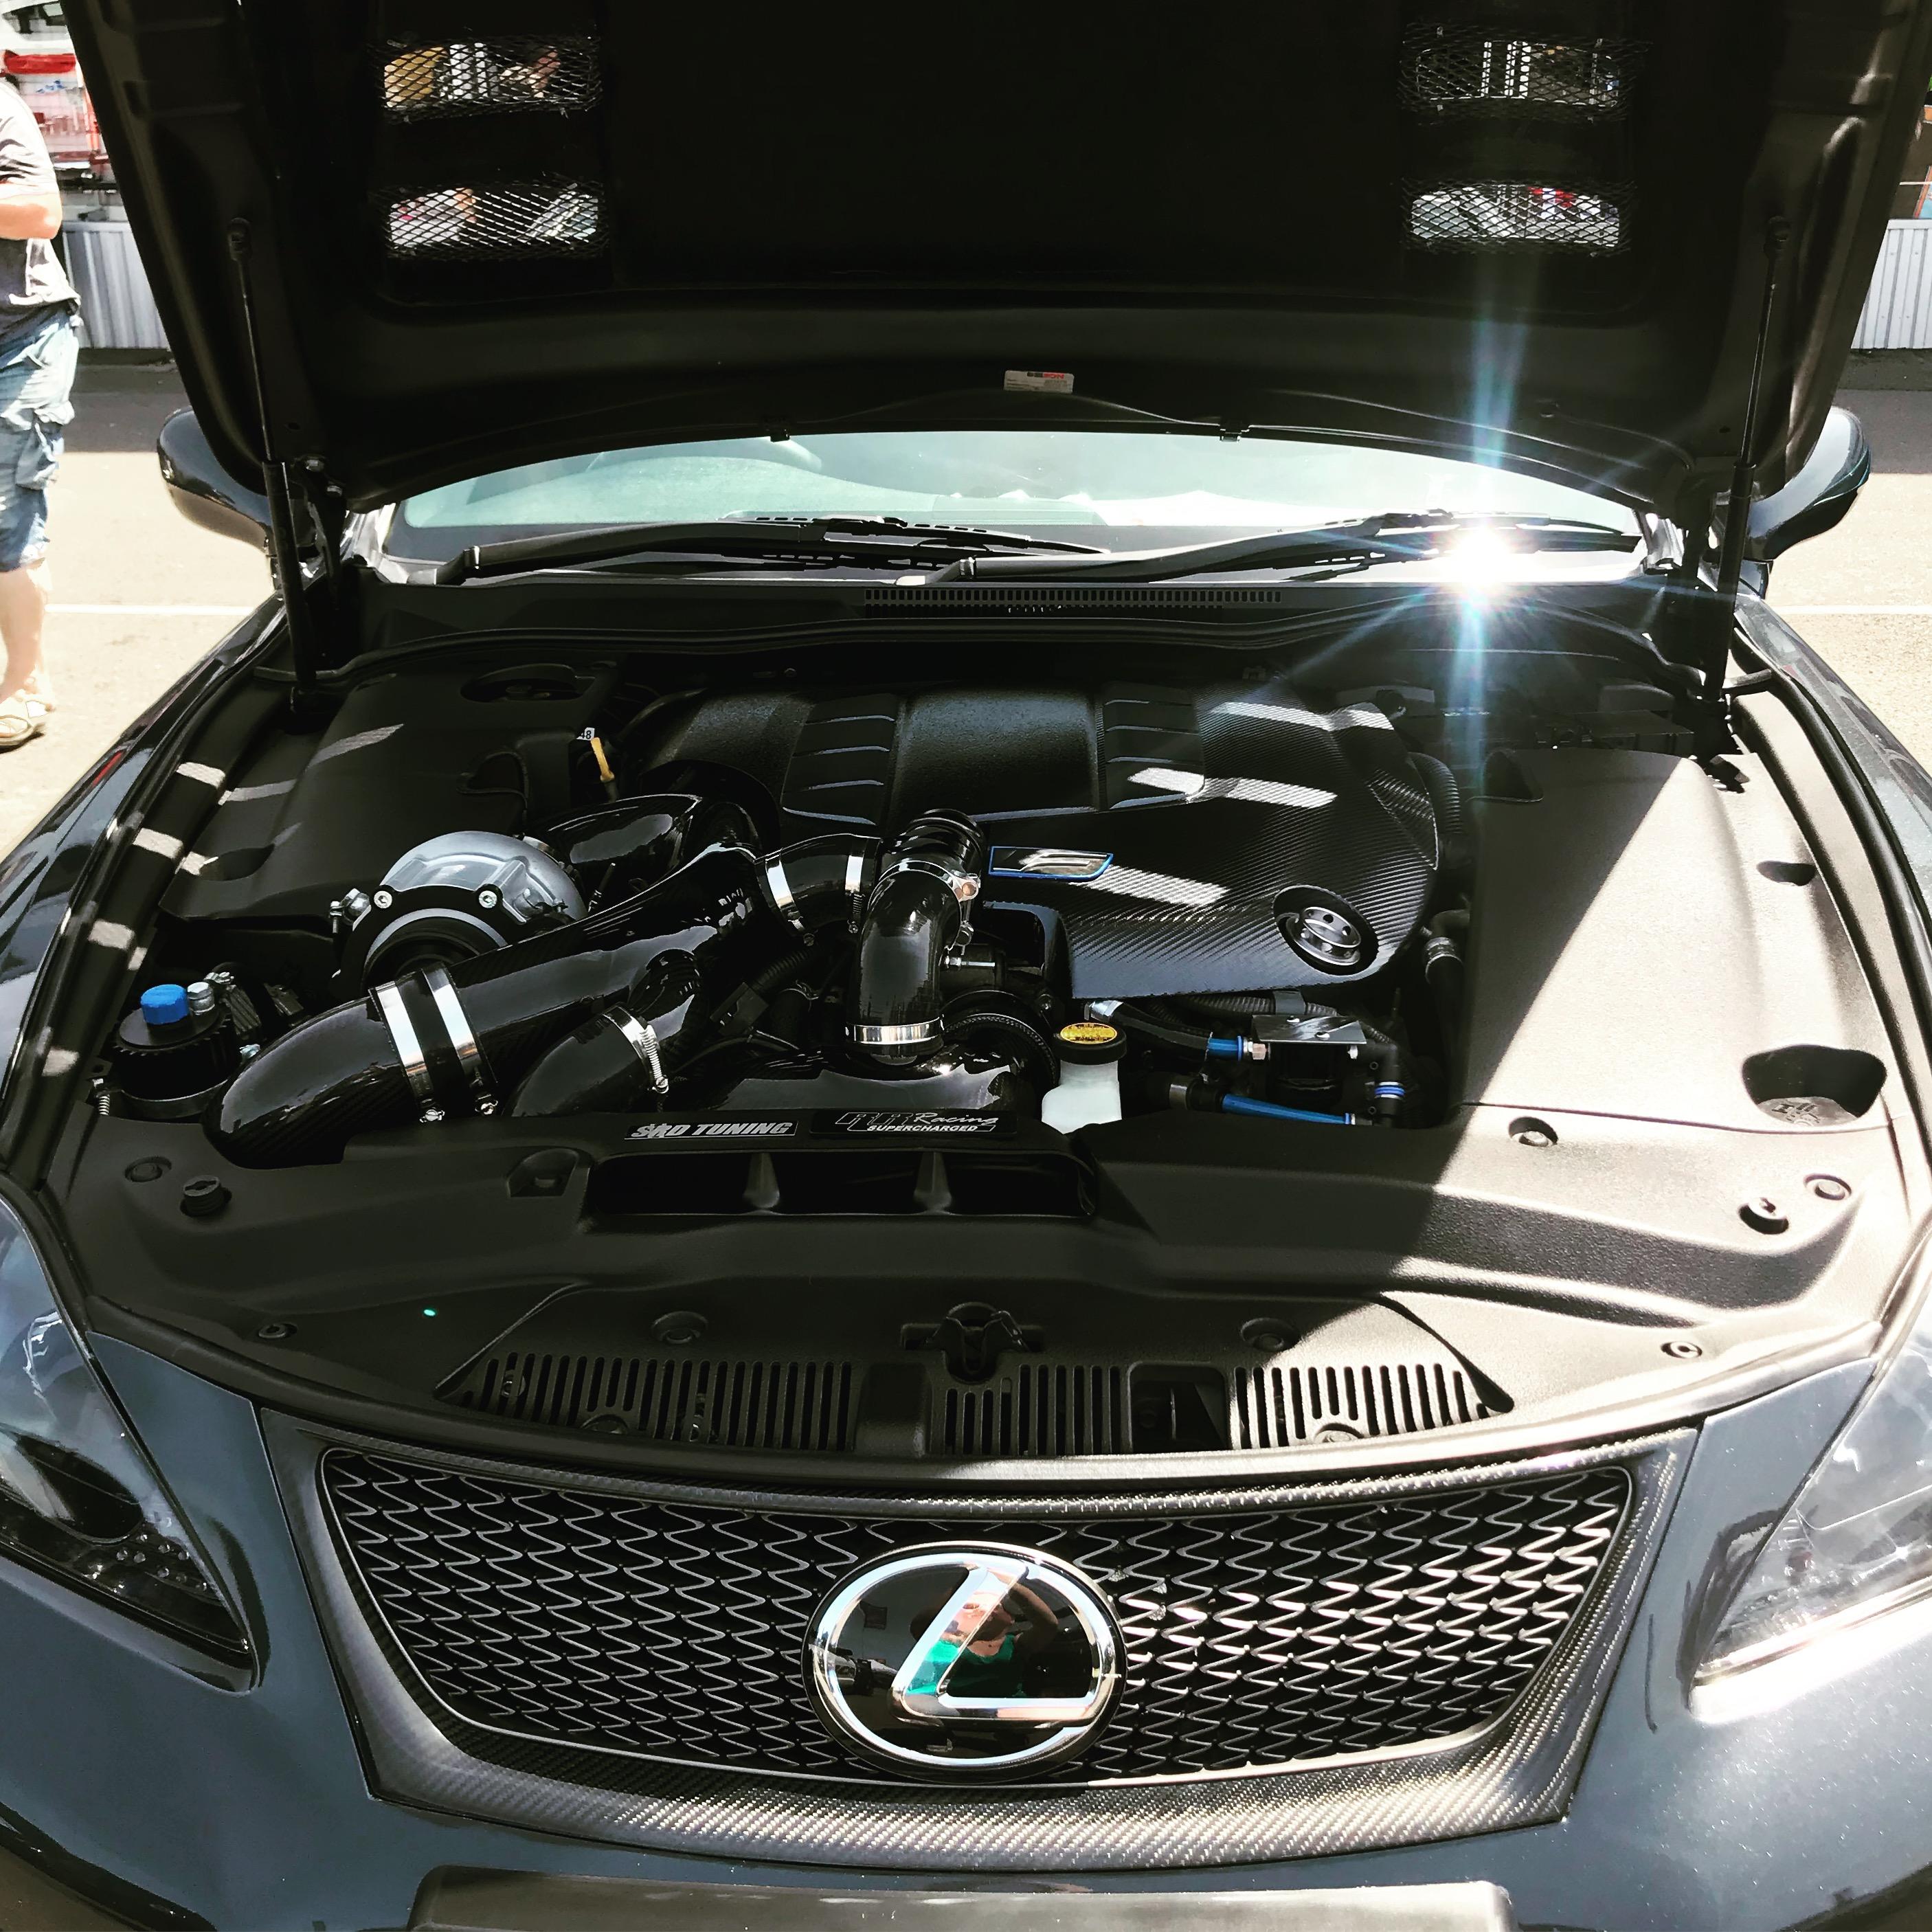
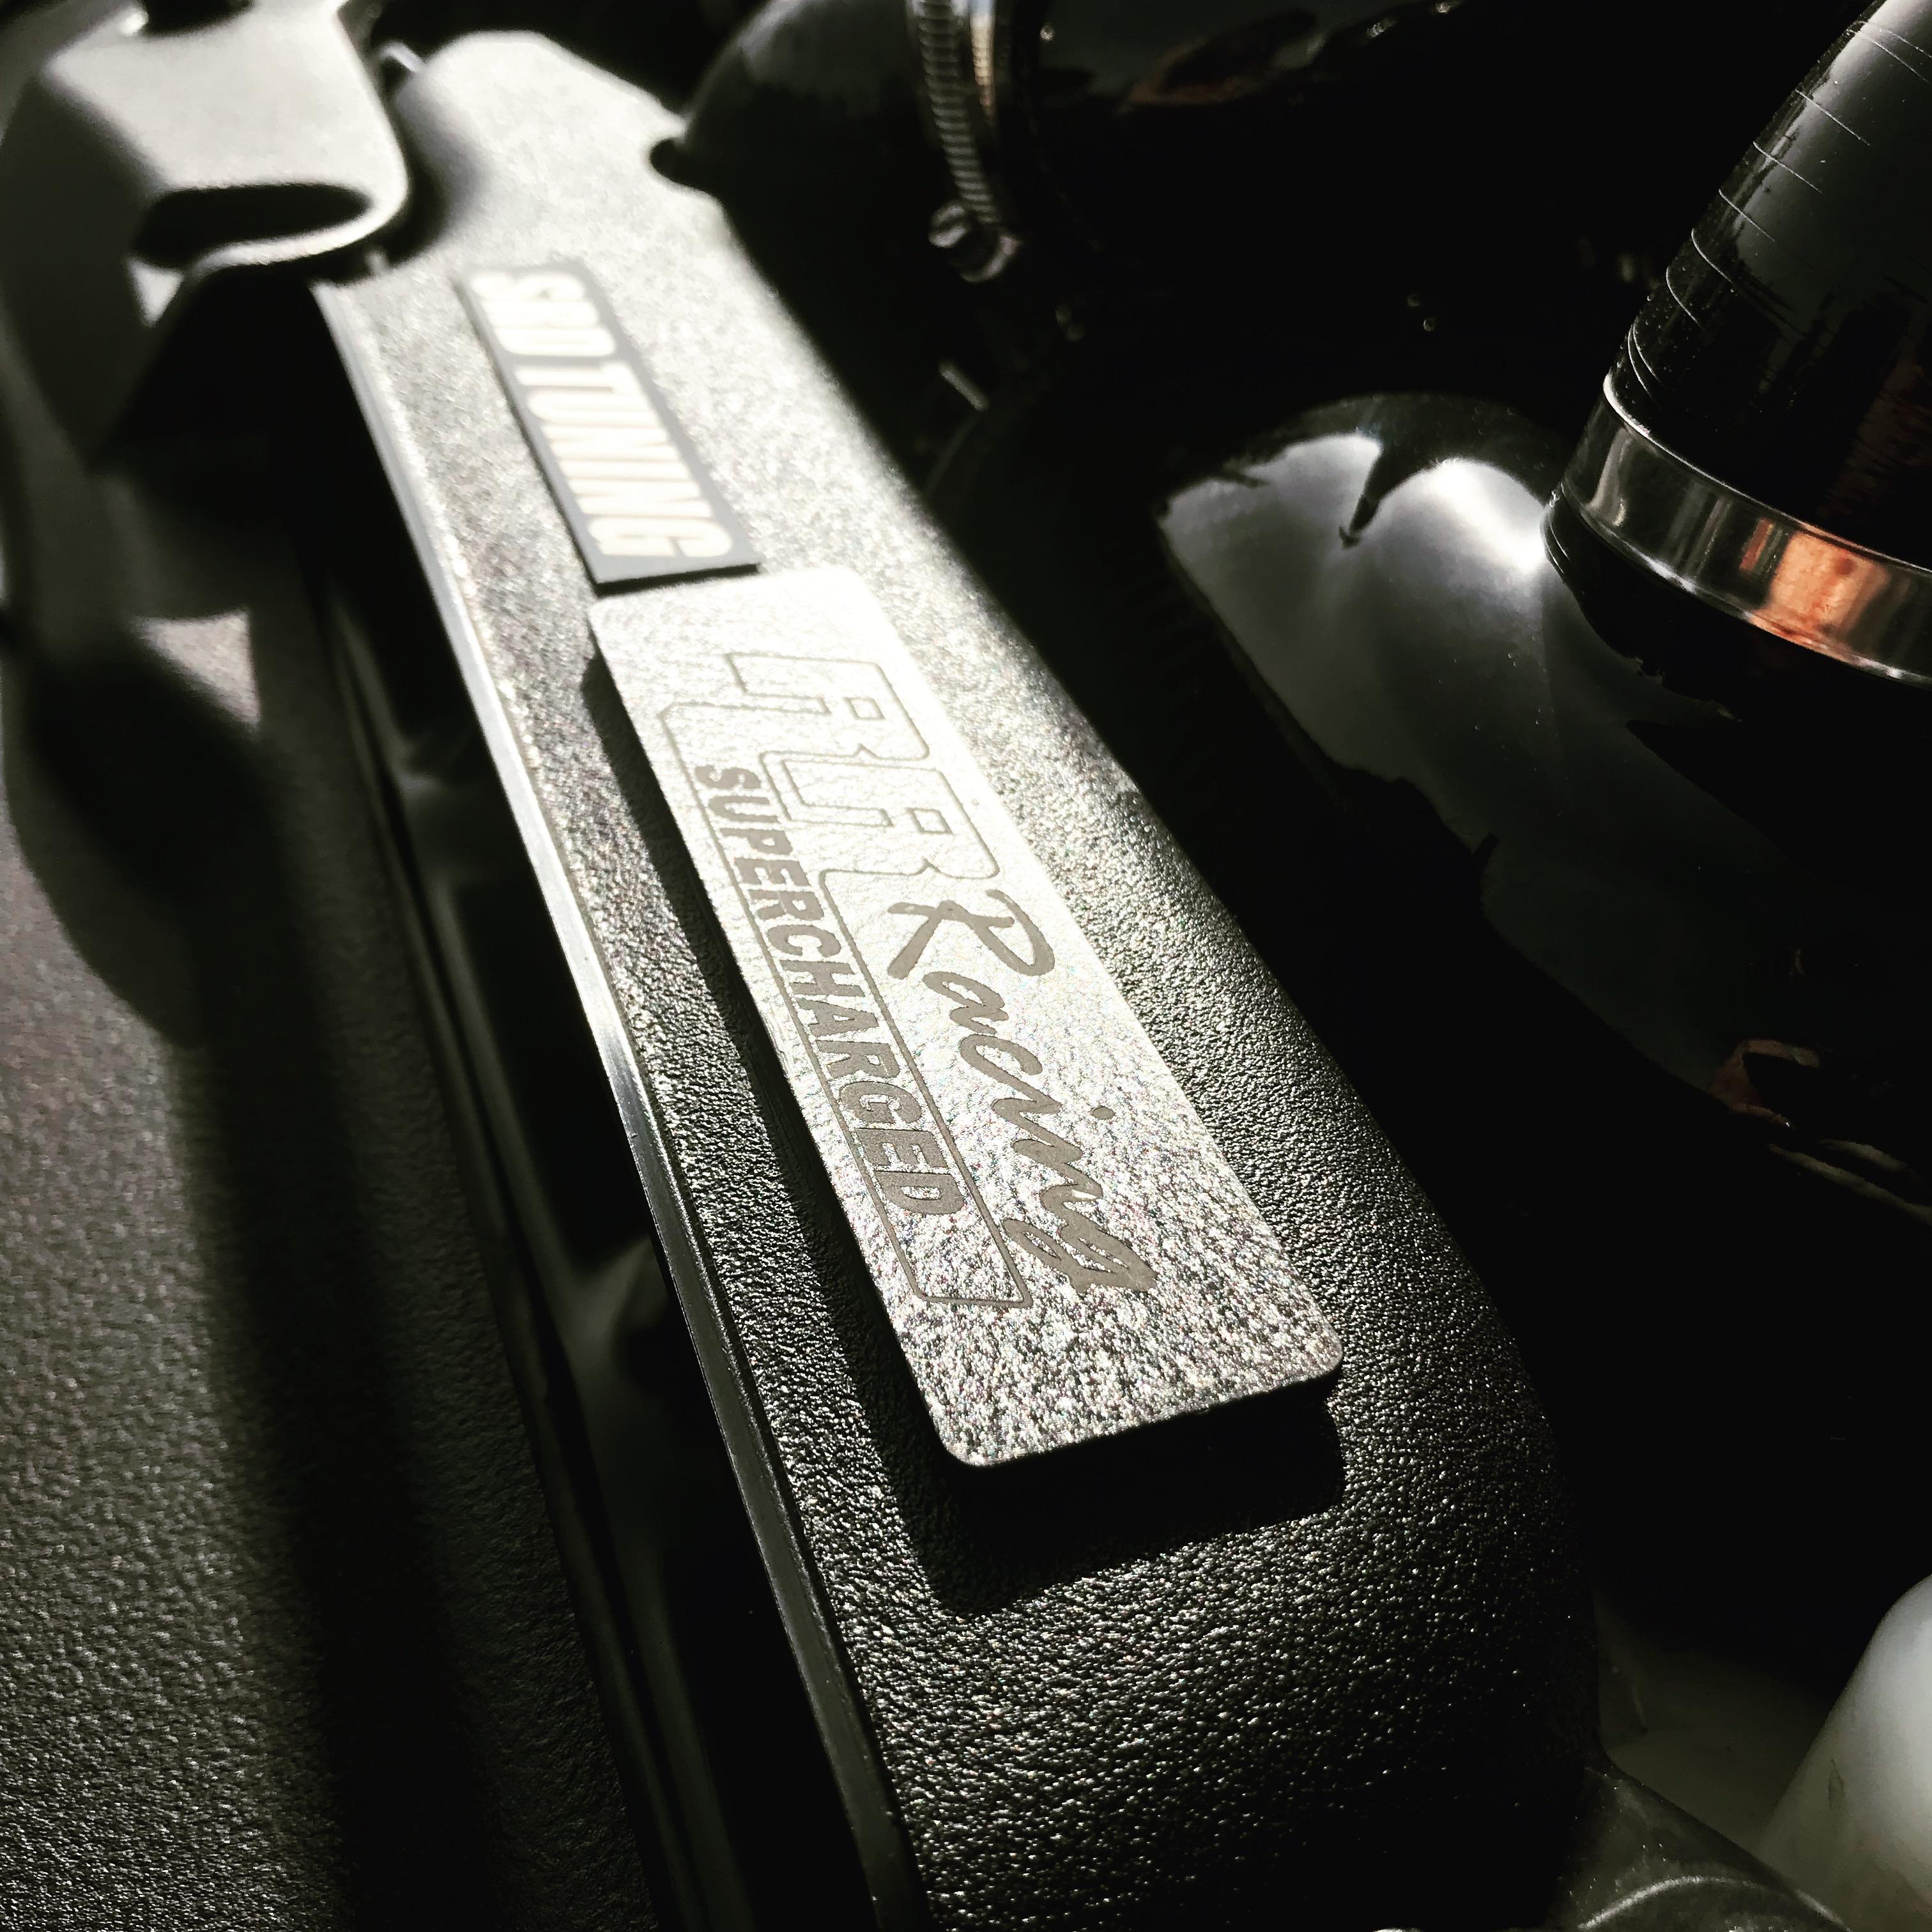
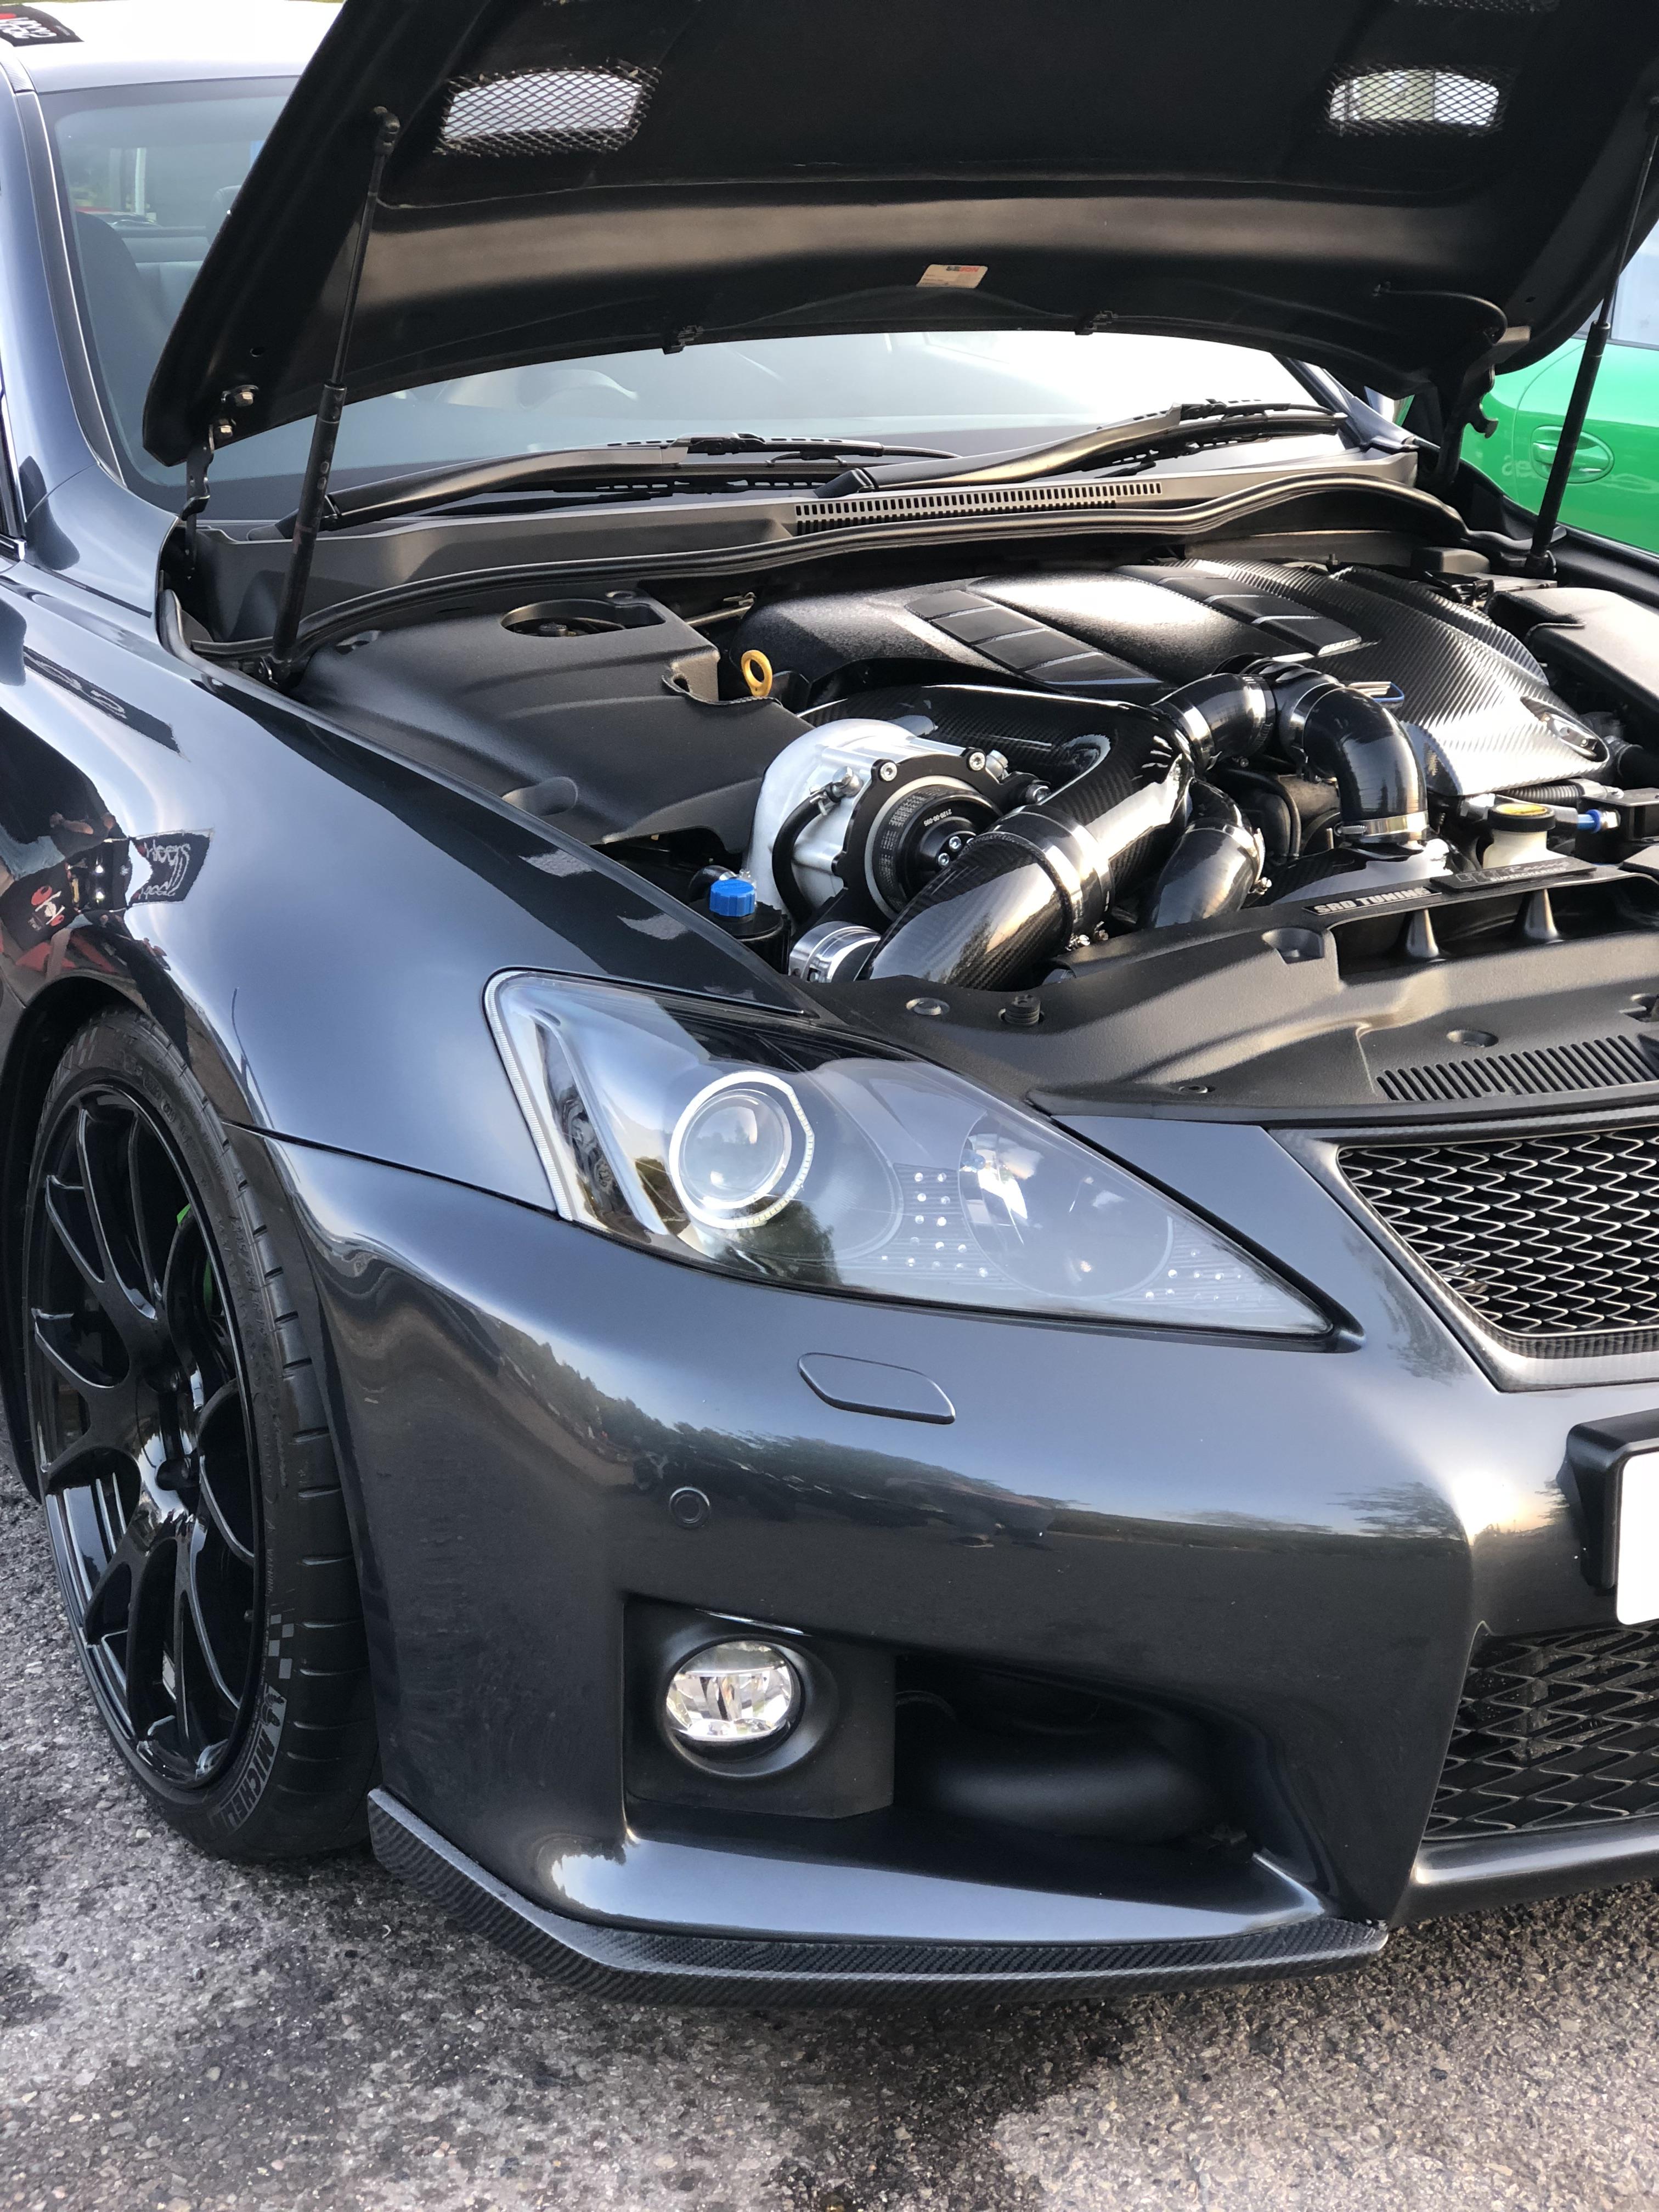
Few more arty shots thanks to my soon to be niece Kayleigh from Brands and Buckmore shows. 😎
2 points
-
My LS400 was written off by my Insurance company as deemed too expensive to repair in Jan 2017. I have just checked the registration number on GOV MOT site and seems it was mot'ed in January this year. I assume it was bought from Insurance company and repaired so wonder if anyone here has this vehicle now. It is now registered as S286 GPN. If someone has this vehicle I still have the service booklet stamped upto 12/03/2015 and 170609 miles. I also have a couple of bits for it, spare wheel tray, tool kit, 6 CD cartridge and under seat tray/box and manual.1 Cheers Chris.1 point
-
Normally like Doug DeMuro and his quirky car reviews (his LFA one is good) but I reckon there will be a few dislikes with this one 😉 Enjoy1 point
-
Reasonable review but the gear shift is 0.2 seconds so bloody fast. Similar weight to its competitors, similar lap times to the m4, kids go in the back etc etc. I don’t think the reviewers do enough research before making these comments.1 point
-
I went today. My lad got free tickets through a Tesla draw. Traffic was fine if you ignore the signs and actually go through the city centre. Free parking on site. Saw the so called world premier of new UX in the main show room, saw an RCF and what might have been an LFA blatting up the hill together , missed the GT3 (it wasn't in the tent either) The Porsche display and track run was pretty epic. Did the supercar car park and the display of McLarens was eye watering.1 point
-
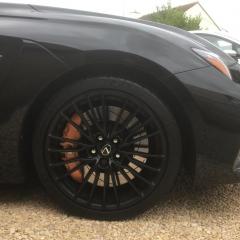
Now that looks classy - IMHO. Blends in really well without spoiling the look of the car.1 point
-
Interesting idea! I am personaly too lazy to do ever anything like this and it is "too delicate" solution for my taste, but this is very fresh idea.1 point
-
Keep the chrome visible, but make it darker somehow. Like on the RC300h Black Edition
1 point
-
Well done working through that and for providing online reference for other folks Oh and it's a great write up too!1 point
-
@Bluethunder Hi Nean I’m just considering the chrome 2 piece strips across the top of the side glass, wrapping is probably most cost effective I guess🤔 🐀1 point
-
Great pics and many thanks for posting them.1 point
-
blimey, that's optimistic ... my 4hrs drive up to York the other Friday took the best part of 7.5 hrs Malc1 point
-
Sorry, Odysseus, It is the main Lexus dealer in Glasgow. I'm delighted to say that they MOT'd the car and there are no advisories and the Hybrid Health Check passed with flying colours. The car is an absolute delight to own and drive and i'm loving every minute I spend in it. Driving down to York next week for a few days holiday and really looking forward to spending 4 hours in comfort!!1 point
-
Yes to a dechrome but don’t tint the rear lights. My old Evo X had tinted rear lights and they looked very chavvy.1 point
-
No brainer in that case. Do it!1 point
-
Great pic's, your IS-F ain't too shoddy either1 point
-
About £300 for Lexus to remove the existing trim and fit a replacement1 point
-
Sounds like it’s coming along nicely mate. Car is running really well. The warmer weather certainly helps with traction, but not outright power. It’s less of a handful in terms of keeping things in check, but still think I need to get the OS Giken LSD and wider wheels/tires.1 point
-
You could always try the Mini tape route as seen on most IS F’s? I’m looking to actually get mine stripped back and painted for a more permanent/cleaner look. Did buy the tape, but it’s fiddly as hell, especially around the curved sections where it’s wider. 100% believe it would look better without the chrome. 😎1 point
-
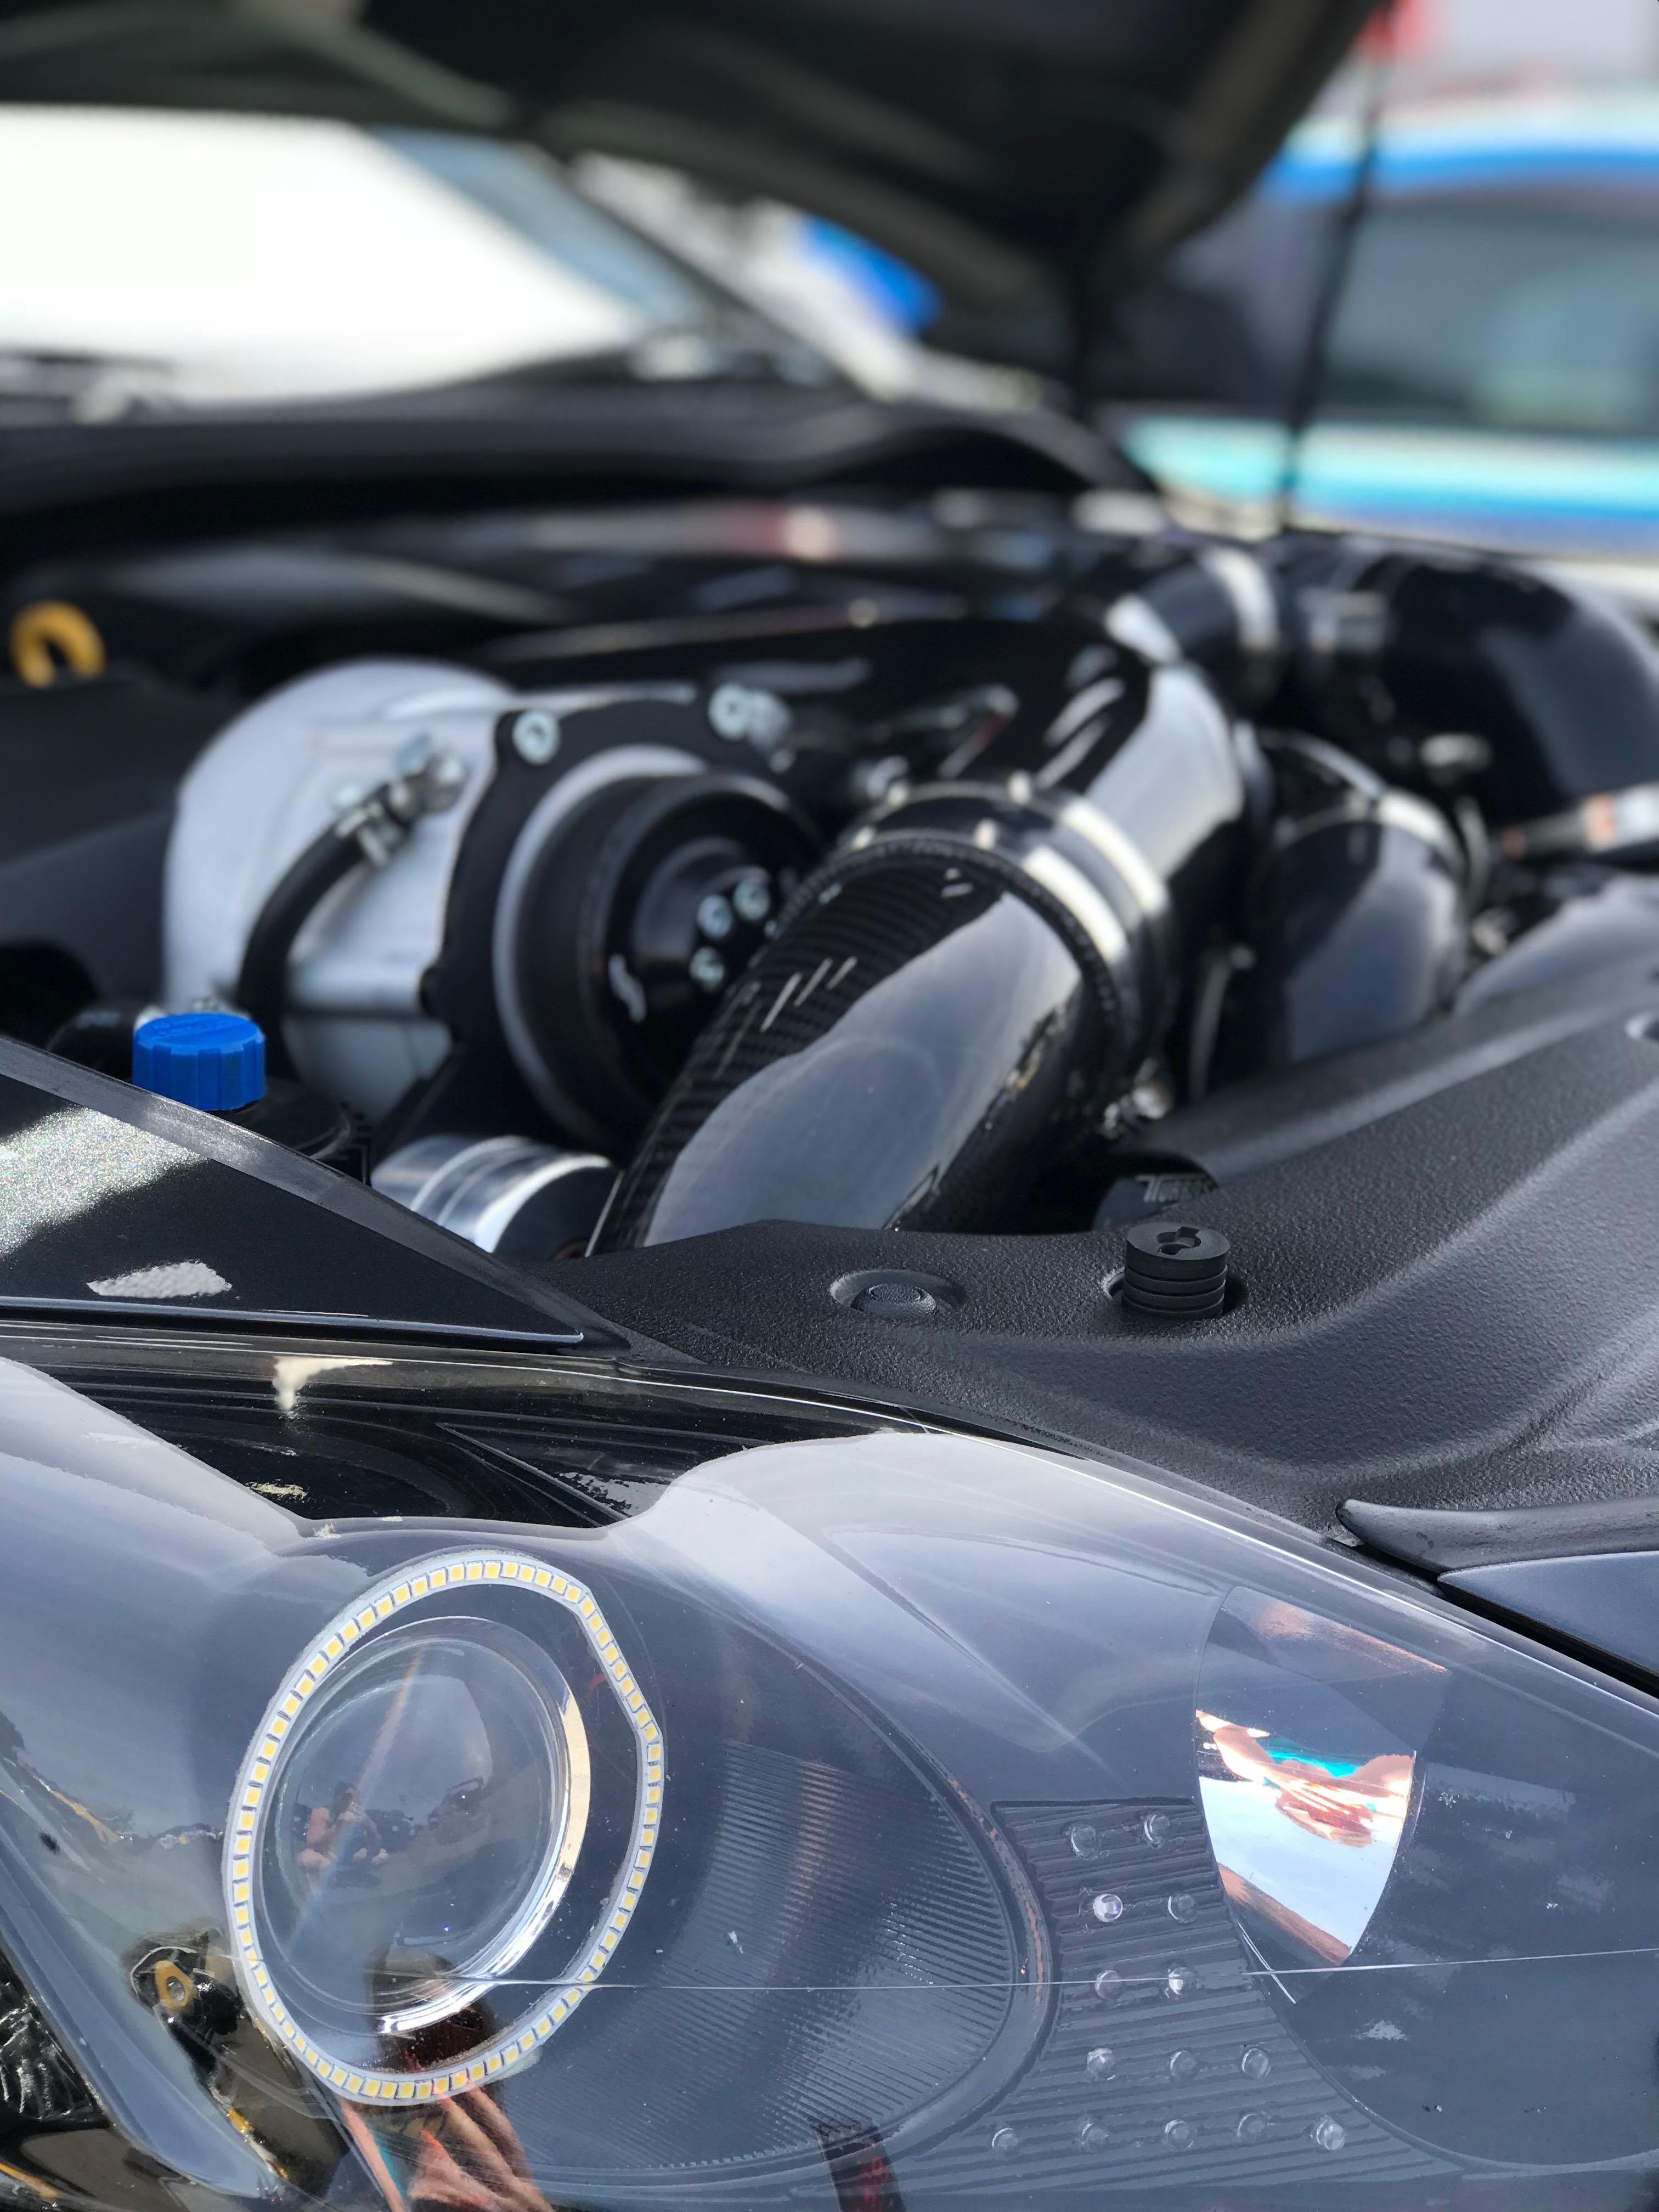
Saw this. I’m inclined to agree it needs more work on suspension, wheels and tires to maximise the added horsepower. As I mentioned before, I can lose traction at both ends of each gear when pushing hard! Hopefully the OS Giken LSD, wider wheels (should be able to run 305/30/19’s at the rear, with 265/35/19’s out front), and a stiffer suspension setup will help tame the beast! Rome wasn’t built in a day (they needed Big Rat! Lol), but seeing a Lexus going toe to toe with some serious track cars gives me tingles! The fact there is a larger supercharger on the cards from Rotrex that will support up to 900hp, need to get the handling right. I know one chap in the States has gone full custom suspension setup from Ohlins. May have to follow his lead and do something similar.1 point
-
This is the crucial point, IMHO. Everybody think Lexus or some aftermarket sources or fabricators delivery bulletproof eternal exhausts, because they are shiny and stainless steel (SS). Yes, they are, nobody lies, this is SS, with small deception. Because what we need (and wrongly presume we got) is highest grade heat-resistant stainless steel. Automotive typicaly use lowest grade SS, very good in room temperature and with some water action, but not with exhaust temperatures and exhaust agressive chemistry. It is slightly better than mild steel, but don't even think about 20yr or more. Good fabricators use any marine grade SS, much better, designed and certified for decades in salty enviroment. It withstand much longer, but still could be nasty suprise in very hot parts, because still - it is not heat-resistant enough or at all. The problem with real heat-resistant SS is: it is not only expensive, but very difficult to form and work with and insanely difficult to weld. Only applications I remember are aircraft industry, maybe military and some exotic chemical equipment. And this is main reason even car manufactures with such a price tags they could afford any technology, prefere same as aircraft industry - not the best heat-resistant SS, but titanium or similar alternatives.1 point
-
@Big RatHi Paul, what are the options to de-chrome? I've been thinking about it myself..1 point
-
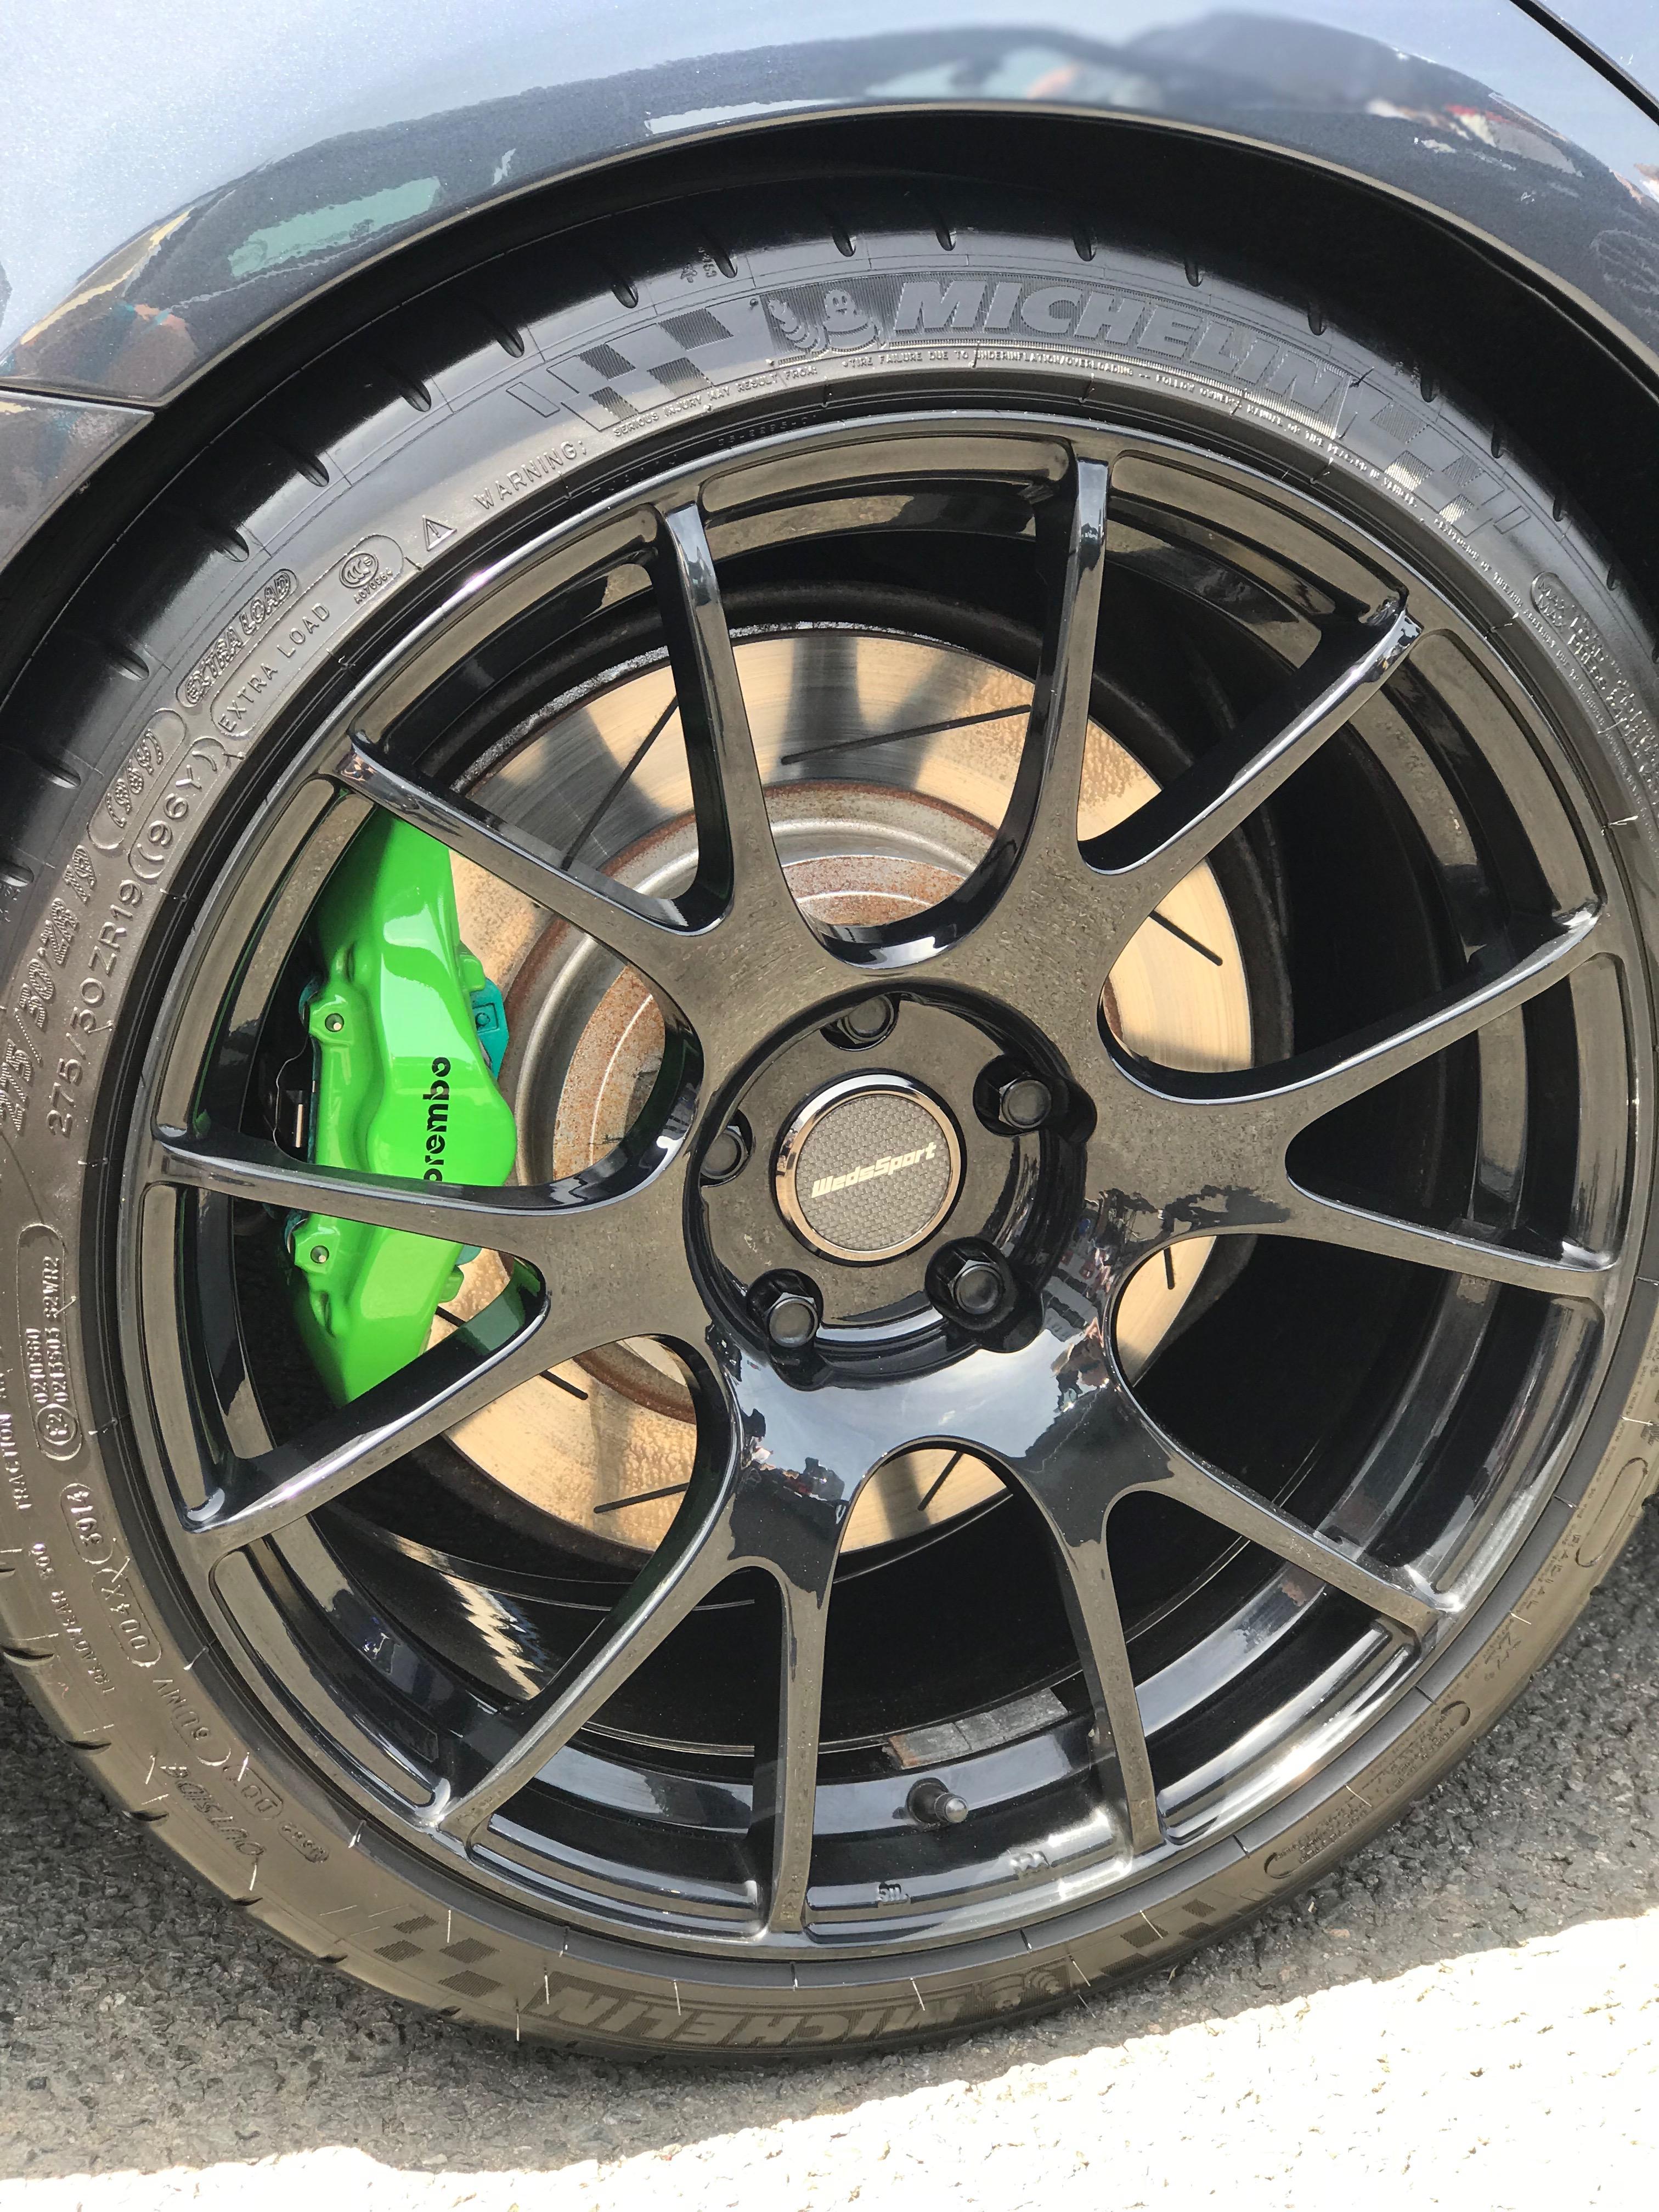
With this kind of rims and if you like dark batmobile apperance - IMHO dechrome her now. And tint rear lamps a bit. BTW if you want real information and feedback from two-option pool, always put third option "I don't care / I have no idea / It does not matter", not only "yay" and "nay".1 point
-
Don’t forget these guys they have loads of ISF parts listed and they ran there own modified ISF for some time. https://www.fensport.co.uk/ Big Rat
1 point
-
I think it's an issue with the front wheels not pulling enough through the corners1 point
-
Wow, thats certainly something to aim at, would the rest of the drivetrain take the power or would it need a new gearbox, diff etc?1 point
-
Great video. That is one awesome ISF @Peter P18 😀1 point
-
Catastrophe Naturelle Thought I'd use the holiday in France to tidy up my front Drivers side wing which was rusting under the arch. Fabulous weather until the 4th July. Not especially happy with the resultant filler job and the supposedly "wetlook" lacquer turned out not to be "wetlook" after several coats applied. Used the remains of a tin of £2.99 (ten years old?) pearlescent paint finish which did give a bit of a sheen. After uncovering the bonnet and door, found the Paint colour was not the match I was expecting so stopped further work. My touch up paint is correct colour as seen on a cap I've painted to show the supplier. Next day I gave the Car its annual wash (true) pre the basking 36 degree heat of the day, but in the afternoon the sky darkened and large droplets of rain followed and the bushes and trees started thrashing about in a state of sheer madness as the rain turned into Hail Stones many the size of Golf balls and larger! They were not only falling but throwing themselves horizontally at our House in a vortex. The glass panelled door and the Windows were being battered and I had to don a Hard Hat to open the door to close the Shutters to prevent the door glass being shattered. Doing this I had around twenty hailstones come into the Kitchen and a bruised leg. I lowered the Electric blind to protect the fragile glass in the Kitchen Windows and thats when the lights went out. No Electricity for the next 24 hours! It may have only lasted five minutes but in my local area there was devastation. I hadn't put the Car back in the Garage and it was peppered with dents. Fortunately only the passenger side mirror was cracked enabling us to drive home yesterday. My neighbours A class rear hatch was smashed. House roof tiles were broken (not on our roof) and the Pompieres were out in force on roofs stretching temporary plastic sheeting over damaged areas. Vines were totally smashed and Nursery Green houses destroyed. The Plastic gutters all around the house were peppered with holes and it was lucky I hadn't put the car in the Garage as the Placo / Asbestos Roof was also peppered with holes. So, it could have been worse for the Car. If I'd not washed off the Saharan Sand it could have been embedded into the paint dimples or worse still shards of asbestos falling on the car would have scratched the paint surface. Somehow the paint mismatch doesn't now seem so important, We had a great holiday up until then and on the plus side the Insurance will cover the roof and gutter replacement at only the cost of the excess. The Car Insurers would write it off if a claim is made. This would seem a shame, so I will live with a battle scarred LS400.
0 points


.jpg.4a4c21609e1baa6d143eead92379f0b5.jpg)


.thumb.jpg.7d2945c366bc9ed927f8a3a6fdb6a7aa.jpg)